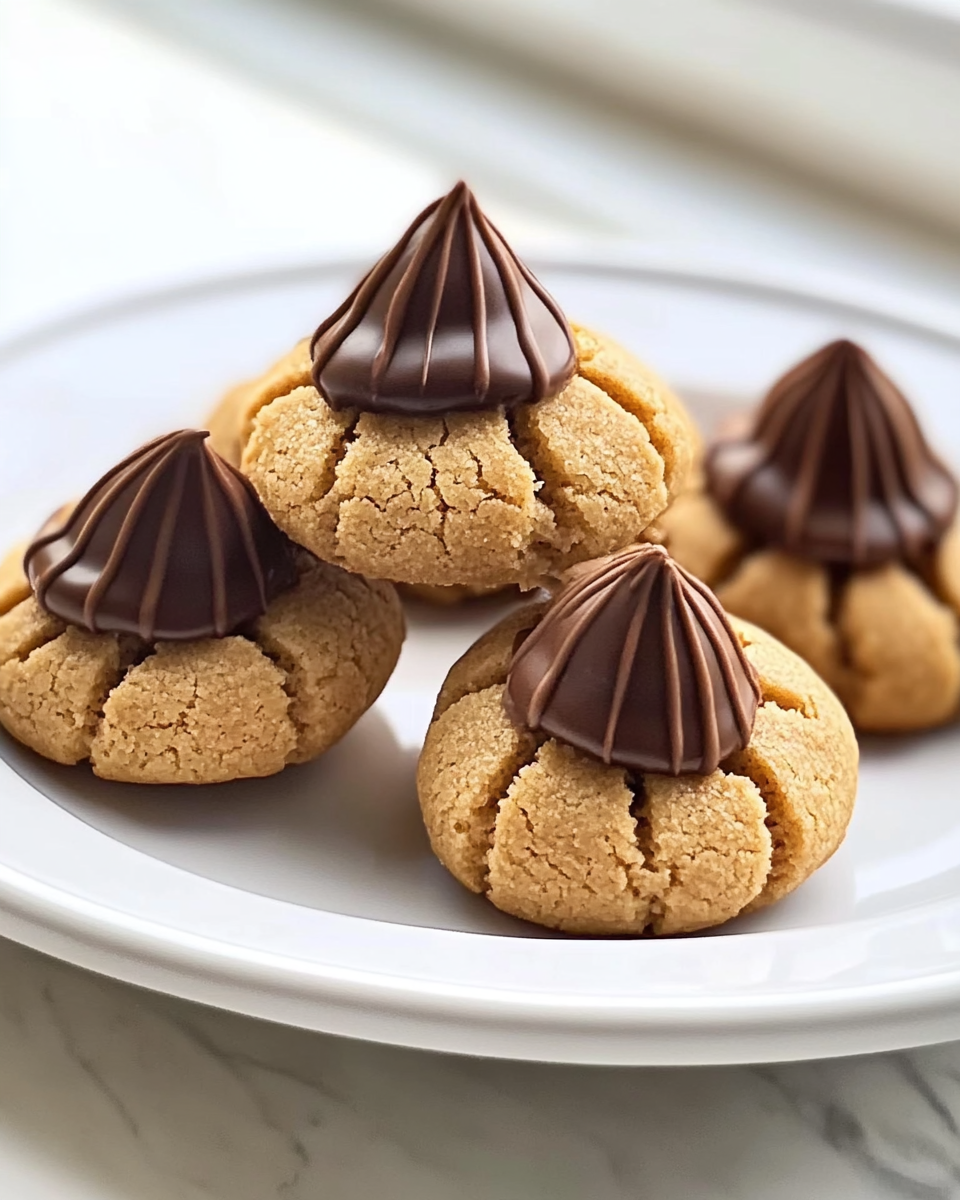
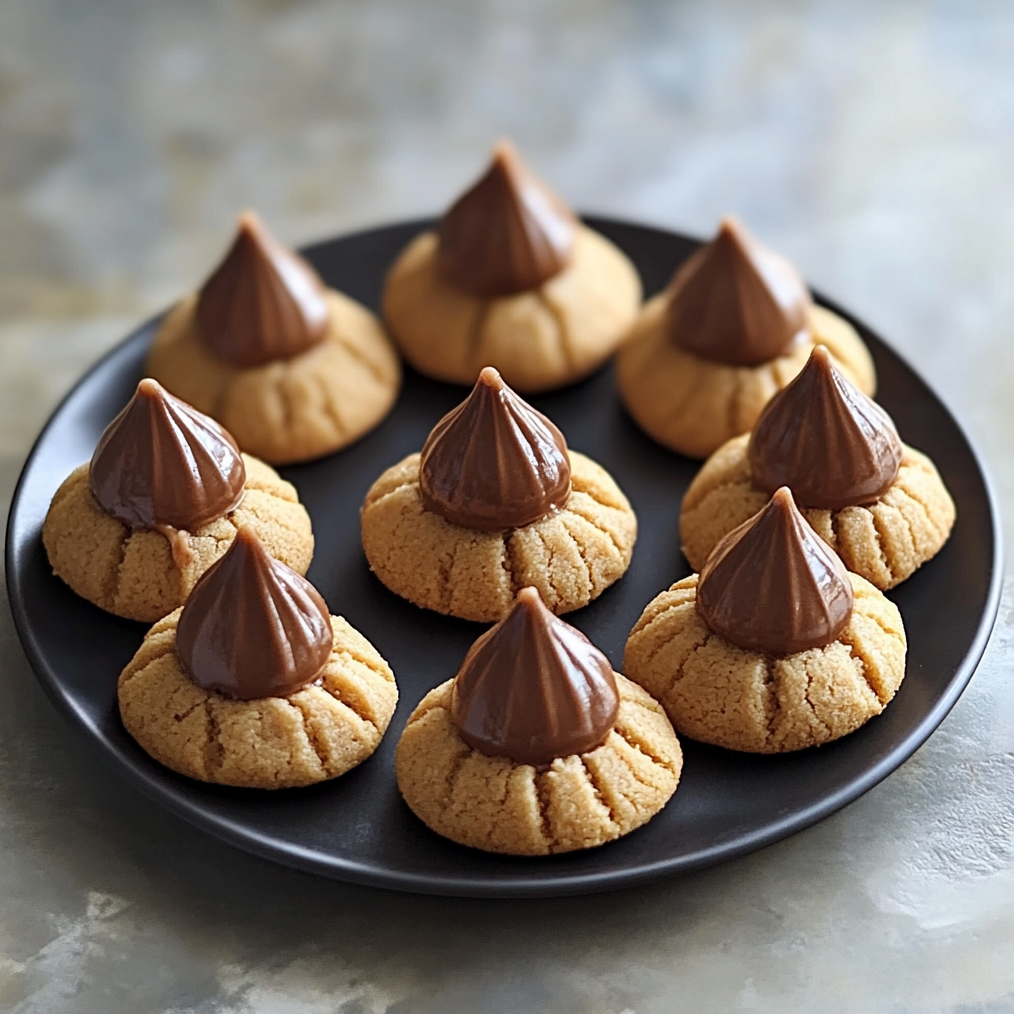
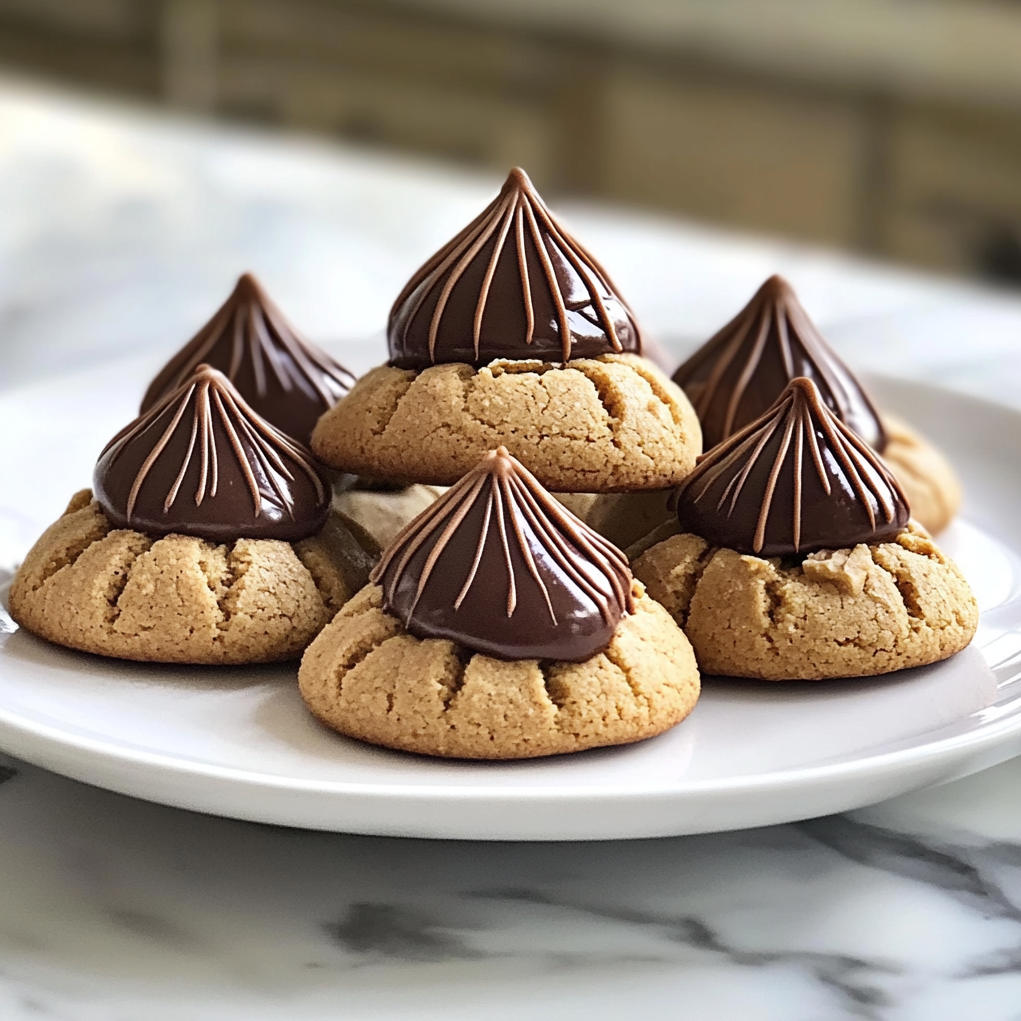
Peanut butter kiss cookies are a beloved treat that perfectly blend the rich, nutty flavor of peanut butter with the sweetness of chocolate. These cookies are not only delicious but also simple to make, making them a favorite for bakers of all skill levels. Whether you’re making them for a holiday gathering, a bake sale, or just for a sweet snack at home, these cookies are sure to please.
Full Recipe:
Ingredients Breakdown
Dry Ingredients:
- All-Purpose Flour (1 3/4 cups)
- This forms the base of the cookies and provides structure.
- Baking Soda (1 teaspoon)
- This leavening agent helps the cookies rise and gives them a light texture.
- Salt (1/2 teaspoon)
- Enhances the flavors of the other ingredients and balances the sweetness.
Wet Ingredients:
- Unsalted Butter (1/2 cup, softened)
- Adds richness and moisture to the cookies.
- Granulated Sugar (1/2 cup)
- Sweetens the cookies and contributes to their crispness.
- Brown Sugar (1/2 cup, packed)
- Adds moisture and a deeper flavor due to the molasses content.
- Peanut Butter (1 cup)
- The star ingredient that provides flavor and a chewy texture.
- Egg (1 large)
- Acts as a binder, holding the ingredients together.
- Vanilla Extract (1 teaspoon)
- Adds depth and enhances the overall flavor profile.
Topping:
- Chocolate Kisses (approximately 24)
- These are placed on top of the cookies just after baking for a sweet finish.
Step-by-Step Instructions
Step 1: Preheat Your Oven
Preheat your oven to 375°F (190°C). This ensures that the cookies bake evenly and achieve that perfect golden-brown color.
Step 2: Prepare Baking Sheets
Line your baking sheets with parchment paper or silicone baking mats. This will prevent the cookies from sticking and make cleanup easier.
Step 3: Mix Dry Ingredients
In a medium bowl, whisk together the all-purpose flour, baking soda, and salt. Set this mixture aside, as you’ll add it to the wet ingredients later.
Step 4: Cream the Butter and Sugars
In a large mixing bowl, use an electric mixer to cream together the softened butter, granulated sugar, and brown sugar until the mixture is light and fluffy. This usually takes about 2-3 minutes.
Step 5: Add Peanut Butter, Egg, and Vanilla
Add the peanut butter, egg, and vanilla extract to the creamed mixture. Beat until everything is well combined and smooth.
Step 6: Combine Dry and Wet Ingredients
Gradually add the dry ingredients to the wet mixture. Mix on low speed until just combined. Be careful not to overmix; you want the dough to be cohesive but not tough.
Step 7: Shape the Cookies
Using a tablespoon or cookie scoop, portion out the dough and roll it into balls. Place the dough balls onto the prepared baking sheets, spacing them about 2 inches apart to allow for spreading.
Step 8: Bake the Cookies
Bake the cookies in the preheated oven for about 8-10 minutes, or until the edges are lightly golden. The centers may look slightly underbaked, but they’ll continue to firm up as they cool.
Step 9: Add the Chocolate Kisses
Remove the cookies from the oven and immediately press a chocolate kiss into the center of each cookie. The heat from the cookies will slightly melt the kisses, helping them adhere.
Step 10: Cool and Enjoy
Allow the cookies to cool on the baking sheets for a few minutes before transferring them to a wire rack to cool completely. Enjoy them warm or at room temperature!
The History of Peanut Butter Cookies
The origins of peanut butter cookies date back to the early 20th century when peanut butter gained popularity in America. Although recipes for peanut butter cookies were published as early as 1910, they truly became widespread during the Great Depression. Peanut butter was an affordable source of protein, making it a popular ingredient for families trying to stretch their food budgets.
The concept of adding a chocolate kiss to the center of peanut butter cookies is believed to have originated in the 1950s, coinciding with the introduction of Hershey’s Kisses. The combination quickly became a favorite, resulting in what we now know as peanut butter kiss cookies.
Why They’re So Popular
There are several reasons why peanut butter kiss cookies have maintained their popularity over the years:
- Flavor Profile: The rich, nutty flavor of peanut butter complements the sweetness of chocolate, creating a satisfying taste experience that appeals to many.
- Texture: The chewy texture of the peanut butter cookie contrasts beautifully with the smooth, melting chocolate kiss, making each bite enjoyable.
- Versatility: While the classic version features Hershey’s Kisses, these cookies can be adapted with different types of chocolate or even other candies, allowing for endless creativity.
- Simplicity: The recipe is straightforward, making it accessible to bakers of all skill levels. It’s a great choice for beginners or anyone looking for a quick treat.
Variations to Try
While the traditional peanut butter kiss cookie is a beloved classic, there are many ways to put a unique spin on the recipe. Here are some delicious variations to consider:
- Different Chocolates: Experiment with various chocolate types—dark chocolate kisses, white chocolate, or even flavored chocolates like caramel or mint can provide a new twist.
- Nut Butters: Substitute peanut butter with other nut butters like almond, cashew, or sunflower seed butter for a different flavor. Just be mindful of the consistency and sweetness of the substitute.
- Add-Ins: Mix in ingredients like chopped nuts, chocolate chips, or even dried fruits to add texture and flavor complexity to the cookies.
- Flavored Cookies: Incorporate flavors like vanilla extract, cinnamon, or cocoa powder into the cookie dough to create a more layered flavor profile.
- Gluten-Free Options: For a gluten-free version, substitute regular flour with a gluten-free flour blend. Ensure that all other ingredients are also gluten-free.
Tips for Baking Success
To achieve the best results when making peanut butter kiss cookies, consider these helpful tips:
- Measure Accurately: Use proper measuring techniques to ensure the right balance of ingredients. This can significantly impact the texture and flavor of your cookies.
- Room Temperature Ingredients: Make sure your butter and eggs are at room temperature for better mixing and a smoother dough.
- Don’t Overmix: When combining the dry and wet ingredients, mix until just combined. Overmixing can lead to tough cookies.
- Chill the Dough: If time allows, chill the cookie dough for about 30 minutes before baking. This helps prevent the cookies from spreading too much during baking and enhances their flavor.
- Monitor Baking Time: Keep a close eye on the cookies as they bake. Remove them from the oven when the edges are set, even if the centers still look slightly underbaked. They’ll continue to firm up while cooling.
- Press the Kisses Firmly: When placing the chocolate kisses on top, press them down gently but firmly. This helps ensure they stay in place as the cookies cool.
Serving and Storage
Peanut butter kiss cookies are best enjoyed fresh out of the oven when the chocolate is still melty. However, they can also be stored for later enjoyment. Here are some tips on serving and storage:
- Serving: Pair these cookies with a glass of cold milk, coffee, or tea for a delightful snack or dessert. They also make a great addition to dessert platters or cookie trays.
- Storage: Store the cookies in an airtight container at room temperature for up to a week. To keep them fresher for longer, you can freeze the cookies for up to three months. Just make sure to place parchment paper between layers to prevent sticking.
Conclusion
Peanut butter kiss cookies are a timeless treat that continues to bring joy to cookie lovers everywhere. Their perfect combination of flavors and textures makes them a versatile choice for various occasions, from holiday gatherings to casual snack times. With simple ingredients and an easy-to-follow recipe, these cookies are accessible to bakers of all skill levels.
Whether you stick with the classic version or experiment with variations, peanut butter kiss cookies are sure to satisfy your sweet cravings. Embrace the nostalgia of this beloved dessert, and share them with family and friends to create lasting memories. No matter how you enjoy them, these cookies are bound to bring smiles and warmth to any gathering.
Print
Peanut Butter Kiss Cookies
Description
Peanut butter kiss cookies are a beloved treat that perfectly blend the rich, nutty flavor of peanut butter with the sweetness of chocolate. These cookies are not only delicious but also simple to make, making them a favorite for bakers of all skill levels. Whether you’re making them for a holiday gathering, a bake sale, or just for a sweet snack at home, these cookies are sure to please.
Ingredients
Dry Ingredients:
- All-Purpose Flour (1 3/4 cups)
- This forms the base of the cookies and provides structure.
- Baking Soda (1 teaspoon)
- This leavening agent helps the cookies rise and gives them a light texture.
- Salt (1/2 teaspoon)
- Enhances the flavors of the other ingredients and balances the sweetness.
Wet Ingredients:
- Unsalted Butter (1/2 cup, softened)
- Adds richness and moisture to the cookies.
- Granulated Sugar (1/2 cup)
- Sweetens the cookies and contributes to their crispness.
- Brown Sugar (1/2 cup, packed)
- Adds moisture and a deeper flavor due to the molasses content.
- Peanut Butter (1 cup)
- The star ingredient that provides flavor and a chewy texture.
- Egg (1 large)
- Acts as a binder, holding the ingredients together.
- Vanilla Extract (1 teaspoon)
- Adds depth and enhances the overall flavor profile.
Topping:
- Chocolate Kisses (approximately 24)
- These are placed on top of the cookies just after baking for a sweet finish.
Instructions
Step 1: Preheat Your Oven
Preheat your oven to 375°F (190°C). This ensures that the cookies bake evenly and achieve that perfect golden-brown color.
Step 2: Prepare Baking Sheets
Line your baking sheets with parchment paper or silicone baking mats. This will prevent the cookies from sticking and make cleanup easier.
Step 3: Mix Dry Ingredients
In a medium bowl, whisk together the all-purpose flour, baking soda, and salt. Set this mixture aside, as you’ll add it to the wet ingredients later.
Step 4: Cream the Butter and Sugars
In a large mixing bowl, use an electric mixer to cream together the softened butter, granulated sugar, and brown sugar until the mixture is light and fluffy. This usually takes about 2-3 minutes.
Step 5: Add Peanut Butter, Egg, and Vanilla
Add the peanut butter, egg, and vanilla extract to the creamed mixture. Beat until everything is well combined and smooth.
Step 6: Combine Dry and Wet Ingredients
Gradually add the dry ingredients to the wet mixture. Mix on low speed until just combined. Be careful not to overmix; you want the dough to be cohesive but not tough.
Step 7: Shape the Cookies
Using a tablespoon or cookie scoop, portion out the dough and roll it into balls. Place the dough balls onto the prepared baking sheets, spacing them about 2 inches apart to allow for spreading.
Step 8: Bake the Cookies
Bake the cookies in the preheated oven for about 8-10 minutes, or until the edges are lightly golden. The centers may look slightly underbaked, but they’ll continue to firm up as they cool.
Step 9: Add the Chocolate Kisses
Remove the cookies from the oven and immediately press a chocolate kiss into the center of each cookie. The heat from the cookies will slightly melt the kisses, helping them adhere.
Step 10: Cool and Enjoy
Allow the cookies to cool on the baking sheets for a few minutes before transferring them to a wire rack to cool completely. Enjoy them warm or at room temperature!

