
After a long day filled with errands and juggling responsibilities, nothing is quite as satisfying as knowing I have a batch of homemade snacks waiting for me. Recently, I discovered the joy of making my own Granola Bars that combine the timeless flavors of peanut butter and chocolate. The best part? They’re incredibly easy to whip up and filled with wholesome ingredients!
I remember the days of reaching for store-bought options, often laden with unnecessary additives and sugars. But no more! With just a few pantry staples—like creamy peanut butter, wholesome oats, and a drizzle of honey—I can indulge guilt-free. These treats are not just a delicious pick-me-up; they’re perfect for busy mornings, afternoon cravings, or even a healthy dessert.
Let me guide you through this simple recipe that will transform your snack game, ensuring you stay energized and satisfied without turning to fast food. Ready to dive into this nutty, chocolatey goodness? Let’s get started!

Why are Granola Bars so satisfying?
Energizing Flavor: The creamy peanut butter and rich dark chocolate blend together perfectly, creating a taste that’s hard to resist.
Nutrient-Packed: Filled with wholesome oats and natural sweeteners, these bars offer the perfect balance of nutrients for sustained energy.
Easy to Make: With only a few simple ingredients, you can whip these up in no time, making them ideal for busy lives.
Perfect Snack: Whether for breakfast on the go, a midday boost, or a post-workout treat, they cater to every craving.
Customizable Delight: Feel free to experiment with mix-ins like nuts or dried fruit to suit your taste!
Grab the full recipe, and discover how easy it is to create homemade snacks that keep you away from fast food!
Granola Bars Ingredients
For the Base
- Natural peanut butter – adds creaminess and flavor; you can substitute with almond butter for a nutty twist.
- Honey – a natural sweetener that binds the ingredients together; for a vegan option, use maple syrup.
- Pre-made granola – provides texture and flavor; feel free to use a mix that you love or make your own!
- Old-fashioned oats – these are the heart of the bars, giving them chewiness and fiber.
For the Chocolate Layer
- Dark chocolate chips – melted into the mixture for a rich flavor; opt for dairy-free chips if you’re looking for a vegan alternative.
How to Make Granola Bars
-
Prepare the Pan: Line a 9×13-inch baking dish with parchment paper or foil, ensuring it hangs over the edges for easy removal later. Lightly spray with non-stick cooking spray for an effortless release.
-
Mix Nut Butters and Honey: In a large mixing bowl, beat together your chosen nut butter and honey until smooth and well combined. This should take about 1-2 minutes; the mixture should be creamy and slightly sticky.
-
Combine Dry Ingredients: Stir in the pre-made granola and uncooked old-fashioned oats until everything is evenly mixed. Then, gently fold in 1/2 cup of dark chocolate chips, distributing them throughout the mixture for sweet pockets of goodness.
-
Press into the Dish: Spread and firmly press the mixture into the prepared baking dish. Use the back of a spatula or your hands to ensure it’s compact and even. This will help the bars hold their shape once cut.
-
Add the Chocolate Topping: Sprinkle the remaining 1/4 cup of chocolate chips over the top. Using a spatula or a piece of parchment paper, press them down firmly into the mixture so they stick well.
-
Cut and Chill: Lift the bars out of the dish using the parchment paper edges. Cut them into bars while they’re still warm with a sharp knife. Alternatively, cover and refrigerate for about 30 minutes for a firmer texture before slicing.
Optional: Drizzle with extra melted chocolate for an indulgent finish.
Exact quantities are listed in the recipe card below.
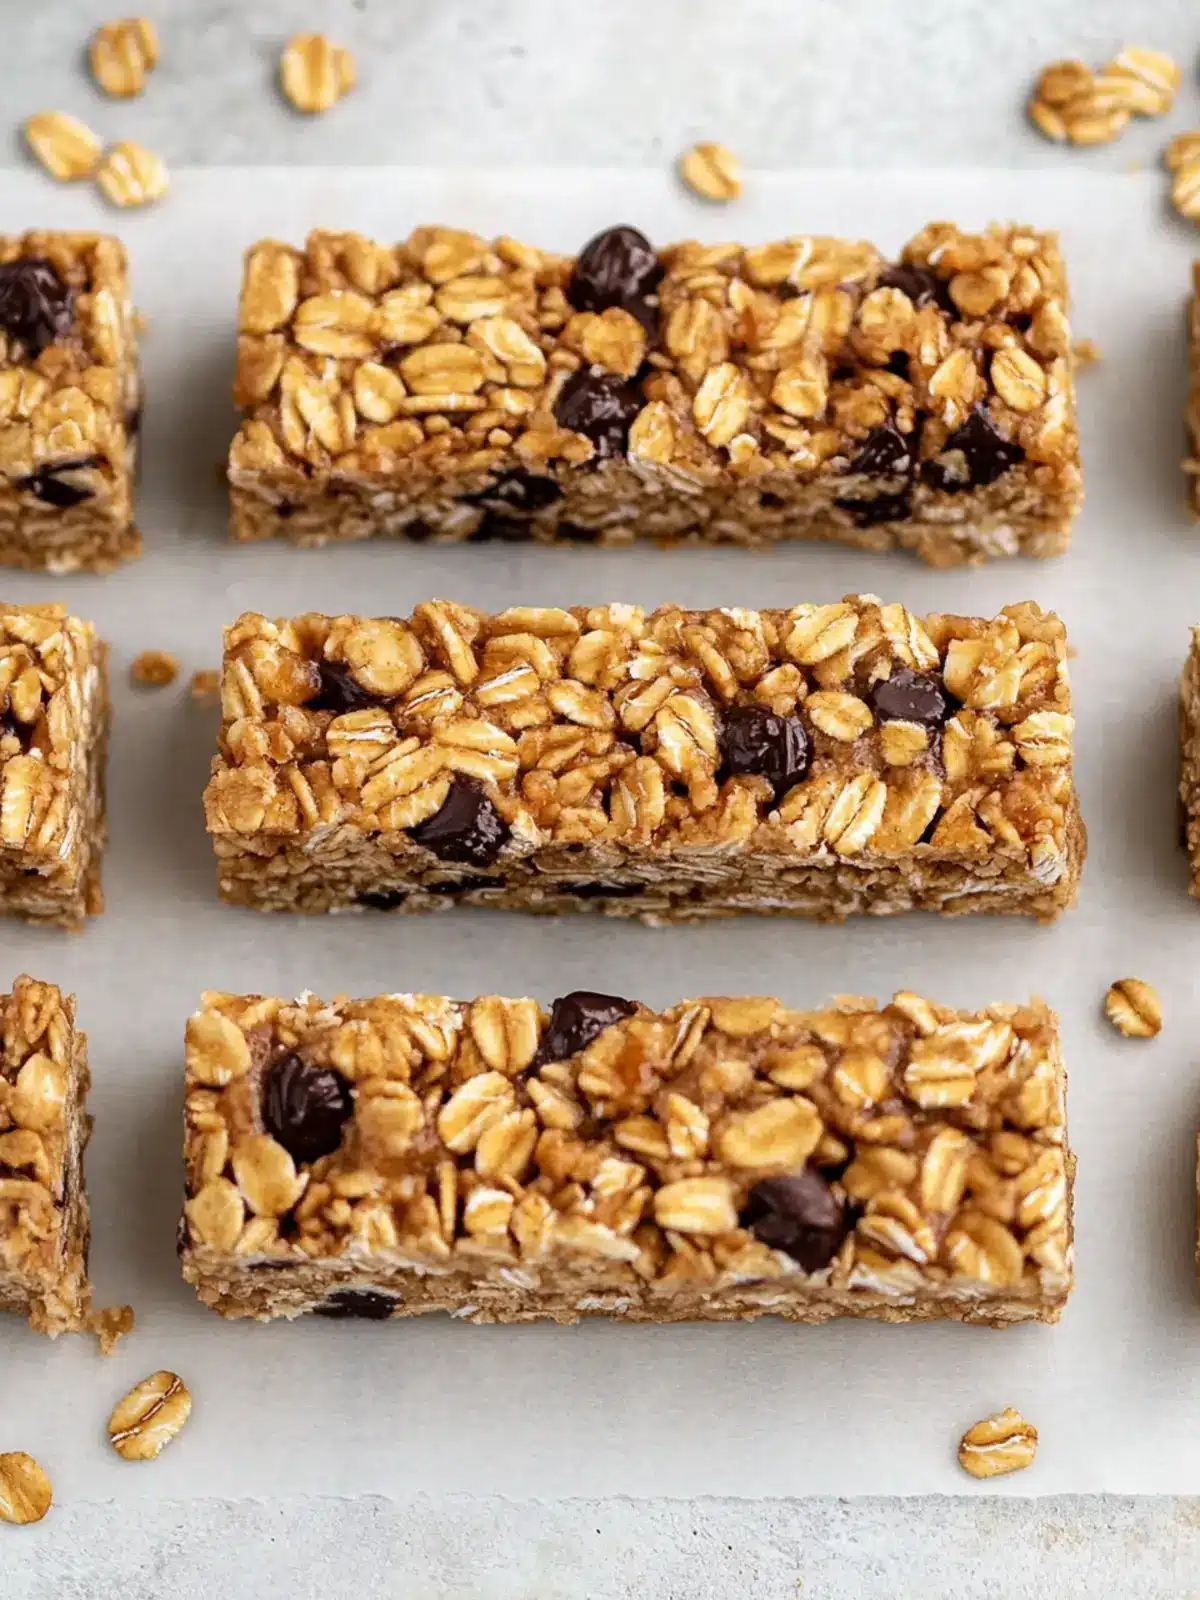
Expert Tips for Granola Bars
-
Choose the Right Nut Butter: Opt for natural peanut butter or almond butter without added sugars or oils; this enhances flavor and health benefits.
-
Don’t Skip the Honey: Honey is key for binding the ingredients together; if you omit or substitute it, the bars may crumble instead of hold their shape.
-
Press Firmly: When spreading the mixture into the pan, ensure it’s packed tightly. A loose mixture will result in crumbly granola bars that fall apart easily.
-
Experiment with Mix-Ins: Feel free to add nuts, seeds, or dried fruits for additional texture and flavor; just be cautious not to overdo it, which could alter the main structure of the bars.
-
Chill for the Best Texture: Refrigerating your bars for 30 minutes after cutting helps them firm up, resulting in cleaner cuts and a better bite.
-
Store Properly: Keep your granola bars in an airtight container to maintain freshness and prevent them from getting too soft.
Make Ahead Options
These Granola Bars are a fantastic option for meal prep, allowing you to enjoy a homemade snack while saving precious time during busy weeks! You can prepare the entire mixture up to 24 hours in advance by following the mixing instructions and pressing it into the baking dish. Just cover it tightly with plastic wrap and store it in the refrigerator to maintain freshness. When you’re ready to enjoy, simply cut them into bars after chilling for about 30 minutes. This method ensures they stay deliciously moist and flavorful, making them the ideal treat to grab and go, nourishing you all week long!
What to Serve with Granola Bars?
After enjoying these delightful snacks made with peanut butter and dark chocolate, you’re ready to complete your meal experience.
-
Fresh Fruit Salad: A mix of seasonal fruits adds brightness and a refreshing crunch that perfectly balances the rich flavors of the bars. Think juicy berries, tart apples, and sweet melon trotting together in a bowl.
-
Greek Yogurt Parfait: Creamy Greek yogurt layered with honey and granola offers a protein-packed complement, creating a satisfying and wholesome breakfast or snack option.
-
Milk or Dairy Alternatives: A tall glass of cold milk or almond milk enhances the whole experience, providing a creamy contrast to the chewy bars for each delightful bite.
-
Nutty Trail Mix: Combine your favorite nuts, seeds, and dried fruits for a snack that echoes the flavors of the granola bars while offering a delightful crunch and additional nutrients.
-
Chocolate Smoothie: Blend banana, cocoa powder, and nut milk for a luscious smoothie that pairs well with the granola bars, adding sweetness and a creamy element to your treat.
-
Coffee or Tea: Sipping on a warm cup of your favorite brew brings comfort and warmth, ensuring the indulgent flavors of your granola bar linger delightedly on your palate.
Indulge in these pairings for a wholesome, balanced snack experience that will keep your energy up throughout the day!
How to Store and Freeze Granola Bars
Room Temperature: Store your granola bars in an airtight container at room temperature for up to 5 days to maintain their freshness and chewiness.
Fridge: For longer shelf life, keep the bars in the fridge where they can last up to 2 weeks. This helps them stay firmer and enhances the flavor.
Freezer: To freeze, wrap each bar tightly in plastic wrap and place them in a freezer-safe bag. They can be stored in the freezer for up to 3 months—great for making a batch ahead of time!
Reheating: When ready to enjoy, simply thaw at room temperature or microwave for 10-15 seconds for a warm, gooey treat!
Granola Bars Variations & Substitutions
Feel free to get creative and tailor these scrumptious granola bars to your taste and dietary preferences!
-
Nut-Free: Use sunflower seed butter instead of peanut or almond butter for a totally nut-free snack. It adds a unique flavor while keeping the bars chewy.
-
Vegan: Swap honey for agave syrup or maple syrup to make these bars completely vegan-friendly. Both options provide that sweet touch without compromising texture.
-
Crunchy Texture: Add 1/2 cup of chopped nuts such as almonds or cashews for an extra crunch. This not only elevates the texture but also adds a delightful nutty flavor.
-
Fruity Twist: Mix in 1/2 cup of dried fruits like cranberries, raisins, or apricots for a burst of natural sweetness. The chewy fruits contrast beautifully with the crunchy oats.
-
Spicy Kick: Sprinkle in a teaspoon of cinnamon or a pinch of cayenne pepper for a warm, spicy flavor boost. It’s a surprisingly delightful twist on the classic taste!
-
Chocolate Lovers: Substitute half the dark chocolate chips with white chocolate chips for a different flavor profile. This creates a rich contrast that chocolate lovers will adore.
-
Protein Boost: Include 1/2 cup of protein powder into the mixture for an extra health kick. This is perfect for those post-workout snacks and keeps you feeling full longer.
-
Granola Base Swap: Try different flavors of pre-made granola, such as vanilla or chocolate, to change the overall taste of your bars. Each blend offers a unique twist that’s exciting and fun!
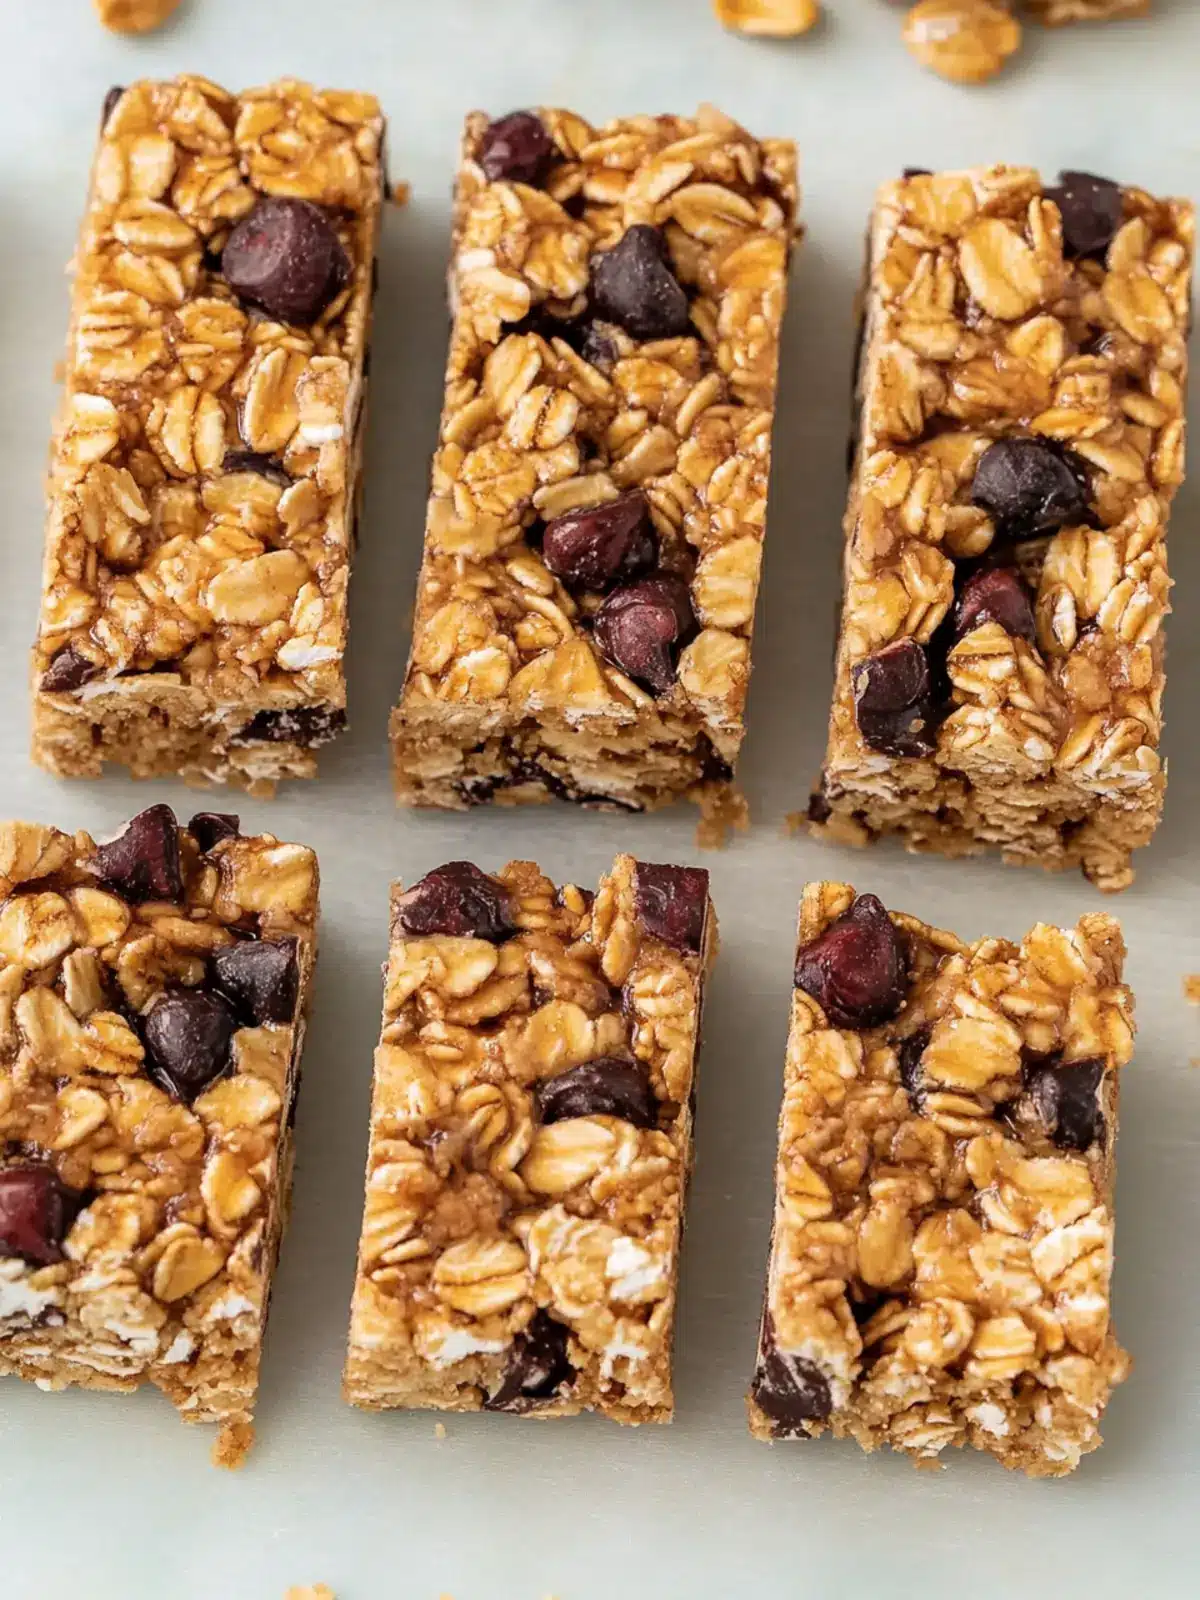
Peanut Butter Granola Bars Recipe FAQs
How do I know if my peanut butter or almond butter is fresh?
Absolutely! Look for nut butters that are smooth, without any separation or dark spots. If you notice any off smells or changes in texture, it might be time for a replacement!
What’s the best way to store granola bars?
Very! Keep your granola bars in an airtight container at room temperature for about 5 days to keep them fresh and chewy. For longer storage, you can put them in the fridge, where they’ll last up to 2 weeks. This helps retain their texture and flavor.
Can I freeze my granola bars for later?
Yes, you can! To freeze your bars, individually wrap each one tightly in plastic wrap and place them in a freezer-safe bag. They can be stored in the freezer for up to 3 months. When you’re ready to enjoy one, just let it thaw at room temperature, or microwave it for 10-15 seconds for a warm treat!
What if my granola bars crumble when cutting?
No worries! If your bars are crumbling, it’s often because the mixture wasn’t packed tightly enough in the pan. In the future, press the mixture down firmly to ensure it holds together well. Additionally, chilling the bars for 30 minutes before cutting can help them firm up and maintain their shape.
Are these granola bars suitable for people with nut allergies?
Definitely! You can substitute the peanut or almond butter with sunbutter (sunflower seed butter) or soy nut butter, which are great alternatives. Just be sure to check for any other allergens if you’re making these for someone with dietary restrictions.
Can I customize the granola bars with extra ingredients?
The more the merrier! Feel free to add in nuts, seeds, or dried fruits for variety. Just keep in mind not to overwhelm the base ingredients, as that might alter the texture. You can experiment with different flavor combinations to make them uniquely yours!
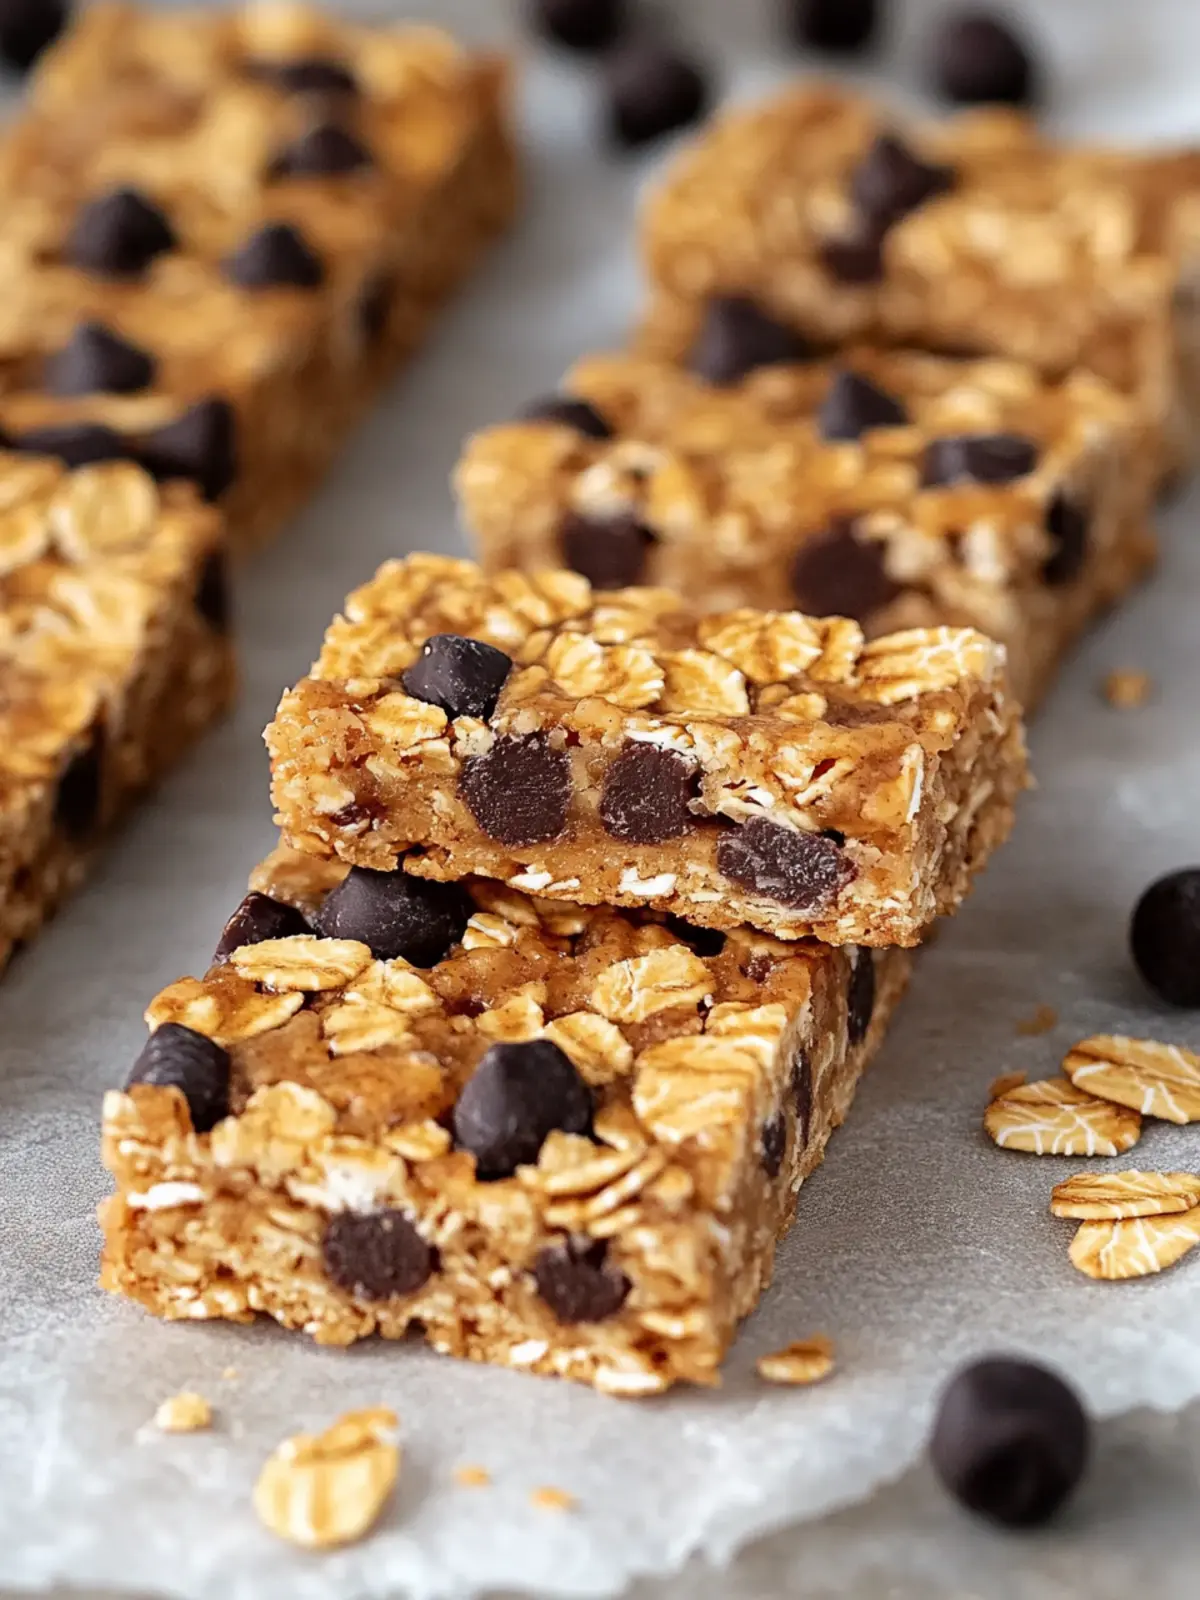
Homemade Granola Bars with Peanut Butter and Dark Chocolate
Ingredients
Equipment
Method
- Line a 9×13-inch baking dish with parchment paper or foil, ensuring it hangs over the edges for easy removal later. Lightly spray with non-stick cooking spray.
- In a large mixing bowl, beat together the chosen nut butter and honey until smooth and well combined.
- Stir in the pre-made granola and uncooked old-fashioned oats until everything is evenly mixed. Gently fold in 1/2 cup of dark chocolate chips.
- Spread and firmly press the mixture into the prepared baking dish. Use the back of a spatula or your hands to ensure it’s compact and even.
- Sprinkle the remaining 1/4 cup of chocolate chips over the top and press them down firmly into the mixture.
- Lift the bars out of the dish using the parchment paper edges. Cut them into bars while they’re still warm, or refrigerate for about 30 minutes.