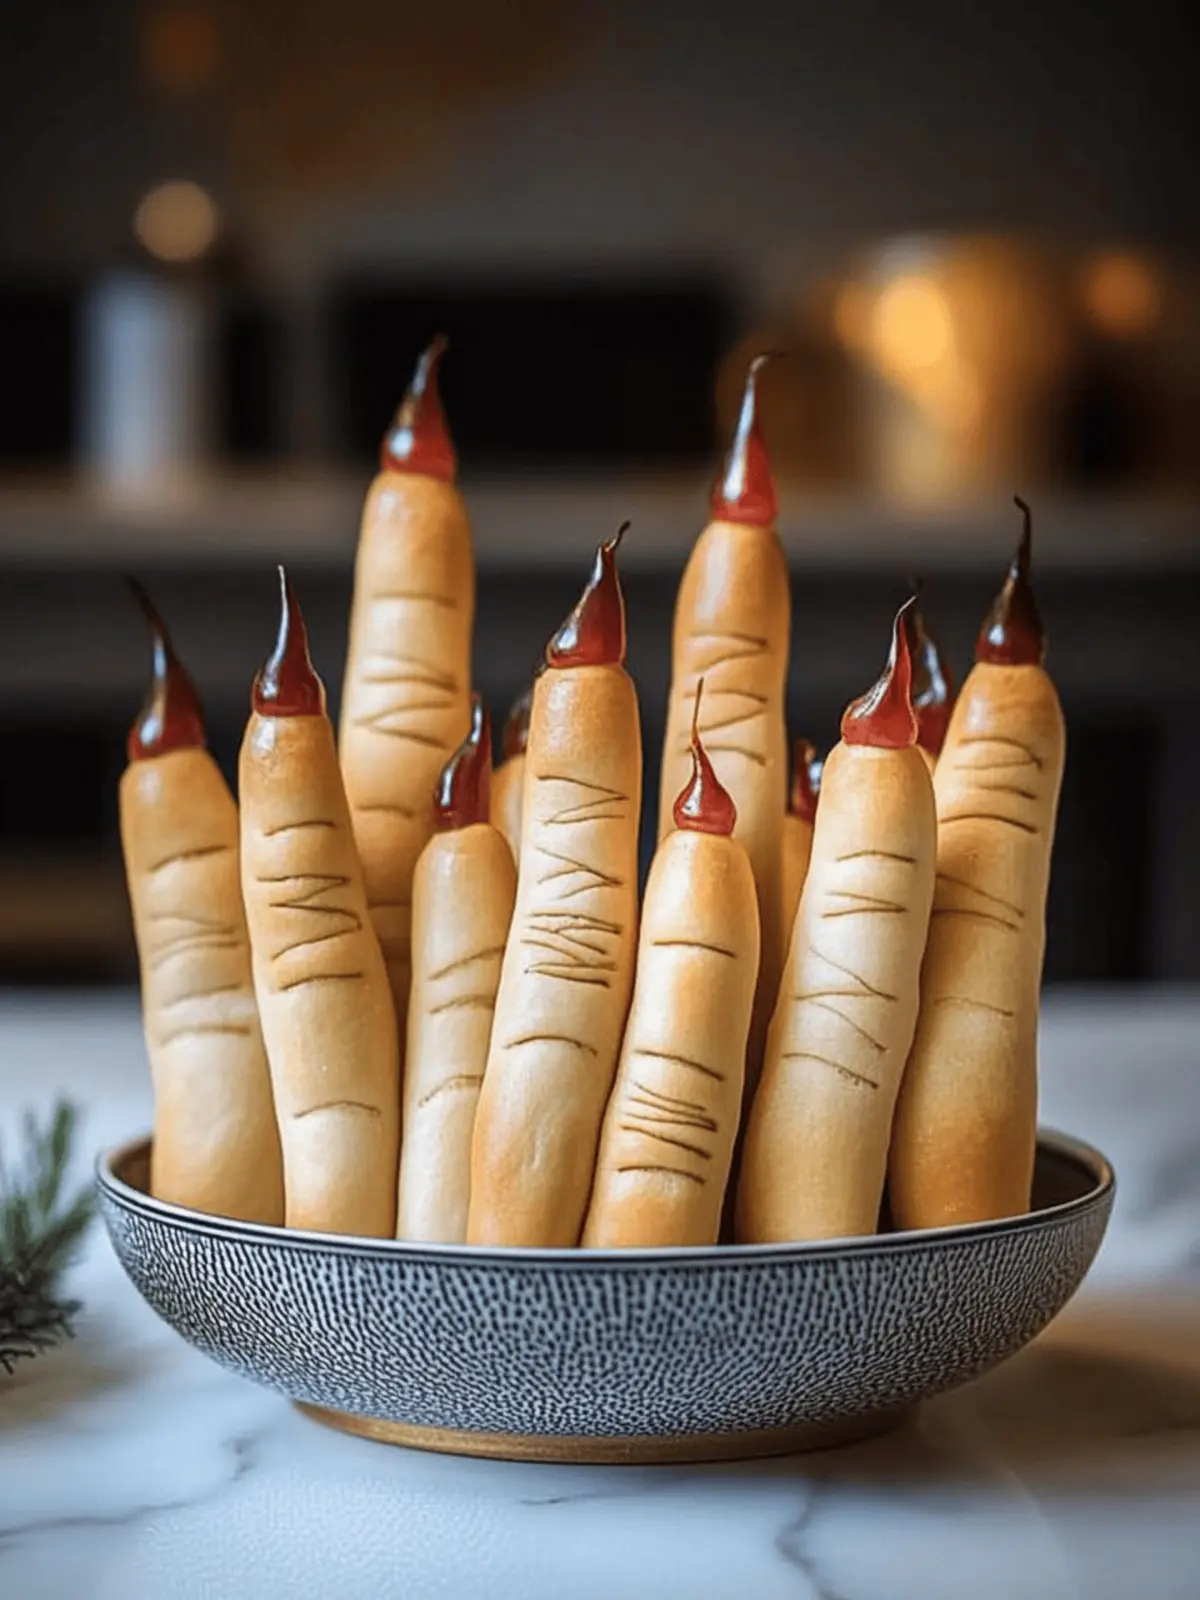
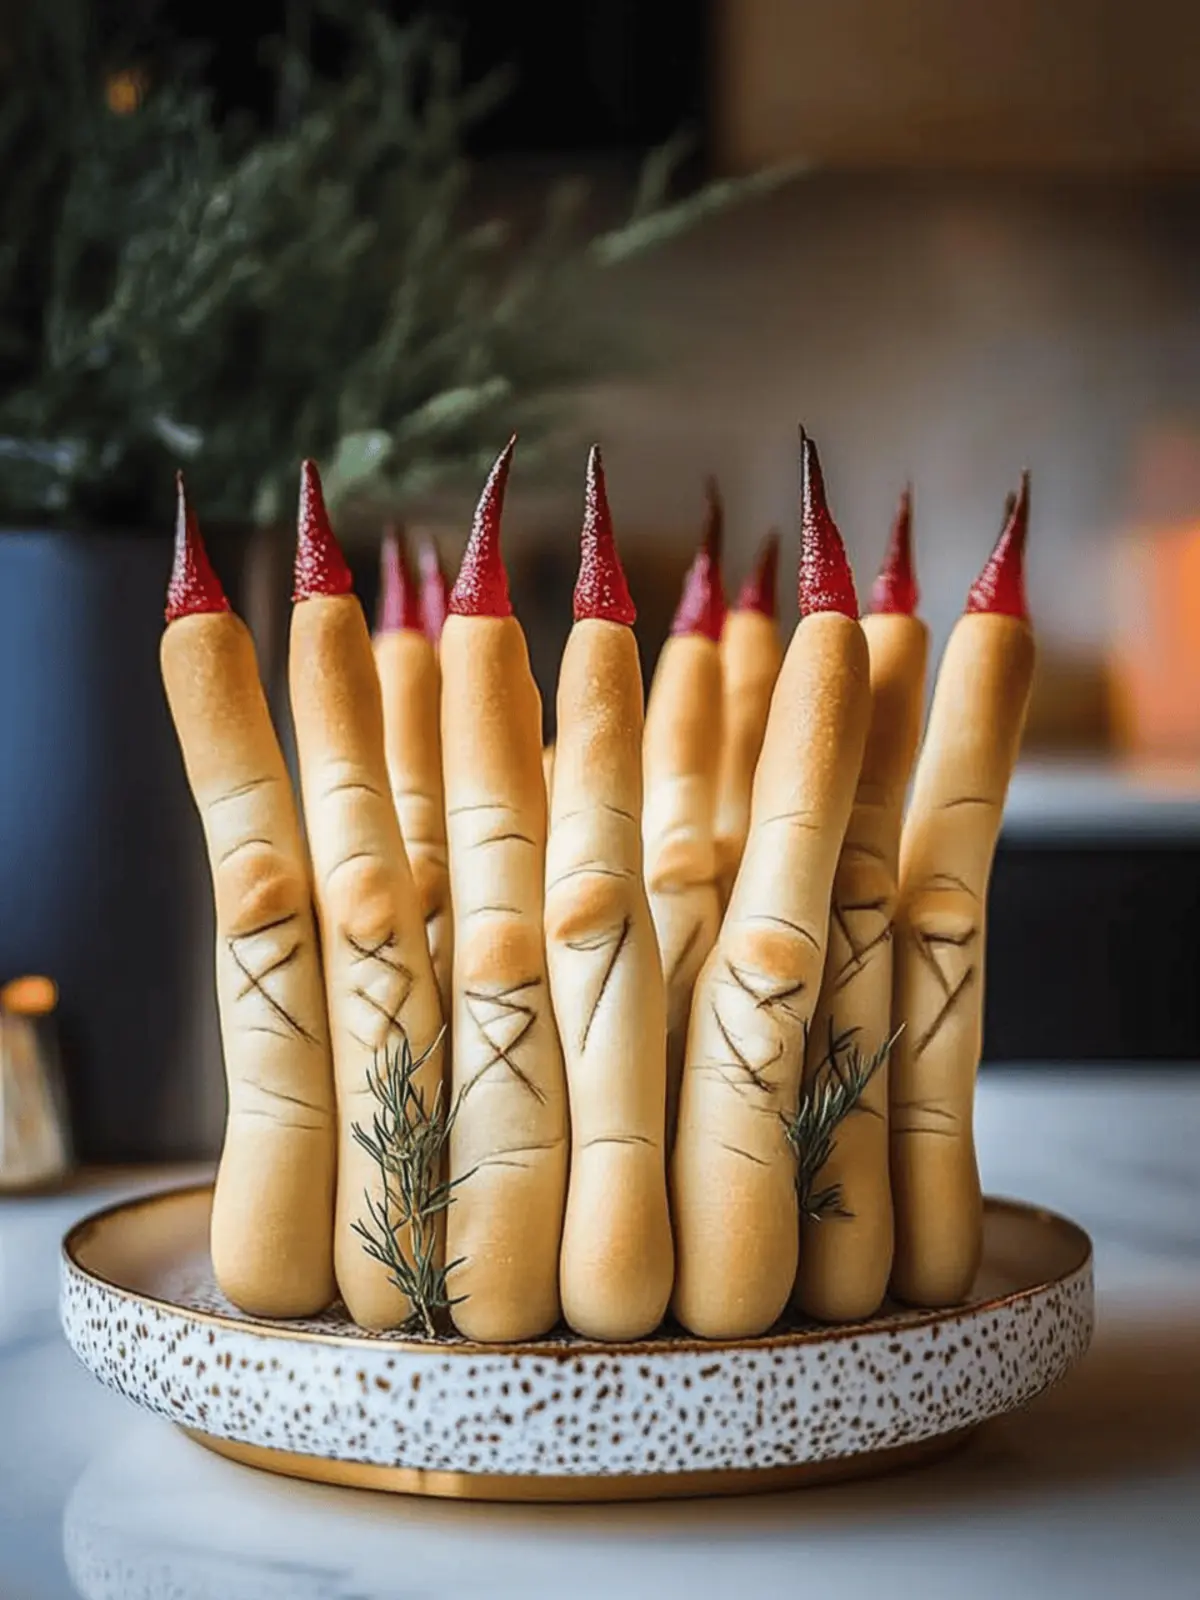
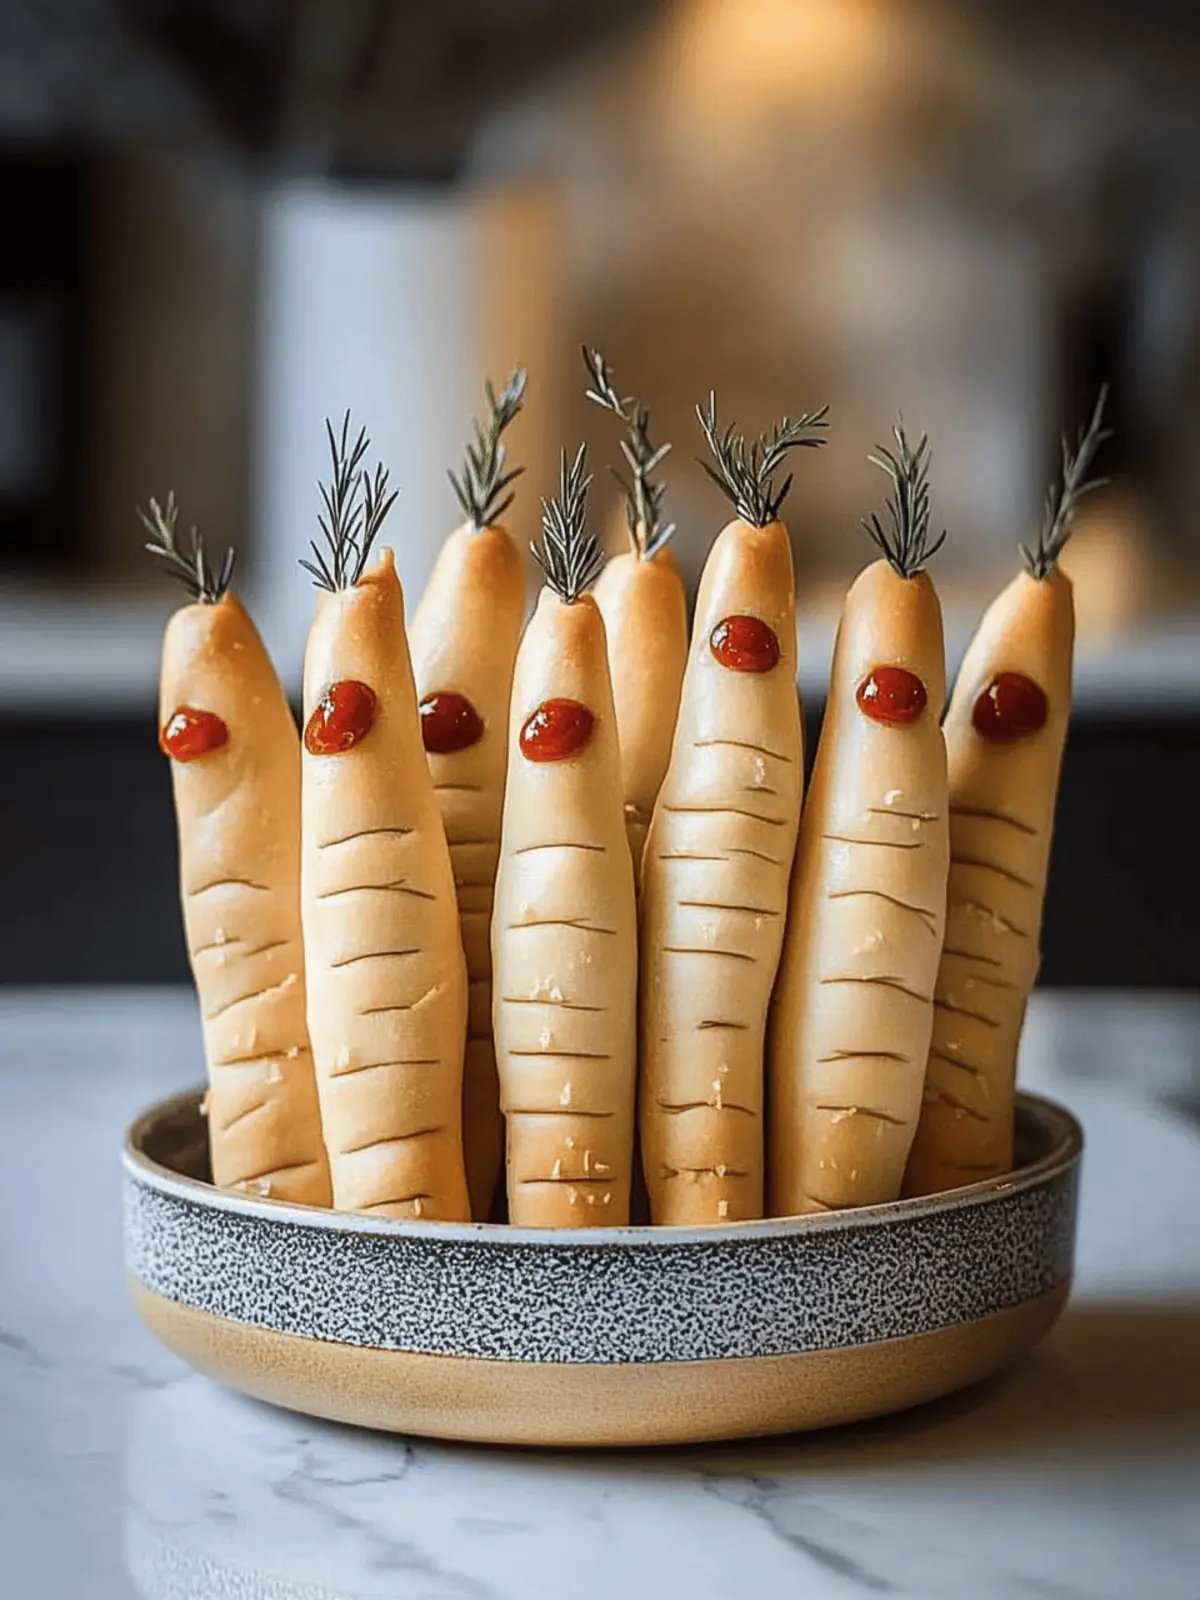
As Halloween approaches, the kitchen buzzes with excitement for all things spooky. Enter these Witch Finger Breadsticks—a delightfully eerie addition to your Halloween festivities! The moment you pull them from the oven, the delightful aroma of warm dough mingles with a hint of garlic, instantly pulling you into the Halloween spirit. Crispy on the outside and soft within, these cleverly crafted breadsticks double as both a conversation starter and a scrumptious treat.
I first whipped up these whimsical finger treats for a Halloween gathering, and they vanished faster than a ghost in the night! With a few simple ingredients, including pizza dough and crunchy almond “nails,” you’ll have a show-stopping appetizer that perfectly balances taste and playfulness. Plus, they’re incredibly easy to customize—whether you want to add spicy flair or opt for a gluten-free twist, the options are endless! So, let’s dive into this fun and flavorful recipe that promises to be a hit with guests of all ages.
Why love Witch Finger Breadsticks?
Creepy Delights: These Witch Finger Breadsticks not only look spooktacular but also taste incredible with a crispy exterior and soft, chewy inside that everyone will love.
Fun for Everyone: Perfect for Halloween parties, these snacks are a hit with kids and adults alike—who can resist a finger-shaped treat?
Easy to Customize: Feel free to add your favorite spices, cheeses, or even gluten-free dough to make this recipe your own!
Minimal Effort, Maximum Impact: With only a few simple ingredients, you’ll have an impressive dish ready to wow your guests in no time.
Perfect Pairing: Pair them with marinara or a spooky dipping sauce for an extra special treat that’ll have party-goers coming back for more!
Witch Finger Breadsticks Ingredients
For the Breadsticks
• Pizza Dough – 1 pound; essential for structure and flavor, use homemade or store-bought for convenience.
• Almonds or Pumpkin Seeds – for the “nails,” adding a crunchy texture and spooky appearance to your Witch Finger Breadsticks.
• Egg – 1 beaten; provides a shiny finish when brushed on the breadsticks.
• Salt – a sprinkle on top enhances the bread’s flavor.
• Olive Oil – 2 tablespoons; keeps the dough moist and adds richness.
• Spices (Garlic Powder, Rosemary, or Others) – customize with your favorite spices to add a personal twist.
• Red Food Coloring (Optional) – for a dramatic bloody effect on the fingertips, making it an extra spooky treat!
How to Make Witch Finger Breadsticks
-
Prepare Baking Sheet: Line a baking sheet with parchment paper to prevent any stickiness. This step ensures that your creepy creations release easily once baked!
-
Roll the Dough: Flatten the pizza dough into a large sheet about 1/4-inch thick. Then, cut it into strips, aiming for the length of your fingers to create the perfect spooky look.
-
Shape Each Stick: Twist and Roll the strips into finger shapes, making them as crooked or straight as you’d like to add character to your Witch Finger Breadsticks!
-
Add “Nails”: Press an almond or pumpkin seed onto one end of each stick for the “nail” effect. This adds a fun and crunchy touch that enhances their creepiness and appeal.
-
Brush with Egg: Coat each breadstick with the beaten egg using a pastry brush. This step gives your breadsticks that gorgeous golden shine when they bake!
-
Bake: Preheat your oven to 375°F (190°C), then bake the breadsticks for 15-20 minutes until they are beautifully golden brown. Keep an eye on them for that lovely crisp!
-
Cool and Serve: Allow the breadsticks to cool slightly before serving. For an extra spooky touch, add red food coloring to the tips for a bloody effect!
Optional: Serve them alongside marinara sauce or ranch dressing for a perfect dipping experience!
Exact quantities are listed in the recipe card below.
Make Ahead Options
These Witch Finger Breadsticks are perfect for meal prep, allowing you to enjoy the spooky fun without the last-minute rush! You can shape the breadsticks and store them in the refrigerator for up to 24 hours before baking. To maintain their quality, cover them tightly with plastic wrap to prevent drying out. When you’re ready to serve, simply preheat your oven and bake them right from the fridge; there’s no need to bring them to room temperature. This way, you’ll have deliciously creepy finger-shaped treats on the table with minimal effort, just in time to impress your guests during the Halloween festivities!
How to Store and Freeze Witch Finger Breadsticks
Room Temperature: Store in an airtight container at room temperature for up to 2-3 days to maintain freshness and prevent drying out.
Fridge: If you want to extend their shelf life, you can refrigerate them for up to a week, but it may alter the texture slightly.
Freezer: For long-term storage, freeze the breadsticks in a zip-top bag for up to 2 months. Ensure they are well-wrapped to prevent freezer burn.
Reheating: When ready to enjoy, reheat from frozen at 350°F for 5-10 minutes until warmed through and crispy, bringing back that delightful texture of your Witch Finger Breadsticks!
What to Serve with Witch Finger Breadsticks?
Add a touch of magic to your Halloween gathering with these delightful finger-shaped delights that pair perfectly with festive sides!
- Marinara Sauce: A classic pairing! The rich, tangy flavor complements the crispy breadsticks and encourages dipping, making it an irresistible treat.
- Garlic Butter Dip: This warm, velvety dip elevates the breadsticks, enhancing their flavor while adding an aromatic twist that guests will adore.
- Creamy Risotto: The rich and creamy texture of risotto makes a luxurious contrast to the crispy breadsticks, creating an elegant dining experience.
- Fresh Salad: Incorporate some seasonal greens with a zesty vinaigrette for a refreshing balance against the savory flavors of the breadsticks.
- Pumpkin Soup: A warm, savory bowl of pumpkin soup adds autumnal flair and pairs beautifully with the Witch Finger Breadsticks for a cozy meal.
- Spooky Cheese Platter: An assortment of cheeses, crackers, and fruits not only looks festive but offers a variety of flavors and textures to enjoy alongside your snack.
- Red Wine: Serve a glass of medium-bodied red wine for a sophisticated touch that complements the earthy flavors in the breadsticks.
- Crisp Apple Cider: For a non-alcoholic option, the sweetness of apple cider contrasts nicely with the salty, savory flavors of the breadsticks, making it a family-friendly hit.
- Chocolate-Covered Strawberries: To round out your spooky feast, offer some sweet chocolate-covered strawberries for a decadent dessert that’s visually appealing and delicious!
Expert Tips for Witch Finger Breadsticks
-
Golden Color: To achieve an even golden color, position your baking sheet in the top half of the oven while baking for your Witch Finger Breadsticks.
-
Flavor Boost: Don’t hesitate to customize with spices or cheese—experimenting with flavors can elevate your breadsticks to new heights!
-
Uniform Shapes: Roll each strip evenly to ensure consistent baking; irregular shapes may lead to uneven cooking results.
-
Gluten-Free Option: For a gluten-free version, simply substitute regular pizza dough with a gluten-free alternative, ensuring everyone can enjoy these spooky snacks.
-
Storage Secrets: Store leftover breadsticks in an airtight container at room temperature for 2-3 days. To revive them, reheat at 350°F for a few minutes!
Witch Finger Breadsticks Variations
Feel free to let your creativity shine and make these spooky treats your own in fun and flavorful ways!
-
Cheesy Twist: Add shredded mozzarella or parmesan to the dough before baking for a savory surprise in every bite. The gooey cheese will create an irresistible texture!
-
Herb Infusion: Incorporate fresh herbs like rosemary or thyme into the dough for an aromatic twist. Not only do they smell heavenly, but they also elevate the flavors.
-
Spicy Kick: Sprinkle cayenne or chili flakes into the dough for an unexpected heat. This variation is perfect for those who like a little spice in their life!
-
Nutty Substitution: Swap out almonds for cashews or walnuts for a different crunchy “nail” effect. This variation enhances the flavor and adds a unique touch to each breadstick.
-
Vegan Option: Use a plant-based egg substitute and dairy-free dough for a vegan-friendly version. Everyone can join in the festive fun without compromising their dietary preferences!
-
Sweet Surprise: For a dessert version, mix in cinnamon and sugar, and use chocolate-covered almonds to create creepy “finger” cookies. This unexpected treat will delight your guests!
-
Extra Crunch: Brush the dough with olive oil mixed with coarse sea salt before baking for an additional layer of crunch. The salty sprinkle will enhance the savory aspect of your breadsticks!
-
Gluten-Free Goodness: Substitute regular pizza dough with a gluten-free version to cater to those with gluten sensitivities. Everyone deserves a taste of these spook-tacular snacks!
Witch Finger Breadsticks Recipe FAQs
What type of pizza dough works best for Witch Finger Breadsticks?
Absolutely! You can use either homemade or store-bought pizza dough for these creepy treats. If you want a little extra flavor, look for dough that contains herbs or spices, or try making your own if you’re feeling adventurous!
How should I store Witch Finger Breadsticks after making them?
You can store your Witch Finger Breadsticks in an airtight container at room temperature for up to 2-3 days. This method helps maintain their crispy texture, so they stay delicious! If you need to keep them longer, refrigerate them for up to a week, but be aware that this may slightly alter the texture.
Can I freeze Witch Finger Breadsticks, and how do I do that?
Yes, you can absolutely freeze your Witch Finger Breadsticks for later enjoyment! To do this, let them cool completely after baking, then place them in a zip-top bag, removing as much air as possible to prevent freezer burn. They can be frozen for up to 2 months. When you’re ready to eat them, simply reheat from frozen at 350°F (175°C) for 5-10 minutes until warmed through and crispy again.
What if my breadsticks are not browning evenly?
If your Witch Finger Breadsticks aren’t browning evenly, try rotating the baking sheet halfway through the baking time. Additionally, make sure that your oven is properly preheated and that the baking sheet is positioned in the top half of the oven for the best golden result. This little adjustment can help achieve that beautiful color all over!
Can pets eat Witch Finger Breadsticks?
It’s best to keep Witch Finger Breadsticks away from pets, particularly due to the eggs, garlic powder, and nuts or seeds, which may not be suitable for them. If you’re looking for a pet-friendly treat, consider making a small batch of breadsticks without these ingredients specifically for your furry friends instead.
Is there a gluten-free option for Witch Finger Breadsticks?
Definitely! If you’re looking for a gluten-free version, simply substitute regular pizza dough with a gluten-free alternative. You can find gluten-free pizza dough in many grocery stores, or you might try whipping up a homemade gluten-free dough. Just ensure that no cross-contamination occurs during preparation for a safe and tasty treat!
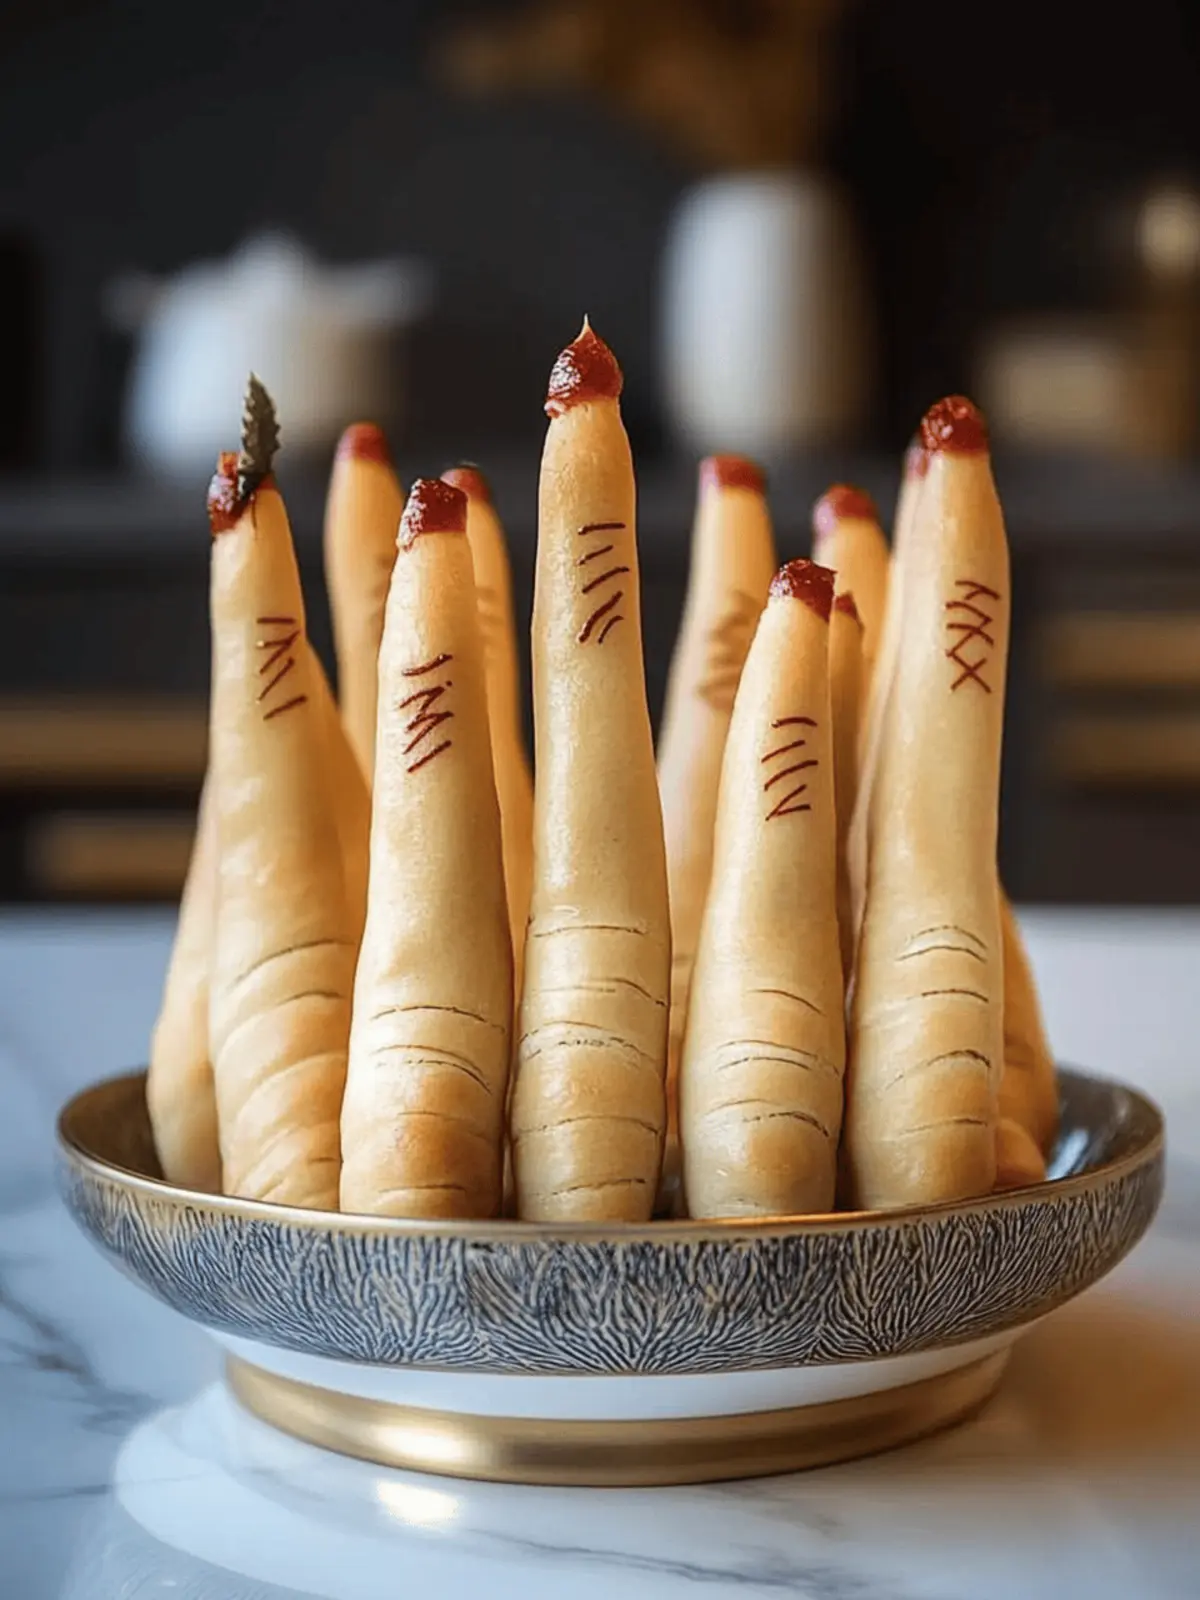
Witch Finger Breadsticks: Creepy Snacks for Spooky Fun
Ingredients
Equipment
Method
- Line a baking sheet with parchment paper to prevent sticking.
- Flatten the pizza dough into a large sheet about 1/4-inch thick and cut it into strips.
- Twist and roll the strips into finger shapes, making them as crooked or straight as desired.
- Press an almond or pumpkin seed onto one end of each stick for the 'nail' effect.
- Coat each breadstick with the beaten egg using a pastry brush.
- Preheat your oven to 375°F (190°C) and bake the breadsticks for 15-20 minutes until golden brown.
- Allow the breadsticks to cool slightly before serving and optionally add red food coloring to the tips.

