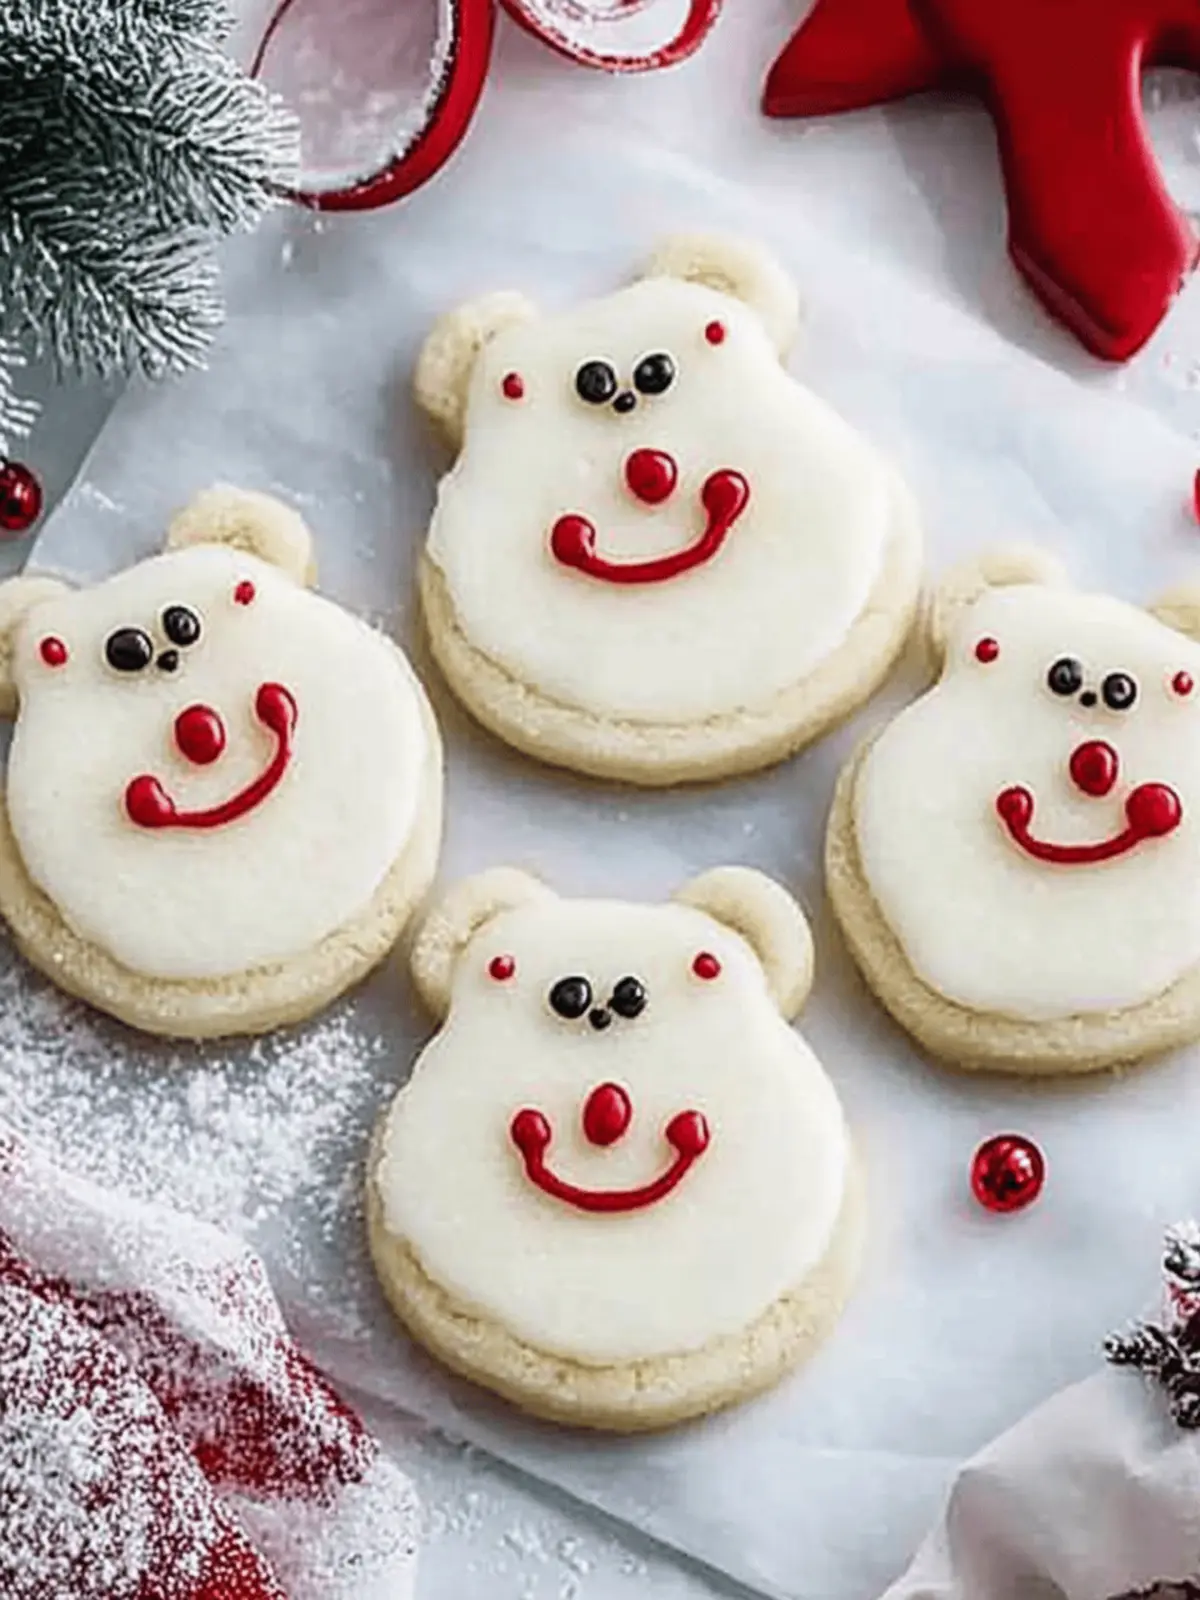
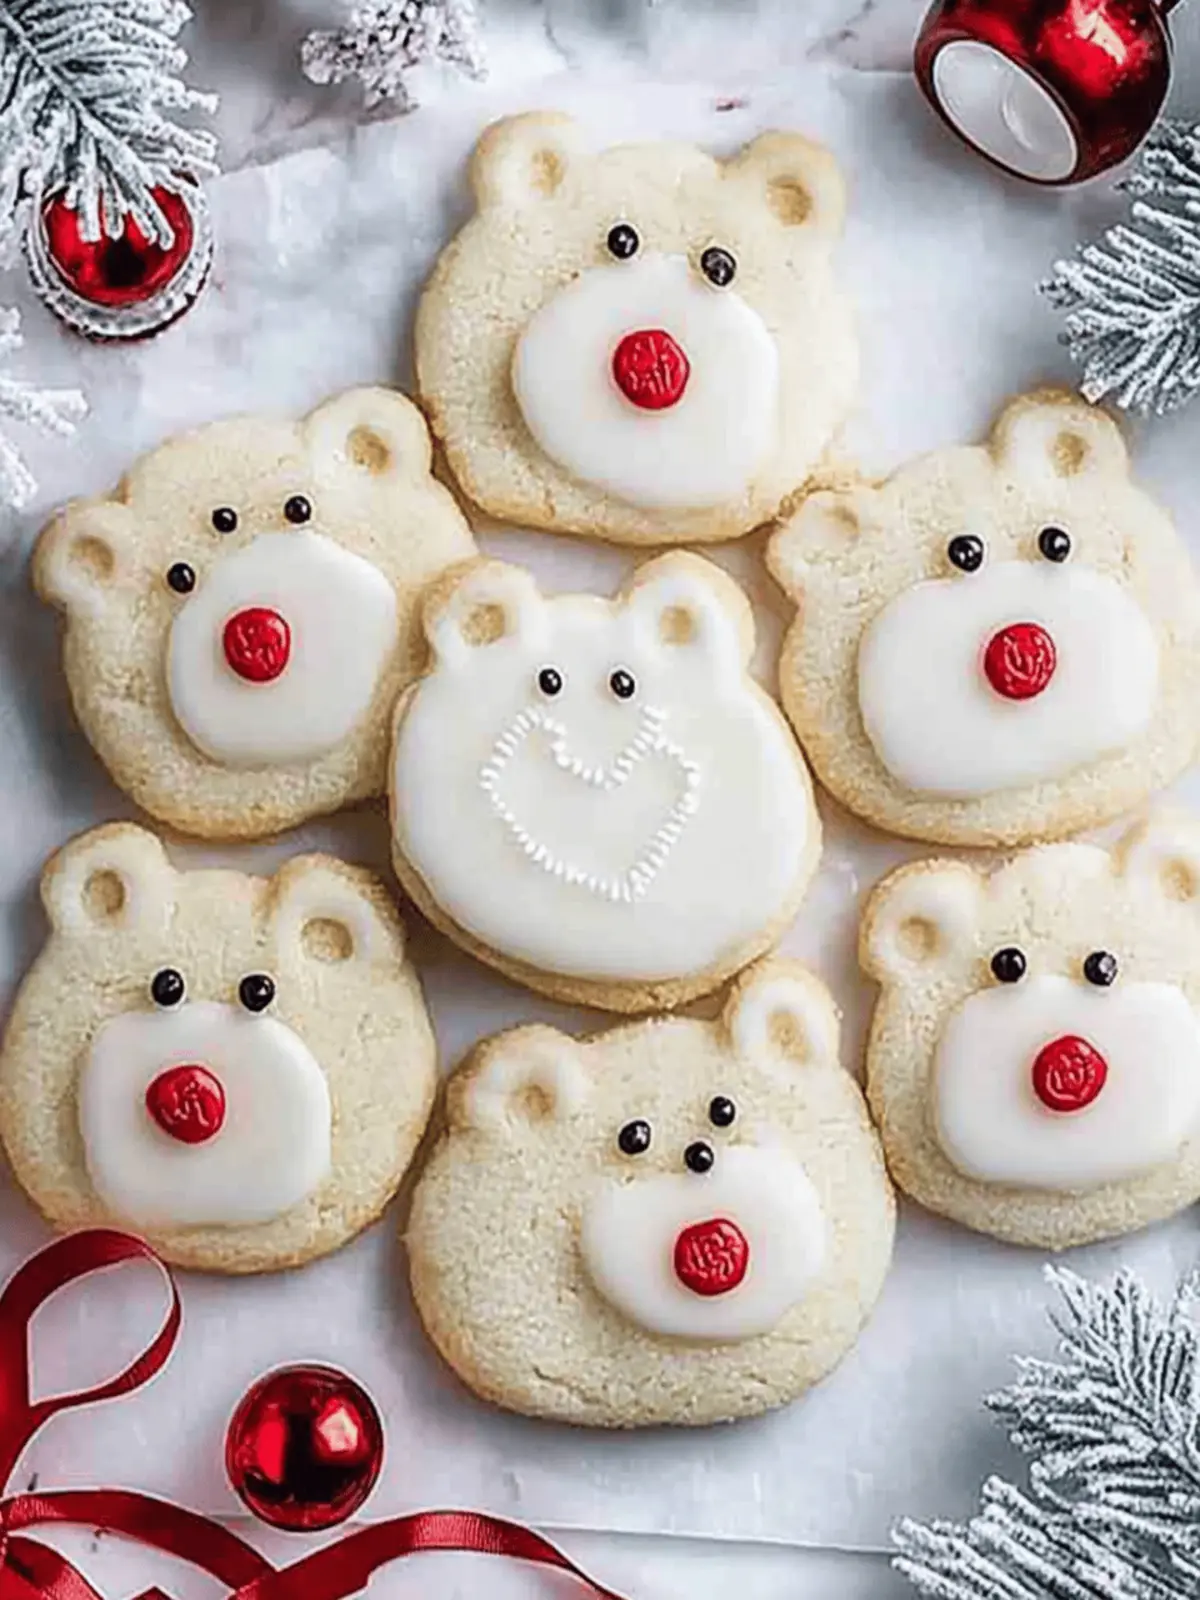
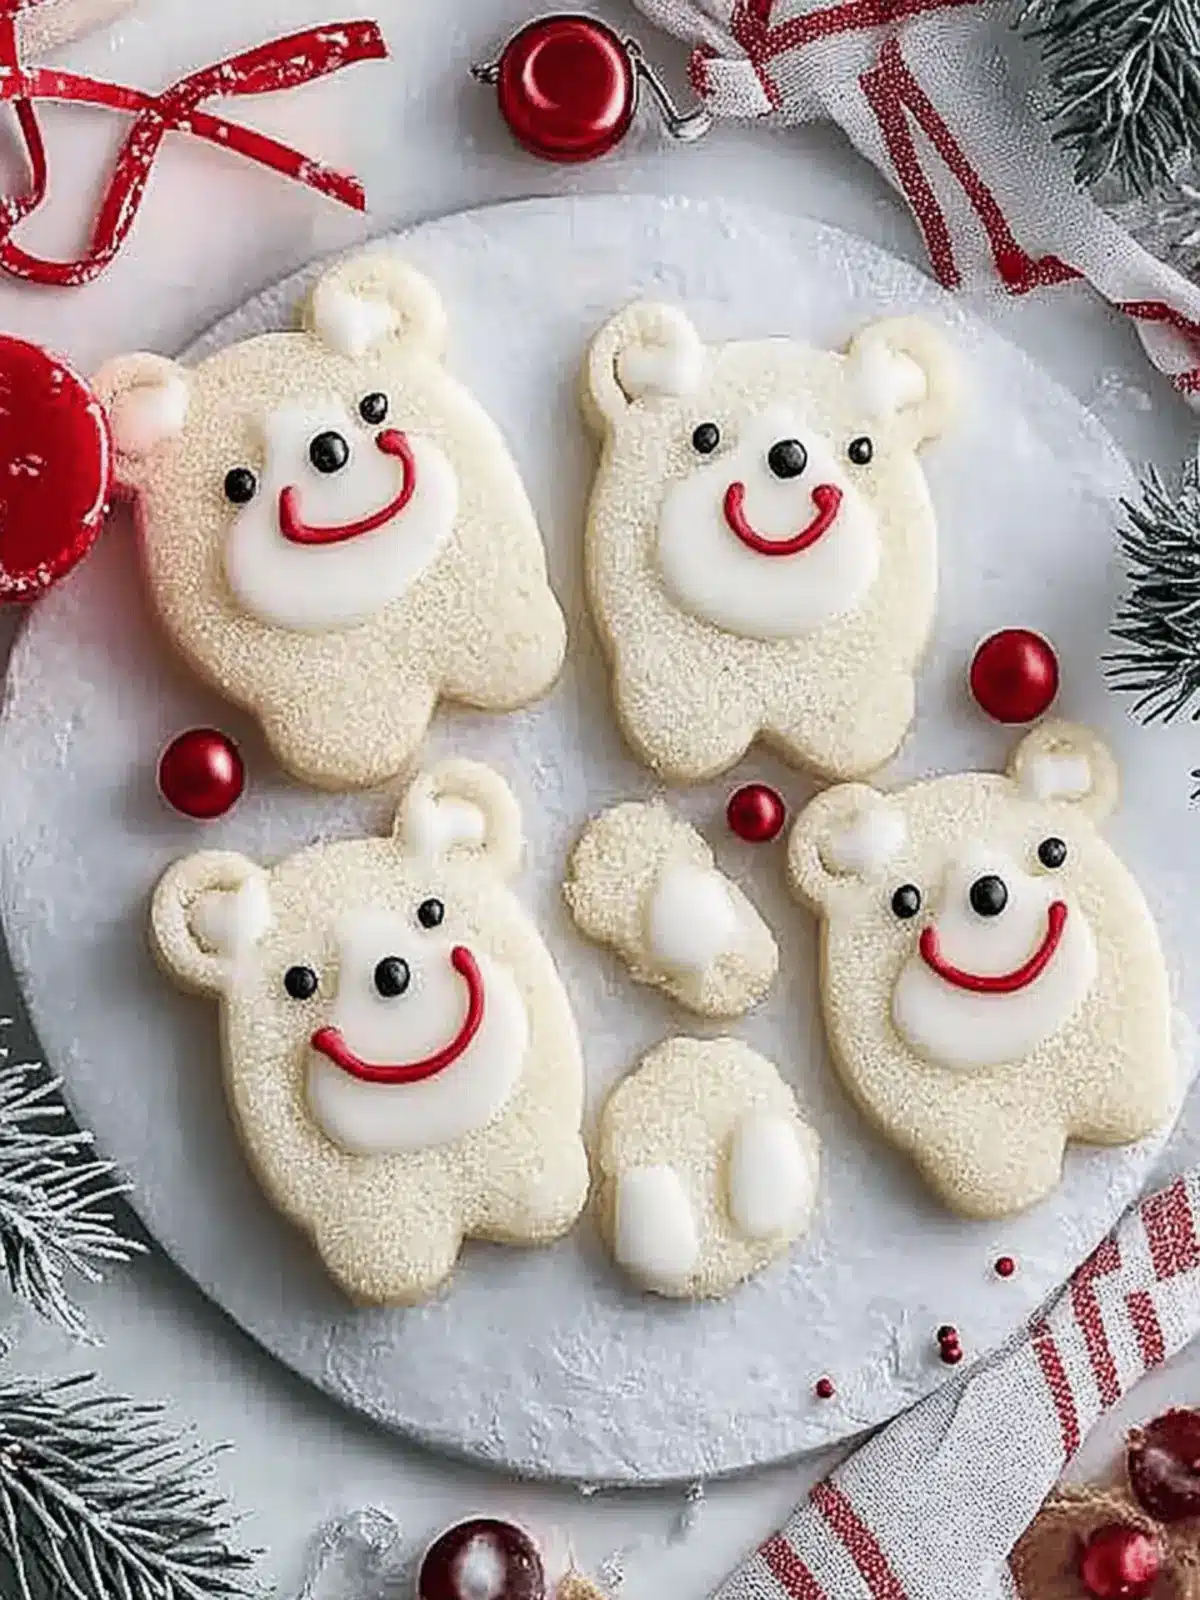
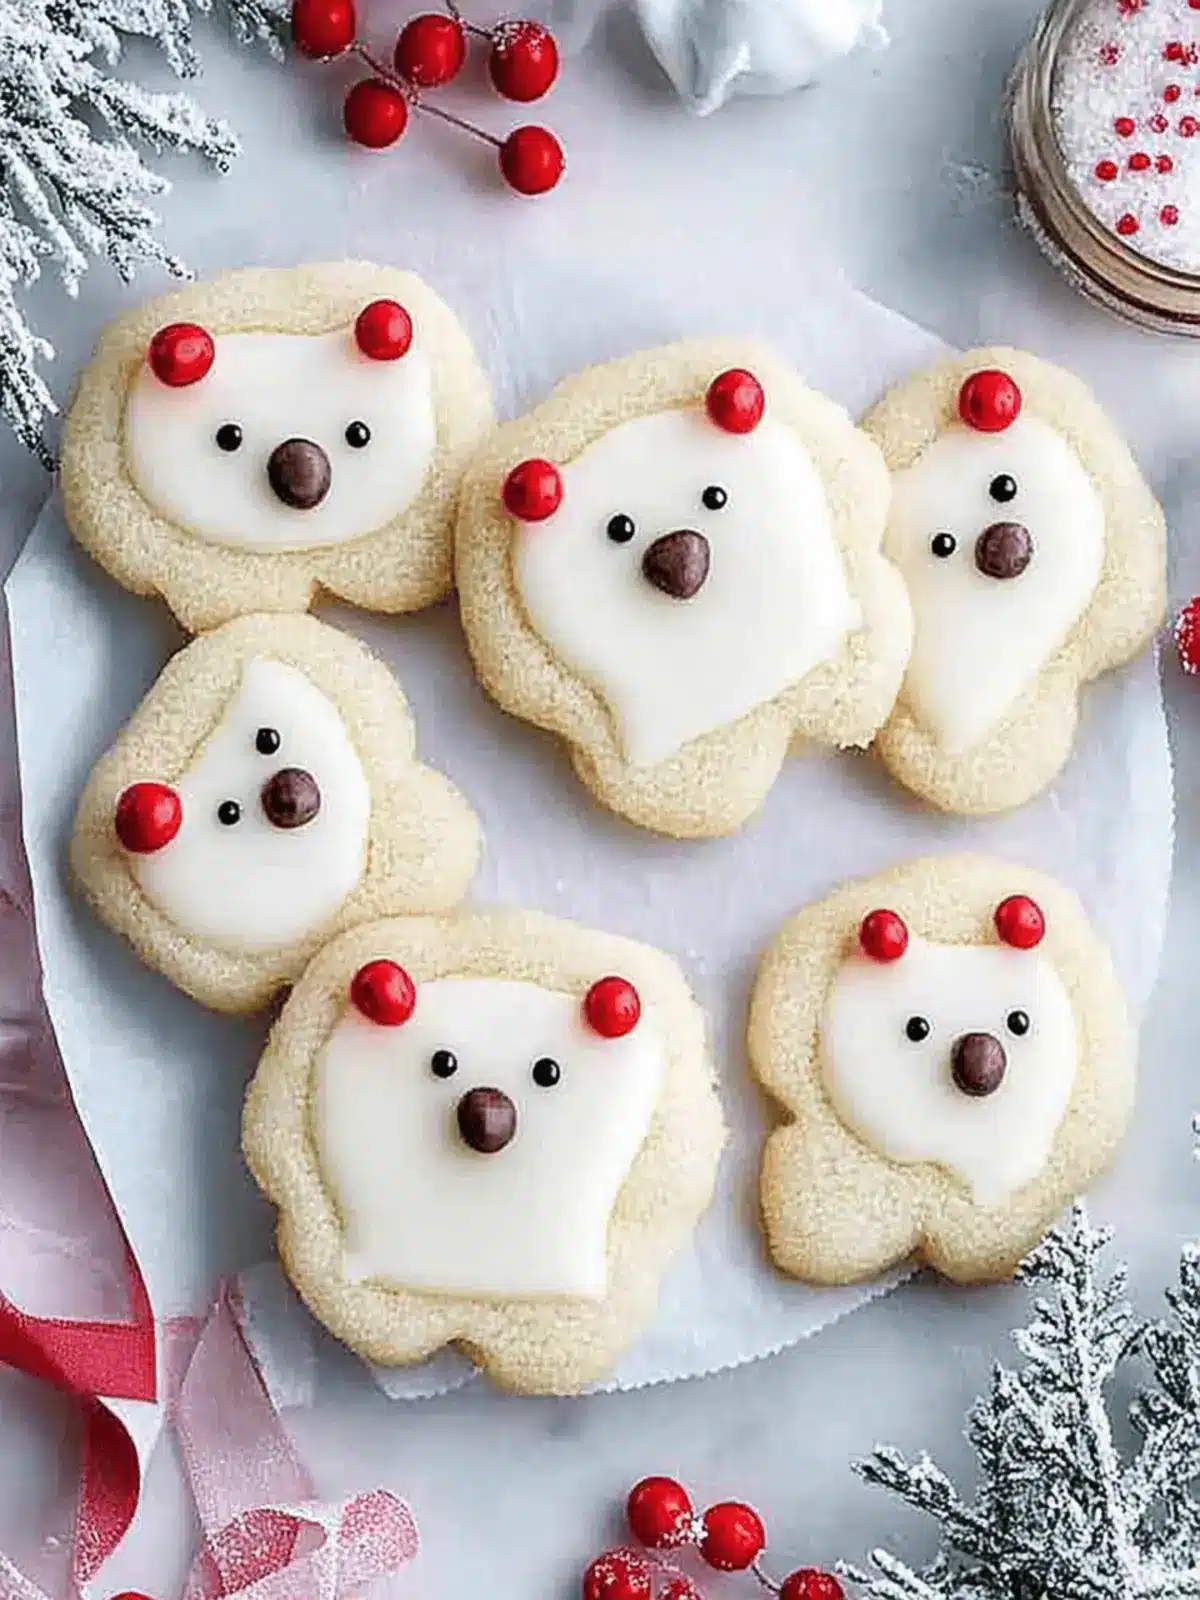
When the chill of winter sets in, there’s something undeniably comforting about filling the kitchen with the sweet scent of baking. That’s exactly how I discovered the delight of these Soft & Chewy Polar Bear Cookies. Picture this: a cozy afternoon, flour dusting the counters and the vibrant decorations waiting to bring these adorable little bears to life. These cookies are not just a treat; they’re a festive centerpiece that will bring smiles to faces of all ages.
Their soft, chewy texture paired with delectable buttercream frosting makes them an irresistible indulgence. Whether you’re hosting a holiday gathering or simply looking to brighten up a dull day, decorating these playful cookies transforms the mundane into a magical moment. Grab your mixing bowls and let’s create a batch that not only tastes incredible but is also fun to make!
Why are Polar Bear Cookies a must-try?
Cute and Festive: These cookies are perfect for holiday gatherings, bringing a festive vibe that delights everyone.
Soft & Chewy Texture: The unique combination of butter and cream cheese creates a mouthwatering softness, ensuring each bite is a treat.
Endless Customization: Let your creativity shine! Decorate these adorable bears with colorful frosting and toppings, creating variations for any occasion.
Family Favorite: Kids and adults alike will adore both the crafting and enjoying of these playful cookies!
Easy to Make: With simple ingredients and straightforward steps, they’re a great choice for bakers of all skill levels.
Make this holiday season extra special with these charming and delicious Polar Bear Cookies!
Polar Bear Cookies Ingredients
For the Cookie Dough
• Unsalted butter – Adds richness and moisture; ensure it’s at room temperature for easier mixing.
• Full-fat cream cheese – Provides a soft texture and tangy flavor; can substitute with mascarpone if needed.
• Granulated sugar – Sweetens the cookies; brown sugar can be used for a richer flavor.
• Large egg – Binds the ingredients together and adds structure; substitute with a flax egg for a vegan option.
• Vanilla extract – Enhances flavor profile; vanilla bean paste can be used for a more intense flavor.
• All-purpose flour – Provides structure to the cookies; gluten-free flour blend can be used for a gluten-free version.
• Cornstarch – Gives a tender, soft texture; can substitute with additional flour if unavailable.
• Baking powder – Leavens the cookies to give a lighter texture; baking soda may be used in a pinch.
• Fine salt – Balances sweetness; don’t skip, as it enhances flavor.
For the Buttercream Frosting
• Powdered sugar – Sweetens and thickens the buttercream frosting; use less for a lighter frosting.
• Heavy whipping cream – Lightens frosting and provides a smooth consistency; milk can be used, but results may vary.
For Decoration
• Sanding or granulated sugar – Provides texture and sparkle; colored sugars or sprinkles can be used as an alternative.
• Large chocolate chips – Used for the bears’ noses; substitute with dark chocolate or mini chocolate chips.
• Black and red/pink sprinkles – For facial features and decoration; fondant can be used for a polished look.
Unlock the magic of festive celebrations with these delightful Polar Bear Cookies!
How to Make Polar Bear Cookies
-
Prepare the Dough: In a mixing bowl, cream together the unsalted butter and cream cheese until fluffy. Gradually add granulated sugar, then incorporate the egg and vanilla extract before mixing in the dry ingredients—flour, cornstarch, baking powder, and salt—until just combined.
-
Chill the Dough: Divide the dough into two equal portions, wrap them in plastic wrap, and chill in the refrigerator for at least 2 hours. This step is key for shaping!
-
Preheat & Roll: Preheat your oven to 350°F (175°C). On a floured surface, roll out the chilled dough to about ⅓ inch thick. Use a round cutter to create larger circles for the bear’s body and smaller circles for their ears.
-
Shape and Chill: Attach the smaller circles as ears to the body cookies by gently pressing them. Place the cut cookies back in the fridge for additional chilling to help them retain their shape during baking.
-
Bake: Place the cookies on a lined baking sheet and bake for 12-14 minutes, or until their edges are set but not browned. Allow them to cool on racks for easy frosting later.
-
Frosting Prep: While the cookies cool, prepare the buttercream by beating the butter until creamy. Add vanilla extract and a pinch of salt, then gradually mix in powdered sugar and heavy cream until you reach a smooth, spreadable consistency.
-
Decorate: Once the cookies have cooled completely, frost them generously with the buttercream, dip them in sanding sugar, and add chocolate chips for noses. Use sprinkles to create adorable facial features! Enjoy these playful delights with family and friends.
Optional: For an extra festive touch, add colored sprinkles to match the season!
Exact quantities are listed in the recipe card below.
What to Serve with Polar Bear Cookies?
When it comes to enjoying Polar Bear Cookies, it’s all about creating the perfect festive atmosphere. These whimsical treats deserve delightful accompaniments that enhance their charm and flavor.
-
Rich Hot Chocolate: The creamy texture and chocolatey warmth perfectly complement the cookies’ sweetness, making every bite feel like a cozy hug.
-
Milk: A classic pairing, the simplicity of cold milk balances the soft cookie texture while enhancing the flavors of the creamy frosting.
-
Winter Fruit Salad: Brighten up the dessert table with a refreshing mix of citrus and berries, adding a burst of color and a zesty contrast to the indulgent cookies. Let this vibrant dish awaken the senses!
-
Coffee: A smooth, warm cup of coffee provides a comforting contrast to the cookies, enhancing the flavors and creating a delightful afternoon treat. The rich aroma pulls you into the winter nostalgia.
-
Nutty Biscotti: Dip these crunchy delights into your coffee, offering a lovely textural contrast alongside the soft Polar Bear Cookies, making for an exciting taste adventure.
-
Caramel Drizzle: Drizzle over cookies for an extra touch of sweetness and sophistication. The rich, buttery flavor pairs beautifully with the light, airy frosting.
With these delicious pairings, you are sure to create unforgettable moments while sharing the joy of your beautiful Polar Bear Cookies!
Tips for the Best Polar Bear Cookies
• Soft Dough: Ensure your butter and cream cheese are at room temperature for easy mixing and a tender dough.
• Avoid Tough Cookies: Mix your dough just until combined; overworking can lead to a dense texture instead of soft Polar Bear Cookies.
• Chill Important: Don’t skip the chilling step! It helps maintain the cookies’ shape, preventing excessive spreading during baking.
• Watch the Bake Time: Bake until edges are just set; erring on the side of underbaking keeps these cookies soft and chewy.
• Decorate Creatively: Let your imagination run wild! Use various sprinkles and frosting colors to make your Polar Bear Cookies uniquely festive.
Make Ahead Options
These Polar Bear Cookies are a fantastic choice for those looking to simplify their holiday baking! You can prepare the cookie dough up to 24 hours in advance by wrapping it tightly and refrigerating it. For even more time-saving convenience, bake the cookies without frosting and store them in an airtight container for up to 5 days or freeze them for a month. When ready to decorate, simply thaw and frost them right before serving to keep them just as delightful. Maintaining their softness is key, so avoid overbaking them. With these make-ahead tips, you can enjoy the festive fun without the last-minute rush!
Polar Bear Cookies Variations
Get ready to sprinkle some extra fun into your baking adventures with these delightful twists!
- Colorful Frosting: Use bright food coloring to match holidays or themes, making each bear unique and festive.
- Chocolate Dough: Replace some of the flour with cocoa powder for a rich, chocolatey version that’s still irresistibly soft and chewy.
- Nutty Surprise: Add chopped nuts, like almonds or hazelnuts, to the dough for a delightful crunch and added flavor. Imagine the delightful contrast!
- Minty Freshness: Incorporate peppermint extract into the buttercream frosting for a refreshing holiday twist. The cool aftertaste will transport you to winter wonderland!
- Vegan Option: Swap the egg for a flax egg, use dairy-free butter, and choose a vegan cream cheese for a kid-friendly vegan version everyone can enjoy.
- Dipped in Chocolate: For a decadent touch, dip half of each cookie in melted chocolate before decorating. Each bite will be a chewy, chocolatey bliss!
- Savory Touch: Add a pinch of cinnamon or nutmeg to the dough for a hint of warmth that pairs beautifully with the sweetness.
- Surprise Fillings: Before baking, add a small dollop of jam or Nutella in the center of the cookie before sealing with the ear pieces for a delightful surprise.
Let your creativity fly, and each batch of Polar Bear Cookies will turn into your very own festive masterpiece!
How to Store and Freeze Polar Bear Cookies
Room Temperature: Store frosted cookies in an airtight container for up to 2 days to maintain softness.
Fridge: You can refrigerate decorated cookies for up to 5 days if you prefer a chilled treat. Make sure they are in an airtight container to avoid drying out.
Freezer: Freeze unfrosted cookies for up to a month. Once cooled, wrap them tightly in plastic wrap and place them in a freezer-safe bag.
Reheating: When ready to enjoy, simply thaw at room temperature and frost as desired!
Polar Bear Cookies Recipe FAQs
What kind of butter is best for Polar Bear Cookies?
Use unsalted butter at room temperature for the best results. It adds richness and moisture while allowing better mixing of ingredients. If you only have salted butter, reduce or omit additional salt in the recipe.
How long can I store Polar Bear Cookies?
Frosted cookies can be stored in an airtight container at room temperature for up to 2 days. If you prefer them chilled, they can last in the fridge for up to 5 days. Just remember to seal them well to keep them soft!
Can I freeze Polar Bear Cookies?
Absolutely! You can freeze unfrosted cookies for up to a month. Once completely cooled, wrap them tightly in plastic wrap, then place them in a labeled freezer-safe bag. When you’re ready to enjoy, just thaw at room temperature, and frost them as desired.
What should I do if my cookie dough is too sticky?
If your dough is sticky, this could be due to using warm ingredients or not enough flour. You can add a tablespoon of flour at a time until the dough is manageable. If you find it sticking to your hands, you can chill it in the fridge for 15-30 minutes to make it easier to handle.
Are Polar Bear Cookies suitable for those with allergies?
Since these cookies contain gluten, dairy, and eggs, they’re not suitable for gluten-free, dairy-free, or vegan diets unless you make the necessary substitutions. You can use gluten-free flour, a flax egg, and dairy-free butter or cream cheese for a customized version that accommodates dietary restrictions.
How can I make my frosting colors more vibrant?
For bright buttercream frosting, use gel food coloring instead of liquid food coloring. Gel colors are more concentrated and won’t change the consistency of your frosting. Just a little goes a long way! Start with a tiny amount and mix until you reach your desired shade.
Delicious Polar Bear Cookies: Chewy Fun for the Whole Family
Ingredients
Equipment
Method
- Prepare the Dough: In a mixing bowl, cream together the unsalted butter and cream cheese until fluffy. Gradually add granulated sugar, then incorporate the egg and vanilla extract before mixing in the dry ingredients—flour, cornstarch, baking powder, and salt—until just combined.
- Chill the Dough: Divide the dough into two equal portions, wrap them in plastic wrap, and chill in the refrigerator for at least 2 hours.
- Preheat & Roll: Preheat your oven to 350°F (175°C). On a floured surface, roll out the chilled dough to about ⅓ inch thick.
- Shape and Chill: Attach the smaller circles as ears to the body cookies by gently pressing them. Place the cut cookies back in the fridge for additional chilling.
- Bake: Place the cookies on a lined baking sheet and bake for 12-14 minutes. Allow them to cool on racks.
- Frosting Prep: Prepare the buttercream by beating the butter until creamy. Add vanilla extract and a pinch of salt, then gradually mix in powdered sugar and heavy cream.
- Decorate: Once the cookies have cooled completely, frost them generously with buttercream, dip them in sanding sugar, and add chocolate chips for noses.

