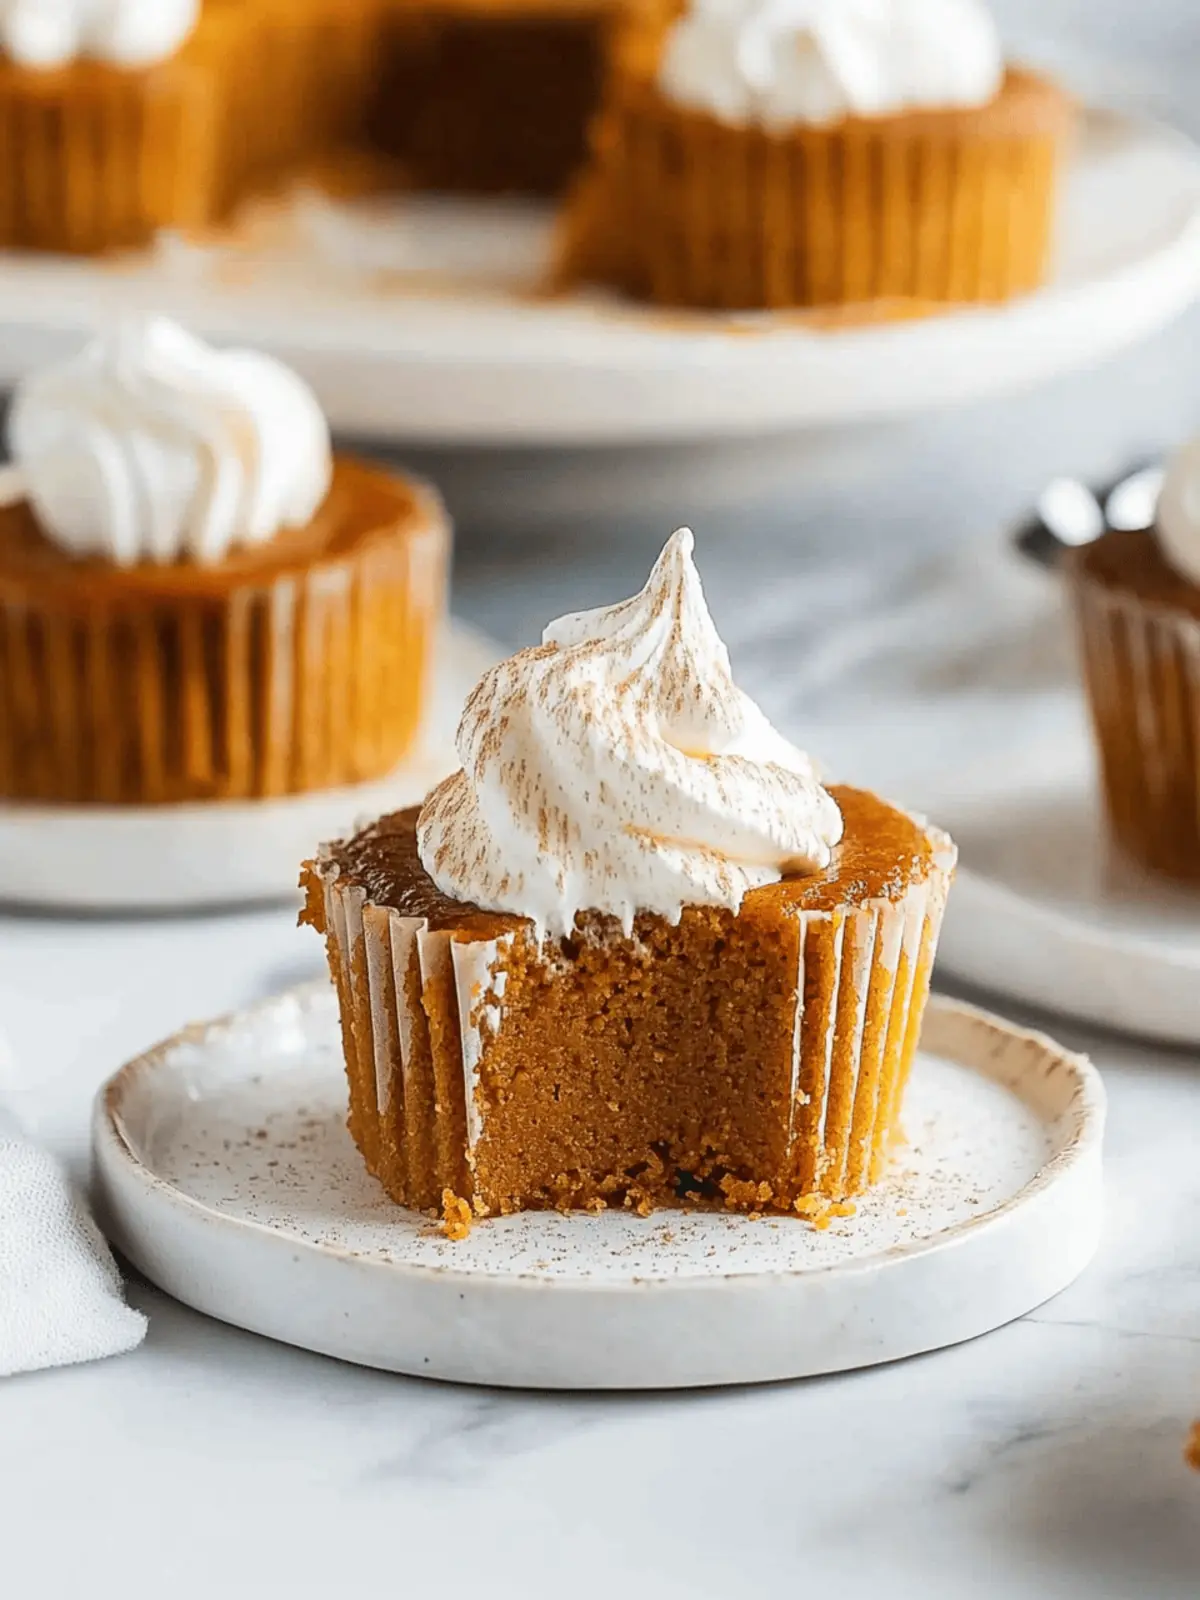
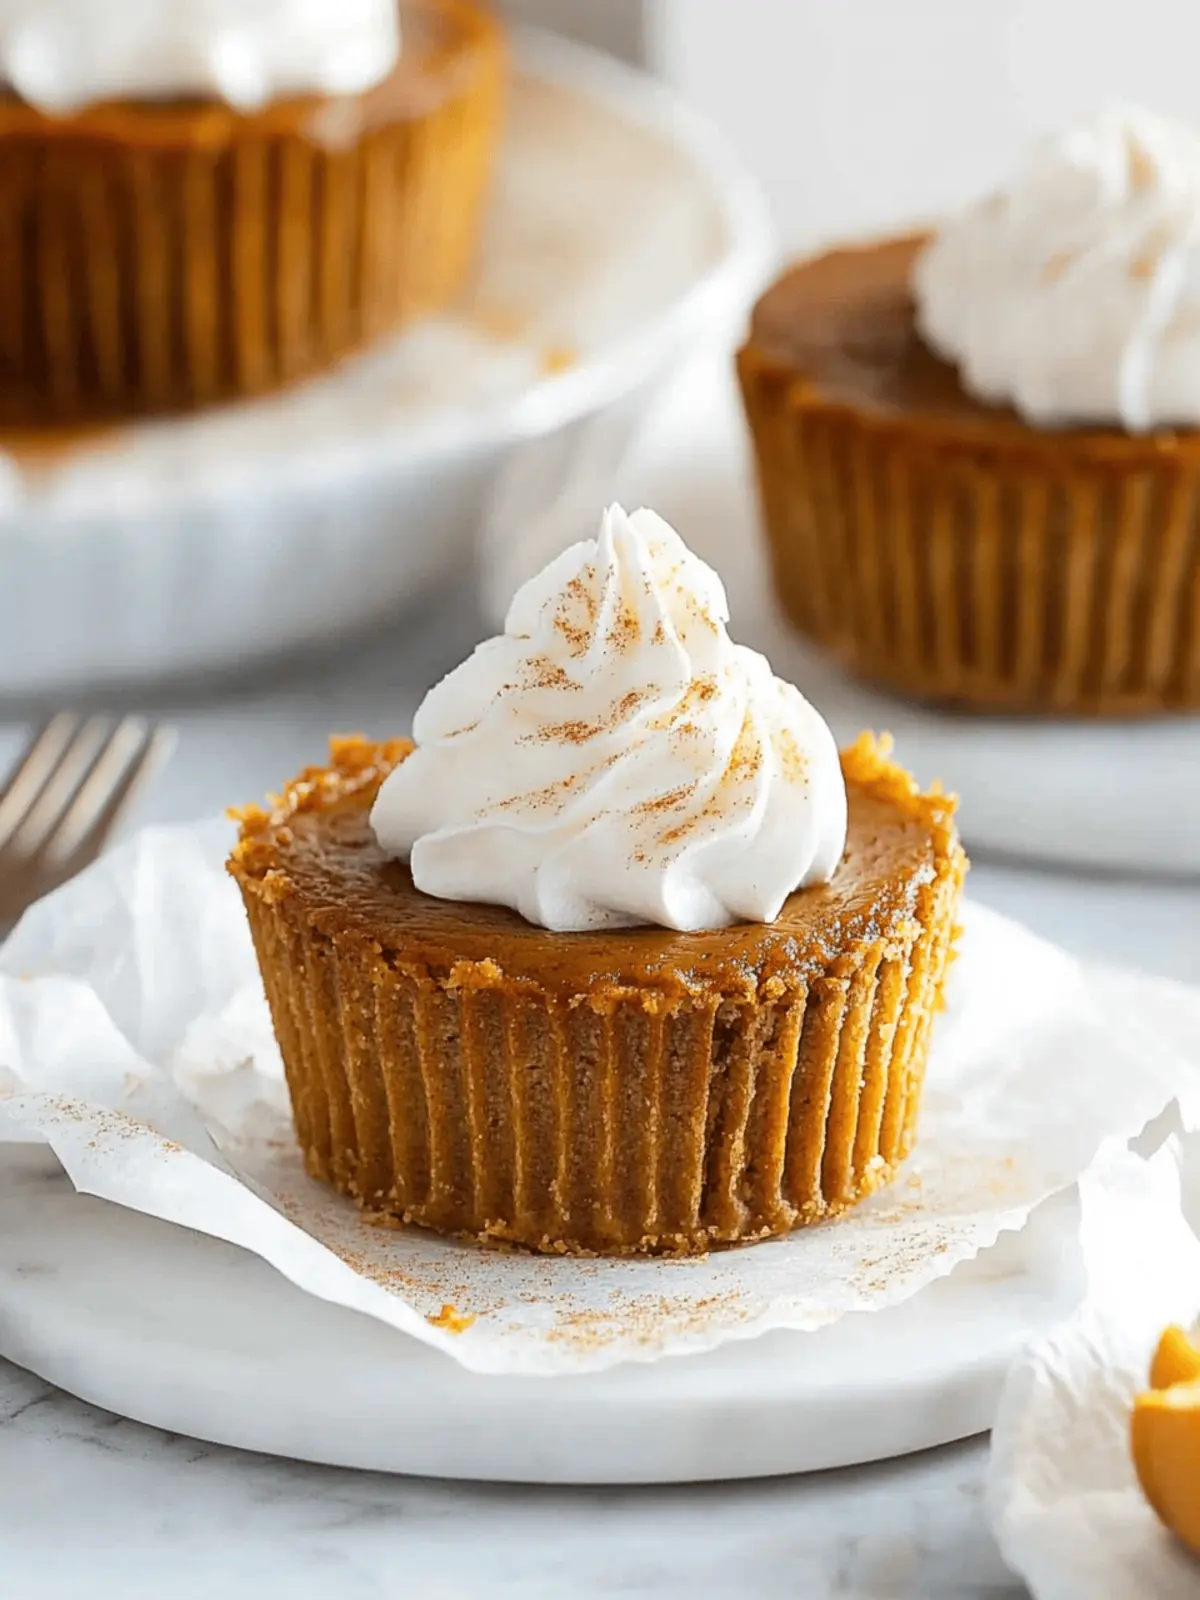
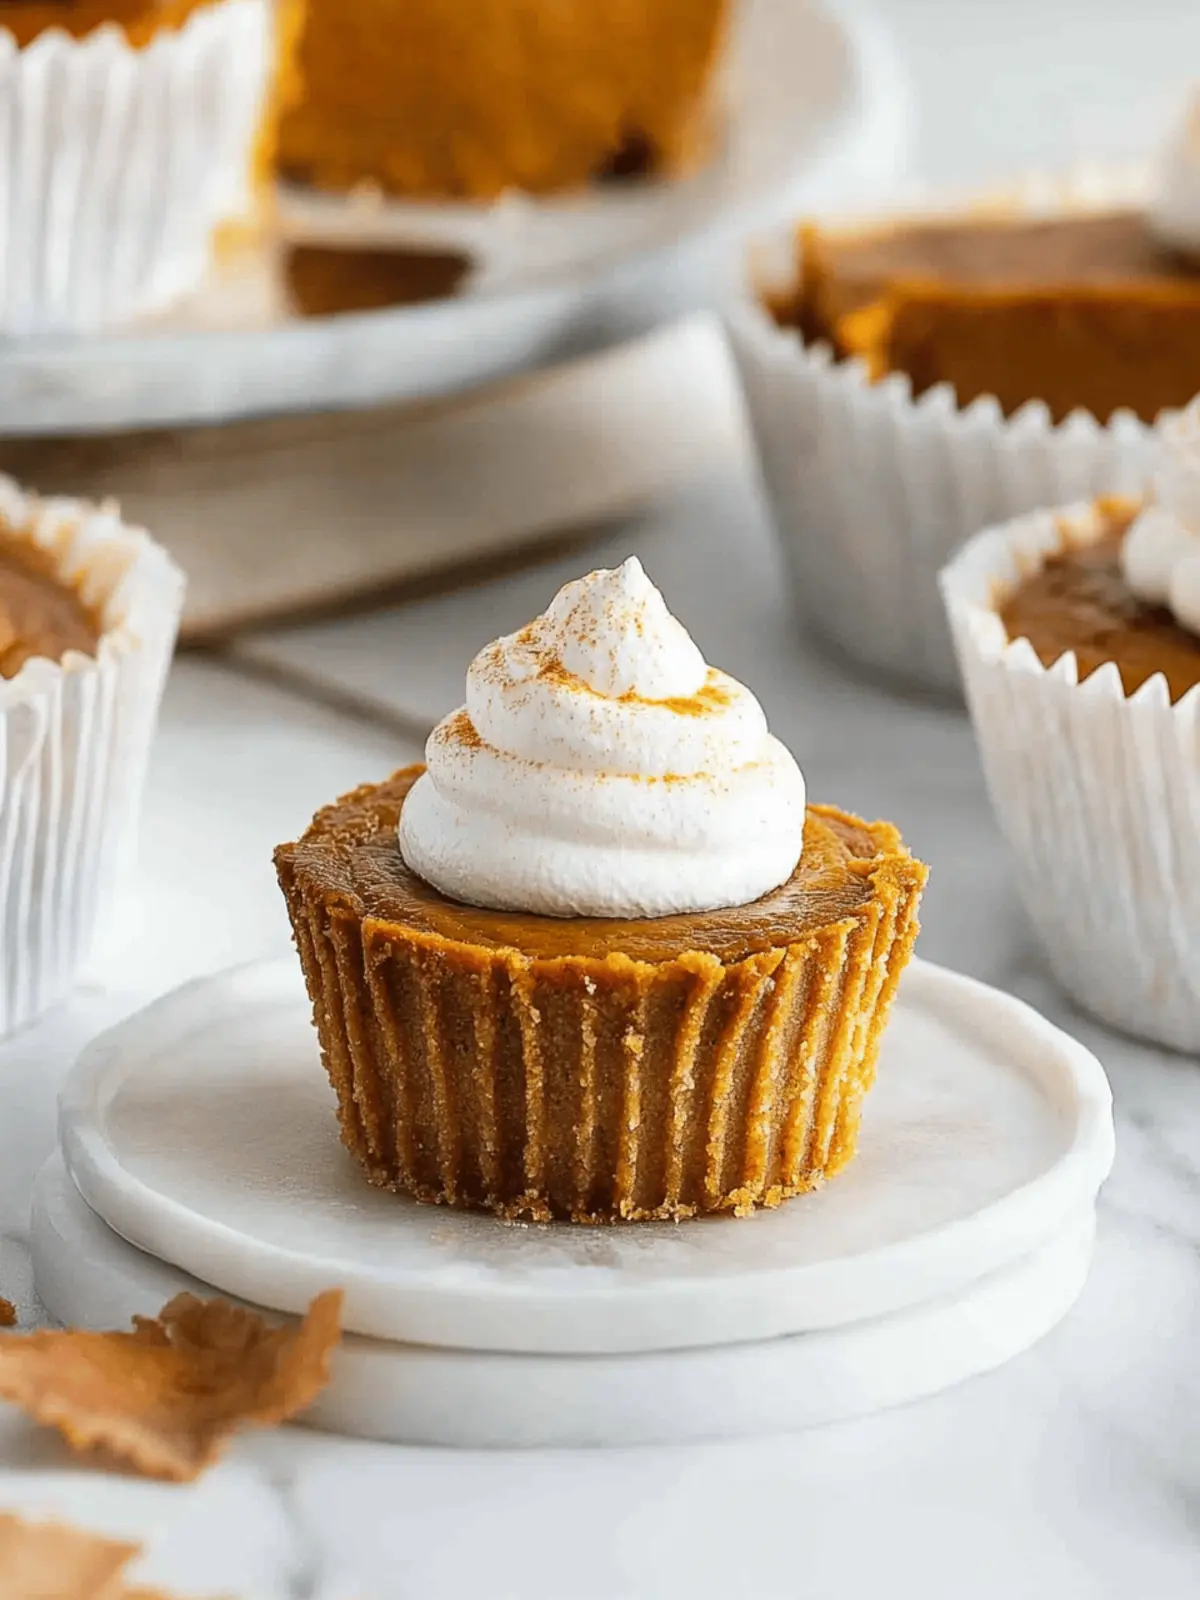
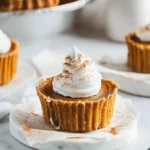
As the leaves turn golden and the air becomes crisp, the thought of autumn gatherings fills my heart with warmth. One of my favorite ways to celebrate this cozy season is with an indulgent yet wholesome treat—Pumpkin Cupcakes! The rich scent of pumpkin puree mingling with aromatic spices takes me back to family kitchens, where laughter danced alongside the smell of baked goods.
These cupcakes strike the perfect balance between sweetness and spice, and what’s more? They’re gluten-free and dairy-free, making them a fantastic option for everyone at your table. If you’re tired of the same old desserts or, like me, found yourself rifling through your pantry in search of inspiration, then these delightful little cakes are the answer to your culinary prayers. They’re incredibly simple to whip up, whether you’re a seasoned chef or a home cook looking to impress. Join me on this delicious journey and let’s turn that pumpkin puree into something magical!
Why love Gluten-Free Crustless Pumpkin Pie?
Irresistible flavor: These pumpkin cupcakes combine the richness of pumpkin puree with a medley of warm spices, creating a mouthwatering dessert that everyone will crave.
Effortlessly simple: Even novice bakers can master this recipe quickly, with straightforward steps and easily accessible ingredients.
Health-conscious twist: Free from gluten and dairy, these cupcakes cater to dietary needs without sacrificing flavor or fun.
Perfect anytime treat: Whether for a festive gathering or a cozy evening at home, these cupcakes are versatile enough to fit any occasion.
Quick and easy prep: With only 25 minutes in the oven and minimal hands-on time, you’ll be enjoying these delightful treats in no time!
Gluten-Free Crustless Pumpkin Pie Ingredients
For the Cupcakes
• 15 ounce can pumpkin puree – This adds the delicious pumpkin flavor and moistness to your cupcakes.
• 1/2 cup granulated sugar – For that perfect level of sweetness.
• 1/4 cup lightly packed brown sugar – It enhances the depth of flavor with a touch of caramel notes.
• 2 large eggs – They provide structure and moisture, helping the cupcakes rise beautifully.
• 1 large egg yolk – Adds richness to your cupcakes for a more indulgent texture.
• 1 teaspoon pure vanilla extract – This elevates the overall flavor with a hint of warmth.
• 3/4 cup canned coconut milk – Keeps these cupcakes dairy-free while adding creaminess.
• 1/2 cup gluten-free all-purpose flour blend – Ensures a flawless texture for those avoiding gluten.
• 2 teaspoons pumpkin pie spice – This spice blend brings the essence of fall into each bite.
• 1/2 teaspoon salt – A touch of salt balances out the sweetness perfectly.
• 1/4 teaspoon baking soda – Helps the cupcakes rise and become fluffy.
• 1/4 teaspoon baking powder – Works alongside the baking soda for that perfect lift.
For the Topping
• Coconut milk whipped cream – A fluffy, dairy-free topping that complements the cupcakes wonderfully.
How to Make Pumpkin Cupcakes
-
Preheat the oven to 350°F. Prepare a muffin pan by lining it with paper liners or silicone muffin liners, then spray the bottoms and sides generously with cooking spray to prevent sticking.
-
Combine the pumpkin puree, granulated sugar, brown sugar, eggs, egg yolk, vanilla extract, and coconut milk in a large bowl. Stir until the mixture is smooth and well-blended, creating a lovely base.
-
Sift together the gluten-free flour blend, pumpkin pie spice, salt, baking soda, and baking powder in a separate bowl. This will ensure an airy texture to the cupcakes as you combine the ingredients.
-
Mix the dry ingredients into the wet mixture, stirring gently until everything is fully combined. The batter should be thick and velvety, full of autumnal aromas.
-
Scoop the batter into the prepared muffin pan, filling each cup to about three-quarters full. This allows room for the cupcakes to rise beautifully without overflowing.
-
Bake the cupcakes in the preheated oven for 25 minutes. They’re done when a toothpick inserted into the center comes out clean, signaling a delightful treat awaits!
-
Cool the cupcakes in the pan for 30 minutes, then transfer them to the refrigerator for at least 1 hour before serving. This allows the flavors to meld and the cupcakes to firm up. Top with a dollop of coconut milk whipped cream before enjoying!
Optional: Sprinkle some pumpkin pie spice on top for an extra touch of fall flavor.
Exact quantities are listed in the recipe card below.
Pumpkin Cupcake Variations
Discover endless ways to personalize your pumpkin cupcakes and elevate your baking experience!
-
Nutty Twist: Add 1/2 cup chopped walnuts or pecans for a delightful crunch that complements the soft texture.
-
Chocolate Chip Delight: Stir in 1/2 cup dairy-free chocolate chips to create a rich, sweet surprise in every bite. The creamy chocolate pairs beautifully with warm pumpkin flavors.
-
Spicy Kick: Incorporate a dash of cayenne pepper or chili powder to heat things up! This unexpected addition will excite your taste buds with a delightful contrast.
-
Maple Syrup Splash: Substitute granulated sugar with 1/2 cup maple syrup for a lovely maple flavor. It adds sweetness while making the cupcakes even more moist.
-
Fruit Fusion: Replace pumpkin puree with 1 cup of mashed ripe bananas or applesauce for a fruity twist. This variation gives the cupcakes a unique flavor profile and texture.
-
Coconut Lovers: Blend in 1/2 cup shredded coconut for more tropical flair. The chewy texture enhances the overall flavor and gives a nod to the coconut milk in the recipe.
-
Zesty Upgrade: Add the zest of one orange or lemon for a bright, refreshing note. This will awaken your taste buds and bring a lovely zing to the rich pumpkin flavor.
-
Frosting Flare: Experiment with different toppings like chocolate or cream cheese frosting for a truly indulgent treat. A light sprinkle of cinnamon on top also enhances the experience.
What to Serve with Pumpkin Cupcakes?
Savoring pumpkin cupcakes is only the beginning—let’s explore delightful companions that elevate your entire autumn feast!
-
Creamy Mashed Potatoes: The silky texture of mashed potatoes brings comfort and balance to the sweet, spiced flavors of pumpkin cupcakes. A dollop of butter makes them indulgent!
-
Warm Apple Crisp: This classic dessert adds a crunchy texture that beautifully contrasts the softness of the cupcakes. The apple and cinnamon pairing enhances the autumn vibe!
-
Roasted Brussels Sprouts: Crispy and slightly bitter Brussels sprouts add depth and a touch of savory to your meal, balancing out the sweetness of the cupcakes perfectly.
-
Spiced Hot Cider: This warm beverage, infused with cloves and cinnamon, offers a delightful sip that complements the flavors of the pumpkin treats. It envelops you in coziness!
-
Maple Bacon Candied Pecans: These crunchy bites provide a delightful sweetness along with a savory bite, adding a fun twist and creating an irresistible flavor explosion next to your cupcakes.
-
Pumpkin Spice Latte: Embrace the season with this creamy, caffeinated delight, enhancing the pumpkin theme while delivering a comforting warmth that keeps spirits high.
-
Homemade Vanilla Ice Cream: A scoop of this creamy goodness pairs wonderfully with the pumpkin cupcakes, adding a melting contrast that delights the senses. Perfect for those sweet-toothed guests!
Each of these pairings adds its unique charm, making your pumpkin cupcake experience even more magical. Enjoy the warmth of the season!
How to Store and Freeze Pumpkin Cupcakes
Room Temperature: Keep cupcakes in an airtight container at room temperature for up to 2 days. They’re best enjoyed fresh, but a little bit of care will keep them delightful!
Fridge: Store in an airtight container in the fridge for up to 5 days. This will help maintain the moisture while allowing the pumpkin flavor to develop even further.
Freezer: For longer storage, freeze individual cupcakes in airtight bags or containers for up to 3 months. Just make sure to wrap them tightly to prevent freezer burn!
Reheating: To serve, thaw at room temperature or pop them into the microwave for a few seconds. For an added treat, top with fresh coconut milk whipped cream just before serving!
Tips for the Best Pumpkin Cupcakes
• Choose Quality Pumpkin: Use 100% pure pumpkin puree, as not all canned pumpkin is created equal. This ensures the rich flavor in your gluten-free crustless pumpkin pie.
• Room Temperature Ingredients: Let eggs and coconut milk sit at room temperature for a smoother batter. Cold ingredients can result in a lumpy texture.
• Don’t Overmix: Once you combine wet and dry ingredients, stir gently. Overmixing can lead to dense cupcakes—nobody wants that!
• Cool Time Matters: Allow cupcakes to cool completely. Refrigerating them for an hour enhances the flavors and helps the texture firm up.
• Top It Off: For a delightful finish, don’t skip the whipped cream topping. It adds creaminess and complements the sweetness beautifully!
Make Ahead Options
These Pumpkin Cupcakes are perfect for busy home cooks looking to save time during hectic weeks! You can prepare the batter up to 24 hours in advance by mixing the wet and dry ingredients and storing it in an airtight container in the refrigerator. Alternatively, you can bake the cupcakes ahead and store them, tightly wrapped, in the refrigerator for up to 3 days. Just ensure they are fully cooled before refrigerating to maintain moisture. When ready to enjoy, simply top with coconut milk whipped cream before serving, and you’ll have delicious, autumn-inspired treats ready to impress with minimal effort!
Pumpkin Cupcakes Recipe FAQs
What type of pumpkin puree should I use?
Absolutely! For the best flavor, choose 100% pure pumpkin puree. Avoid pumpkin pie filling, as it contains added sugars and spices that can alter the taste of your cupcakes.
How should I store leftover pumpkin cupcakes?
After your delightful cupcakes have cooled, you can store them in an airtight container at room temperature for up to 2 days. If you want to keep them longer, refrigerate them for up to 5 days to help maintain their moisture and flavor.
Can I freeze pumpkin cupcakes?
Very! To freeze your pumpkin cupcakes, first ensure they are completely cool. Then, wrap each cupcake tightly in plastic wrap and place them in a freezer bag. They will stay fresh for up to 3 months. When you’re ready to enjoy, simply thaw them at room temperature, or pop them into the microwave for a few seconds.
What if my pumpkin cupcakes are too dense?
If your cupcakes turn out too dense, this might be due to overmixing the batter once you add the dry ingredients. To prevent this, be gentle and stop mixing as soon as everything is combined. Another tip is to make sure your baking powder and soda are fresh, as expired leavening agents won’t lift your cupcakes properly.
Are these pumpkin cupcakes safe for pets?
No, it’s best to keep these pumpkin cupcakes away from pets. The ingredients in the cupcake, particularly sugar and some spices, can be harmful to them. Always choose pet-safe treats!
Can I substitute any ingredients for allergies?
Absolutely! If you’re looking for alternatives, you can swap regular eggs with flax eggs (1 tablespoon of flaxseed meal mixed with 2.5 tablespoons of water per egg) for a vegan option. You can also try substituting coconut milk with almond milk or oat milk if you don’t have dietary restrictions. Enjoy experimenting!
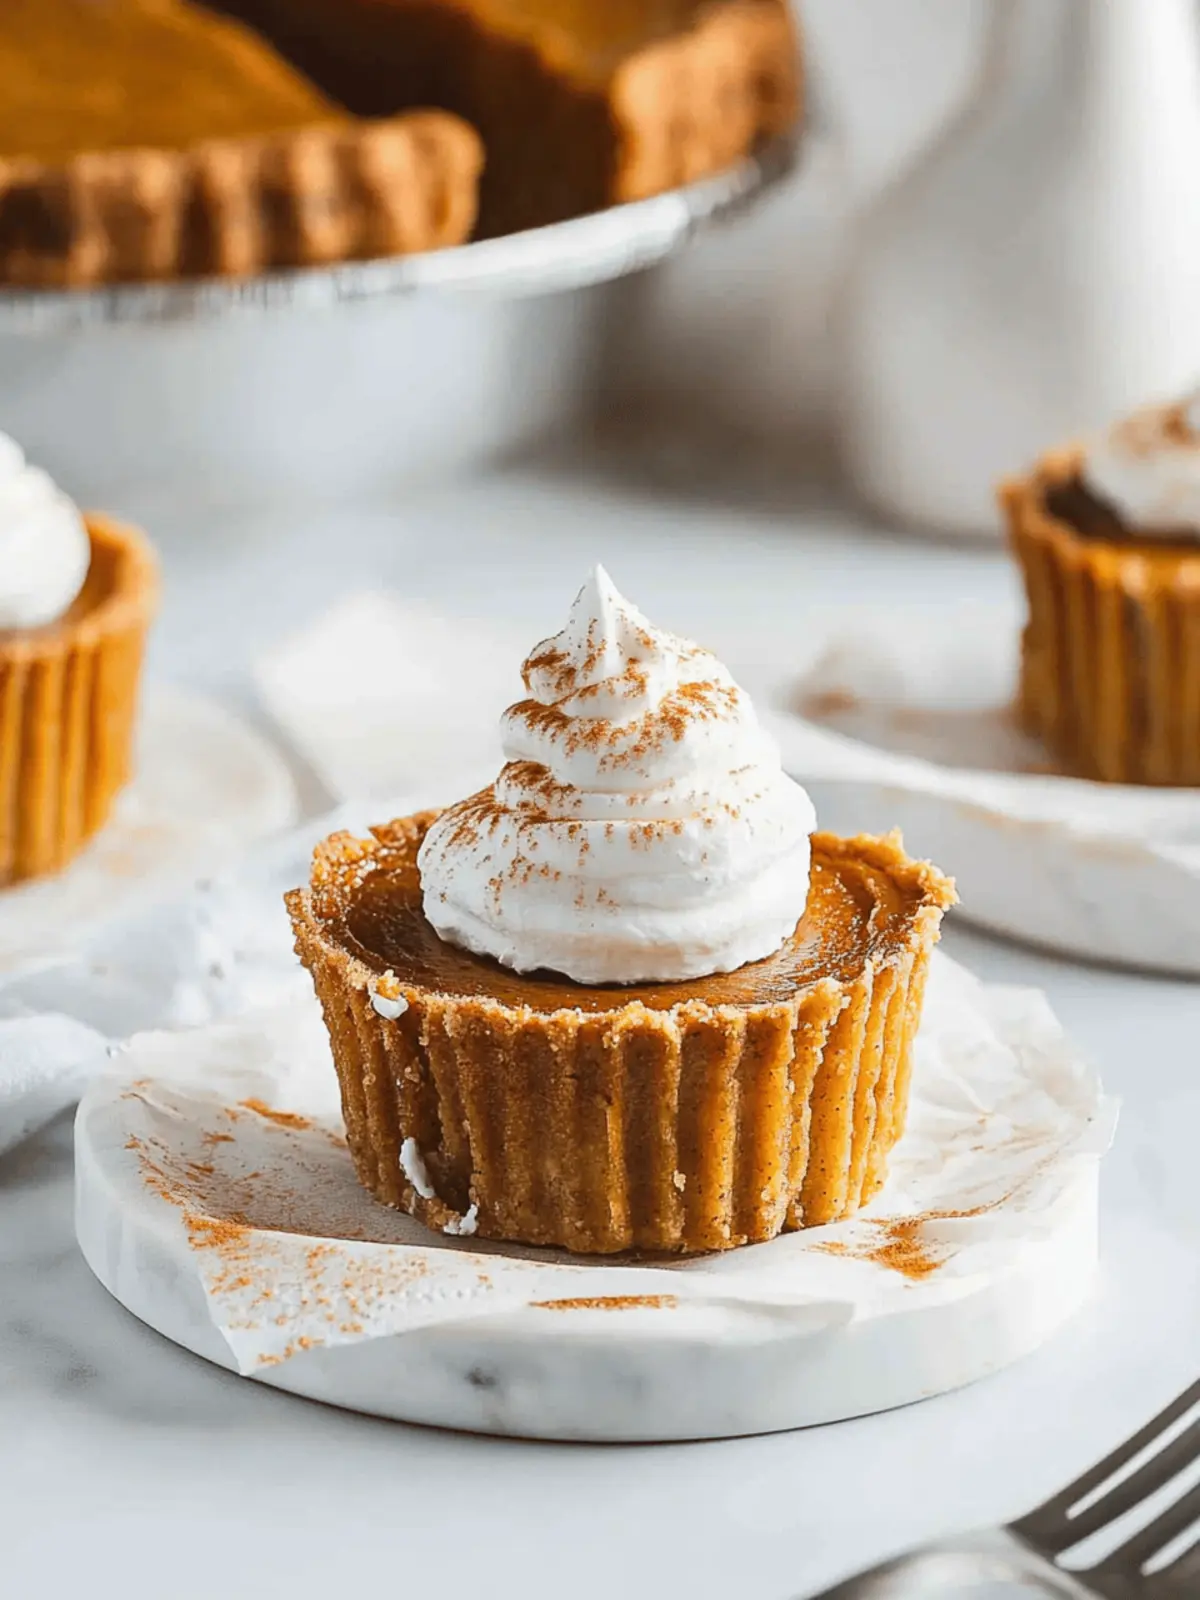
Delicious Gluten-Free Crustless Pumpkin Pie That's Dairy-Free
Ingredients
Equipment
Method
- Preheat the oven to 350°F. Prepare a muffin pan by lining it with paper liners or silicone muffin liners, then spray the bottoms and sides with cooking spray.
- Combine the pumpkin puree, granulated sugar, brown sugar, eggs, egg yolk, vanilla extract, and coconut milk in a large bowl. Stir until smooth.
- Sift together the gluten-free flour blend, pumpkin pie spice, salt, baking soda, and baking powder in a separate bowl.
- Mix the dry ingredients into the wet mixture, stirring gently until fully combined.
- Scoop the batter into the prepared muffin pan, filling each cup to about three-quarters full.
- Bake the cupcakes for 25 minutes or until a toothpick comes out clean.
- Cool the cupcakes in the pan for 30 minutes, then refrigerate for at least 1 hour before serving. Top with whipped cream before enjoying.

