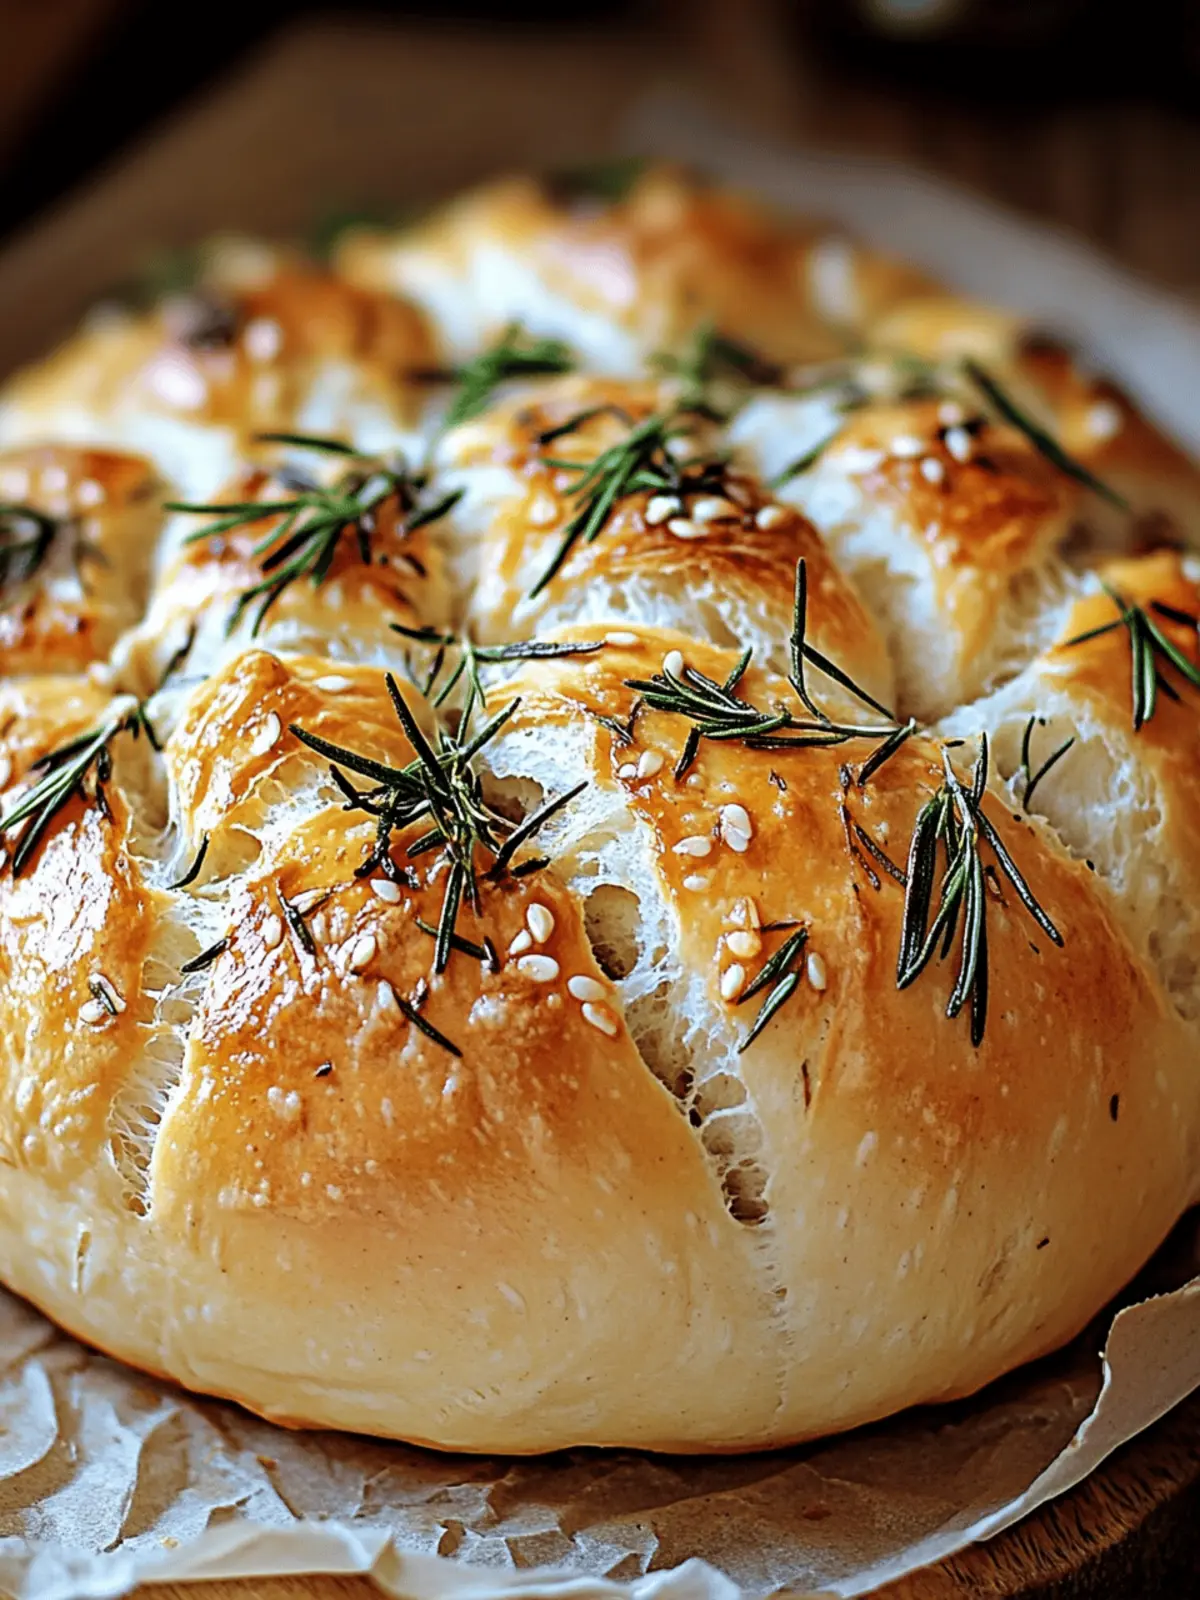
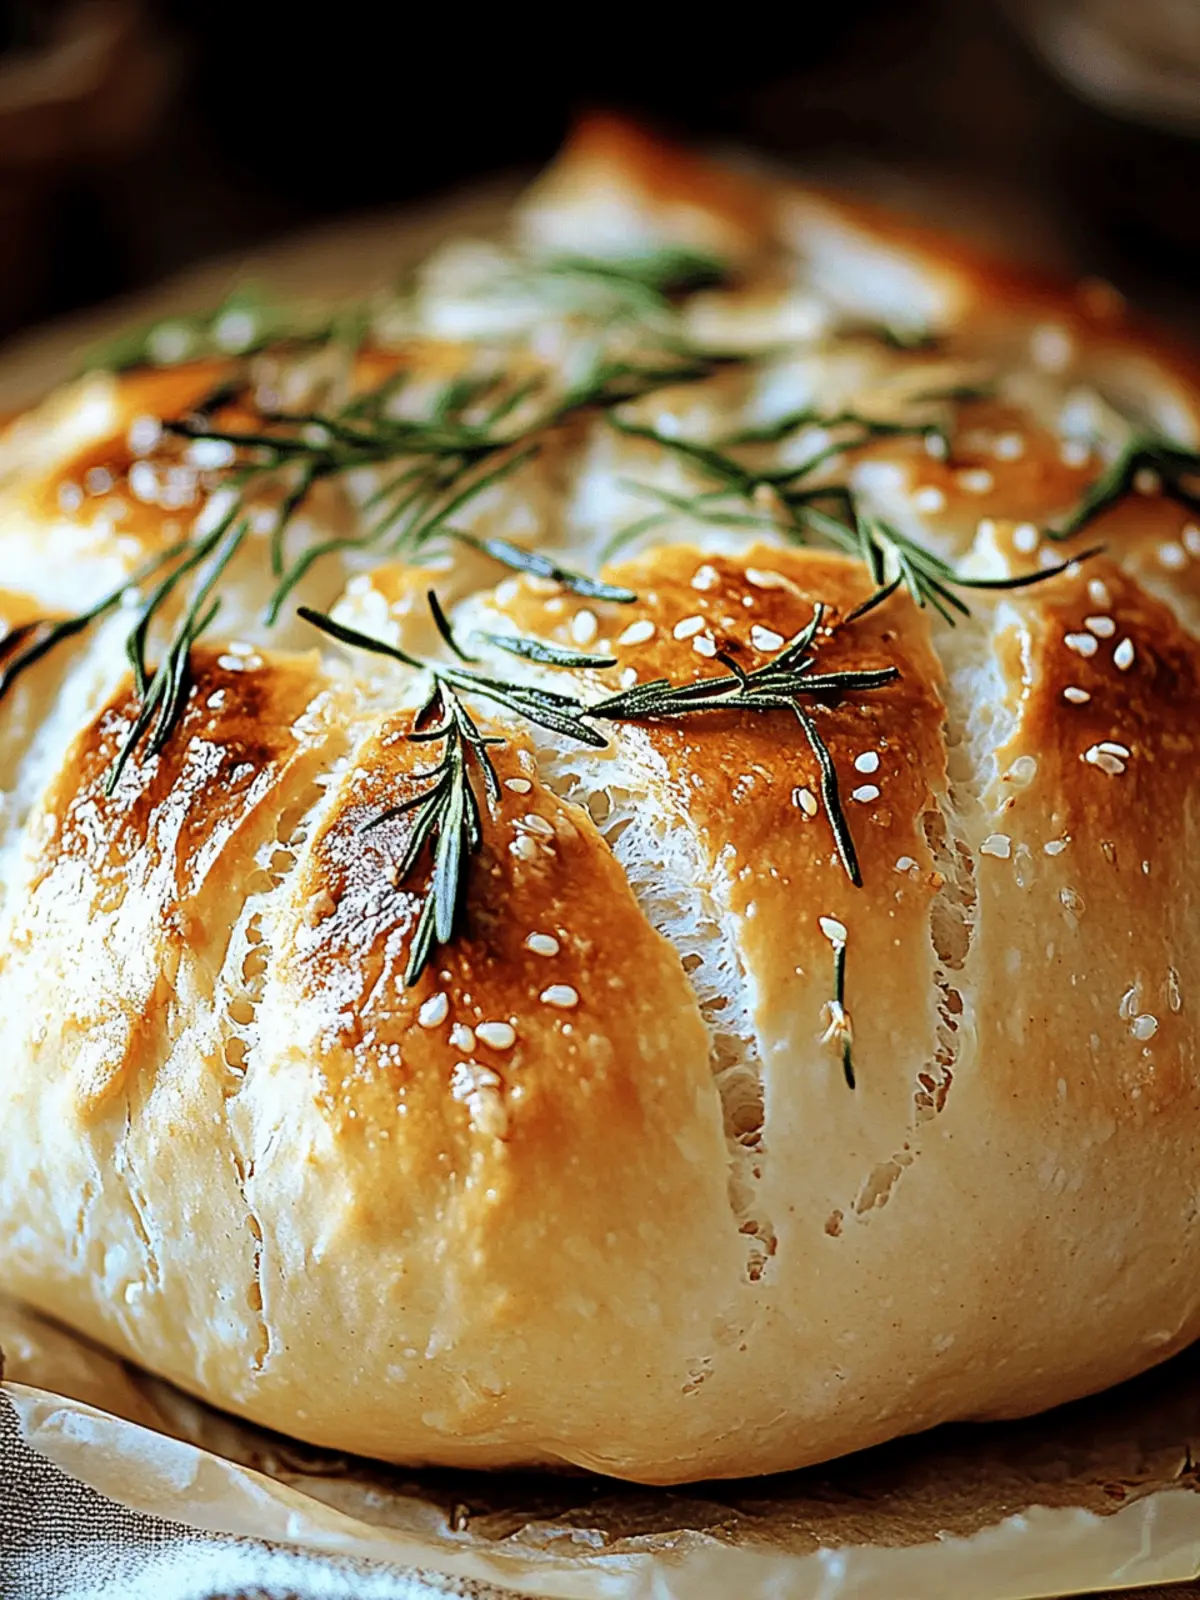
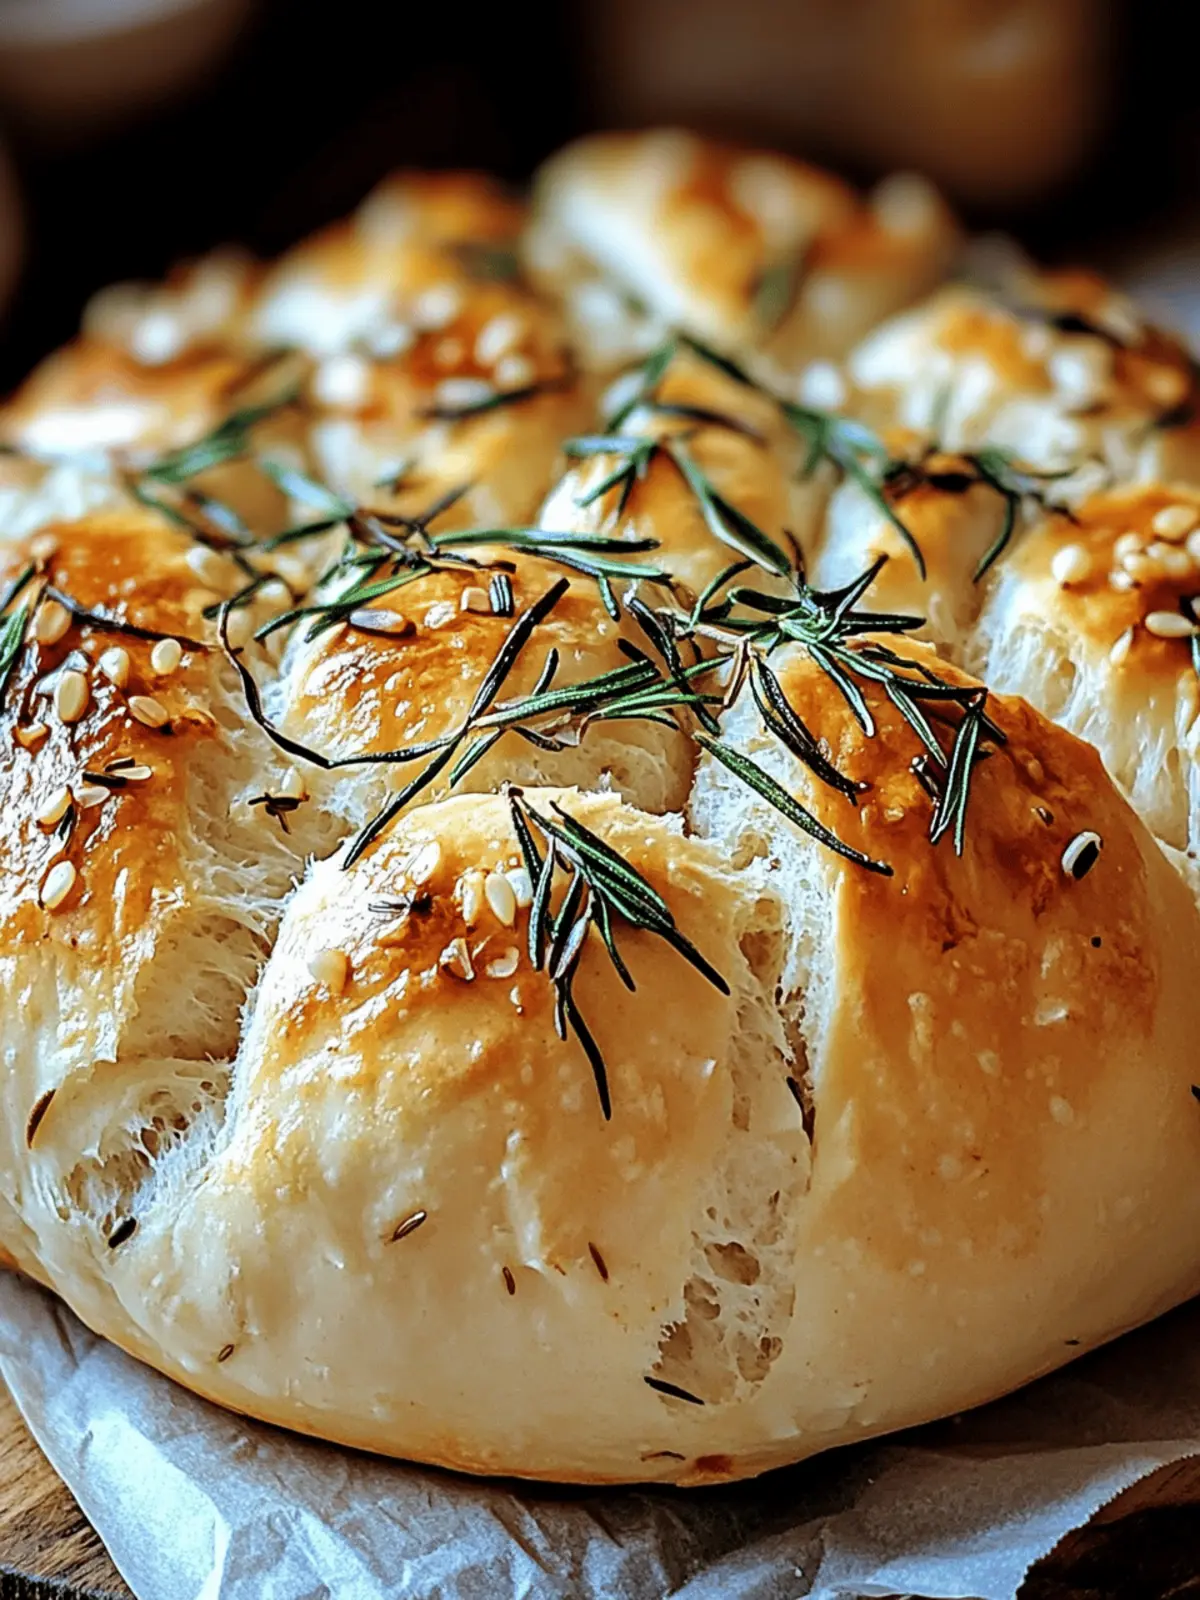
There’s something truly enchanting about the smell of freshly baked bread wafting through your home. When I first decided to make this Easy Roasted Garlic Rosemary Artisan Bread, I knew I was in for a treat, but what I didn’t expect was the wonderful transformation it brought to my kitchen. The moment the roasted garlic mingles with earthy rosemary, it creates an inviting aroma that wraps around you like a warm hug.
This rustic loaf is not just about flavor; it’s about embracing the simplicity of no-knead baking that allows anyone—whether you’re a seasoned chef or trying your hand at bread-making for the first time—to create something extraordinary with minimal effort. No more settling for bland store-bought loaves when you can whip up this artisan delight with ingredients you likely have on hand.
Not only does this homemade bread feature a beautifully crusty exterior, but it’s also soft and chewy on the inside, making it the perfect companion for soups, stews, or a simple spread of butter. Let’s dive into the fun of creating this delicious loaf and bring the bakery experience right to your home!
Why is Easy Roasted Garlic Rosemary Artisan Bread a must-try?
Heavenly Aroma: As you bake, your kitchen will fill with the warm, inviting scent of roasted garlic and fresh rosemary, creating an atmosphere that feels like home.
No-Knead Convenience: Perfect for beginners and busy bakers alike, this straightforward recipe allows you to enjoy artisan bread without the hassle of kneading.
Versatile Pairing: This mouthwatering loaf pairs beautifully with an array of dishes—think hearty soups, vibrant salads, or rubbed with butter for a simple yet satisfying snack.
Rustic Texture: With a golden, crusty exterior and a soft, chewy interior, every bite of this bread offers a delightful contrast that elevates any meal.
Crowd-Pleasing Delight: Serve it at gatherings or family dinners, and watch as everyone reaches for another slice, making it the star of the table.
Easy Roasted Garlic Rosemary Artisan Bread Ingredients
For the Dough
• Whole head garlic – Roasting brings out sweetness and creates a buttery texture when blended into the dough.
• Extra-virgin olive oil (1 tablespoon) – Perfect for roasting garlic and enriching the dough, adding a golden finish to the crust.
• Coarse sea salt & freshly ground black pepper – Essential for enhancing the flavors of the bread; don’t skip for optimal taste.
• Water (1½ cups, room temperature) – Activates the yeast and is crucial for achieving the right dough consistency.
• Active dry yeast (1 teaspoon) – A leavening agent that ferments the dough, providing that characteristic chewy texture.
• Bread or all-purpose flour (3 cups) – The backbone of your bread; bread flour adds extra chew and rise, but all-purpose works beautifully too.
• Dried oregano (½ teaspoon) – Infuses a hint of herbal flavor, enhancing the overall taste.
• Kosher or fine sea salt (1 teaspoon) – Strengthens the dough structure and boosts flavor throughout the bread.
• Fresh rosemary (2 teaspoons, chopped + more for topping) – Adds a delightful woodsy aroma that complements the roasted garlic perfectly.
• Smashed roasted garlic cloves – Incorporates a delicious, mellow garlic flavor into the bread, taking your Easy Roasted Garlic Rosemary Artisan Bread to the next level.
How to Make Easy Roasted Garlic Rosemary Artisan Bread
-
Roast the garlic: Preheat your oven to 400°F. Cut the top off a whole head of garlic, drizzle it with olive oil, and season with salt and pepper. Wrap it in foil and roast for 40 minutes until soft and fragrant.
-
Cool and extract: Once roasted, let the garlic cool before squeezing out the creamy cloves into a bowl. This buttery goodness is what will infuse your bread with flavor.
-
Activate the yeast: In a bowl, combine 1½ cups of room temperature water with 1 teaspoon of active dry yeast. Give it a gentle stir and let it sit for about 5-10 minutes until it becomes frothy.
-
Mix dry ingredients: In a large mixing bowl, combine 3 cups of flour, 1 teaspoon of kosher salt, ½ teaspoon of dried oregano, and 2 teaspoons of chopped fresh rosemary. Stir these together until evenly mixed.
-
Combine and form dough: Add the roasted garlic, 1 tablespoon of olive oil, and the yeast mixture to the dry ingredients. Mix gently until a sticky dough begins to form.
-
Let it rest: Cover the bowl with plastic wrap and let the dough rest at room temperature for about 12-18 hours or until it has doubled in size, developing wonderful flavor.
-
Shape the dough: Lightly flour a surface, then gently turn out the dough. Shape it carefully, being mindful to keep those lovely air bubbles intact. Place it seam-side up in a floured bowl, cover it, and refrigerate for 1 to 24 hours.
-
Preheat the oven: About 30 minutes before you’re ready to bake, place a Dutch oven in your oven and preheat to 450°F. This step is key for a perfectly crusty loaf.
-
Transfer the dough: Once preheated, turn your chilled dough onto a piece of parchment paper seam-side down. Score the top with a sharp knife, which helps the bread expand while baking.
-
Bake covered: Carefully place the dough with parchment into the hot Dutch oven. Cover and bake for 30 minutes to create steam, then uncover and bake for an additional 15-20 minutes until the crust is golden brown.
-
Cool before slicing: Once baked, transfer your artisan bread to a cooling rack. Allow it to cool for at least an hour before slicing to set the texture and prevent gummy slices.
Optional: Enhance your bread by topping it with extra chopped rosemary before baking for a fragrant finish.
Exact quantities are listed in the recipe card below.
Easy Roasted Garlic Rosemary Artisan Bread Variations
Feel free to get creative and customize this cozy bread recipe to match your taste buds or dietary needs.
-
Herb Swap: Replace rosemary with thyme or sage for an aromatic twist that changes the flavor profile entirely. Each herb brings a distinct note, sure to entice.
-
Cheesy Addition: Stir in shredded cheese, like parmesan or cheddar, to the dough for a deliciously savory flavor. It melts beautifully and adds depth to the bread’s overall taste.
-
Olive Delight: Mix in chopped olives for a Mediterranean flair. This not only enhances the flavor, but the briny olives also balance the sweetness of the garlic.
-
Spicy Kick: Add crushed red pepper flakes to infuse a bit of heat. This variation transforms the bread into a delightful pairing for soups with a kick.
-
Nutty Earthiness: Fold in toasted walnuts or pecans to the dough for added crunch and a nutty flavor that complements the softness of the bread beautifully.
-
Sweet Surprise: For a sweeter version, incorporate a handful of dried fruits, like cranberries or apricots. This unique twist creates a refreshing balance against the savory notes of garlic.
-
Whole Grain Boost: Substitute half of the all-purpose flour with whole wheat flour for a heartier loaf that’s wholesome and filled with nutrients.
-
Vegan Variation: Use aquafaba instead of active dry yeast and eliminate the olive oil for a delightful vegan option that still packs tons of flavor.
With these variations in mind, your Easy Roasted Garlic Rosemary Artisan Bread becomes a canvas for culinary creativity. Let your imagination rise along with the dough!
Expert Tips for Easy Roasted Garlic Rosemary Artisan Bread
-
Fermentation Time Matters: Ensure you let the dough rest overnight at room temperature; this deepens the flavor and allows for a better rise.
-
Preheat for Perfection: Always preheat your Dutch oven; this captures steam, ensuring a crusty artisan finish that you crave in homemade bread.
-
Gentle Shaping Technique: When shaping the dough, handle it gently to preserve those lovely air bubbles, resulting in a light and airy Easy Roasted Garlic Rosemary Artisan Bread.
-
Check for Readiness: Use a thermometer to check your bread; it should read between 190°F and 200°F when fully baked. This ensures proper cooking throughout.
-
Resting is Key: Allow your bread to cool for at least an hour before slicing. This helps set the crumb and prevents gummy slices.
Storage Tips for Easy Roasted Garlic Rosemary Artisan Bread
Room Temperature: Store your artisan bread in a paper bag at room temperature for up to 3 days to maintain its crustiness and freshness.
Freezer: If you want to keep it longer, wrap the cooled bread tightly in plastic wrap and aluminum foil, then freeze for up to 3 months.
Reheating: To refresh your Easy Roasted Garlic Rosemary Artisan Bread, thaw at room temperature, then warm in a 350°F oven for 5-10 minutes to restore its crusty texture.
Sliced Storage: If pre-sliced, store in an airtight container but consume within 2 days for optimal taste and texture.
What to Serve with Easy Roasted Garlic Rosemary Artisan Bread?
There’s nothing quite like the joy of creating a full meal that complements the warm, aromatic flavors of your freshly baked bread.
-
Hearty Vegetable Soup: The rich texture of a warm vegetable soup enhances the rustic qualities of the loaf, making for a comforting meal. Pair a chunky minestrone for a fulfilling experience.
-
Creamy Garlic Mashed Potatoes: These buttery potatoes harmonize beautifully with the roasted garlic flavor, creating a dreamy, savory side that takes comfort food to another level.
-
Mixed Green Salad: A light salad with crisp greens and a tangy vinaigrette offers a refreshing contrast to the bread’s crusty texture and savory notes, balancing the meal perfectly.
-
Savory Olive Tapenade: Spread this robust tapenade on a slice for a delightful bite that amplifies the bread’s herbaceous flavors—perfect for gatherings or as an appetizer.
-
Grilled Chicken: The flavorful, smoky notes of grilled chicken create a satisfying pairing with this artisan bread, especially when drizzled with garlic-infused olive oil.
-
Cheesy Garlic Butter Bruschetta: Use slices of the artisan bread to create bruschetta topped with a blend of cream cheese, herbs, and roasted garlic for a delightful finger food.
-
Red Wine or Sparkling Water: A glass of robust red wine complements the herbal notes in the bread, while sparkling water provides a refreshing cleanse between bites.
-
Apple Crisp for Dessert: Finish your meal with a warm apple crisp. Its sweet, spiced flavors will create a beautiful contrast to the savory bread experience.
Make Ahead Options
These Easy Roasted Garlic Rosemary Artisan Bread are perfect for meal prep enthusiasts! You can prepare the dough up to 24 hours in advance by letting it rise overnight, maximizing its flavor. After shaping the dough, cover it tightly and refrigerate it until you’re ready to bake. This slow fermentation not only enhances the taste but also maintains its quality—ensuring you get a delicious, crusty loaf. When you’re ready to serve, simply preheat your oven with a Dutch oven inside, then cook the chilled dough directly from the fridge. In no time at all, you’ll have an irresistible artisan bread that feels homemade, perfect for your busy weeknights!
Easy Roasted Garlic Rosemary Artisan Bread Recipe FAQs
How do I choose the best garlic for roasting?
Absolutely! Look for a whole head of garlic that feels firm and heavy for its size. Avoid any that have dark spots or soft areas, as these may be past their prime. The outer papery skin should be dry, indicating that the garlic is fresh and ideal for roasting.
What is the best way to store leftover Easy Roasted Garlic Rosemary Artisan Bread?
To keep your bread fresh, store it in a paper bag at room temperature for up to 3 days. If you want to extend its shelf life, wrap it tightly in plastic wrap and aluminum foil, then freeze it for up to 3 months. Just remember to let it cool completely before wrapping to prevent condensation.
Can I freeze this Easy Roasted Garlic Rosemary Artisan Bread?
Yes, freezing is a great option! After the bread has cooled, wrap it tightly in plastic wrap followed by aluminum foil to avoid freezer burn. It can be kept in the freezer for up to 3 months. When you’re ready to enjoy it again, thaw it at room temperature and gently warm it in a 350°F oven for about 5-10 minutes for that freshly baked taste.
Why is my bread dense or gummy inside?
Very! A common issue with homemade bread can be attributed to insufficient rising time or improper dough handling. Ensure you allow the dough to rest for the full recommended time—12-18 hours—so that it can develop flavor and texture. During shaping, handle the dough gently to maintain the precious air bubbles.
Is this bread safe for pets or people with allergies?
While the Easy Roasted Garlic Rosemary Artisan Bread is safe for most people, be cautious with pets. Garlic can be harmful to dogs and cats in large quantities. If you have allergy concerns, double-check that none of the ingredients are potential allergens—like wheat or yeast.
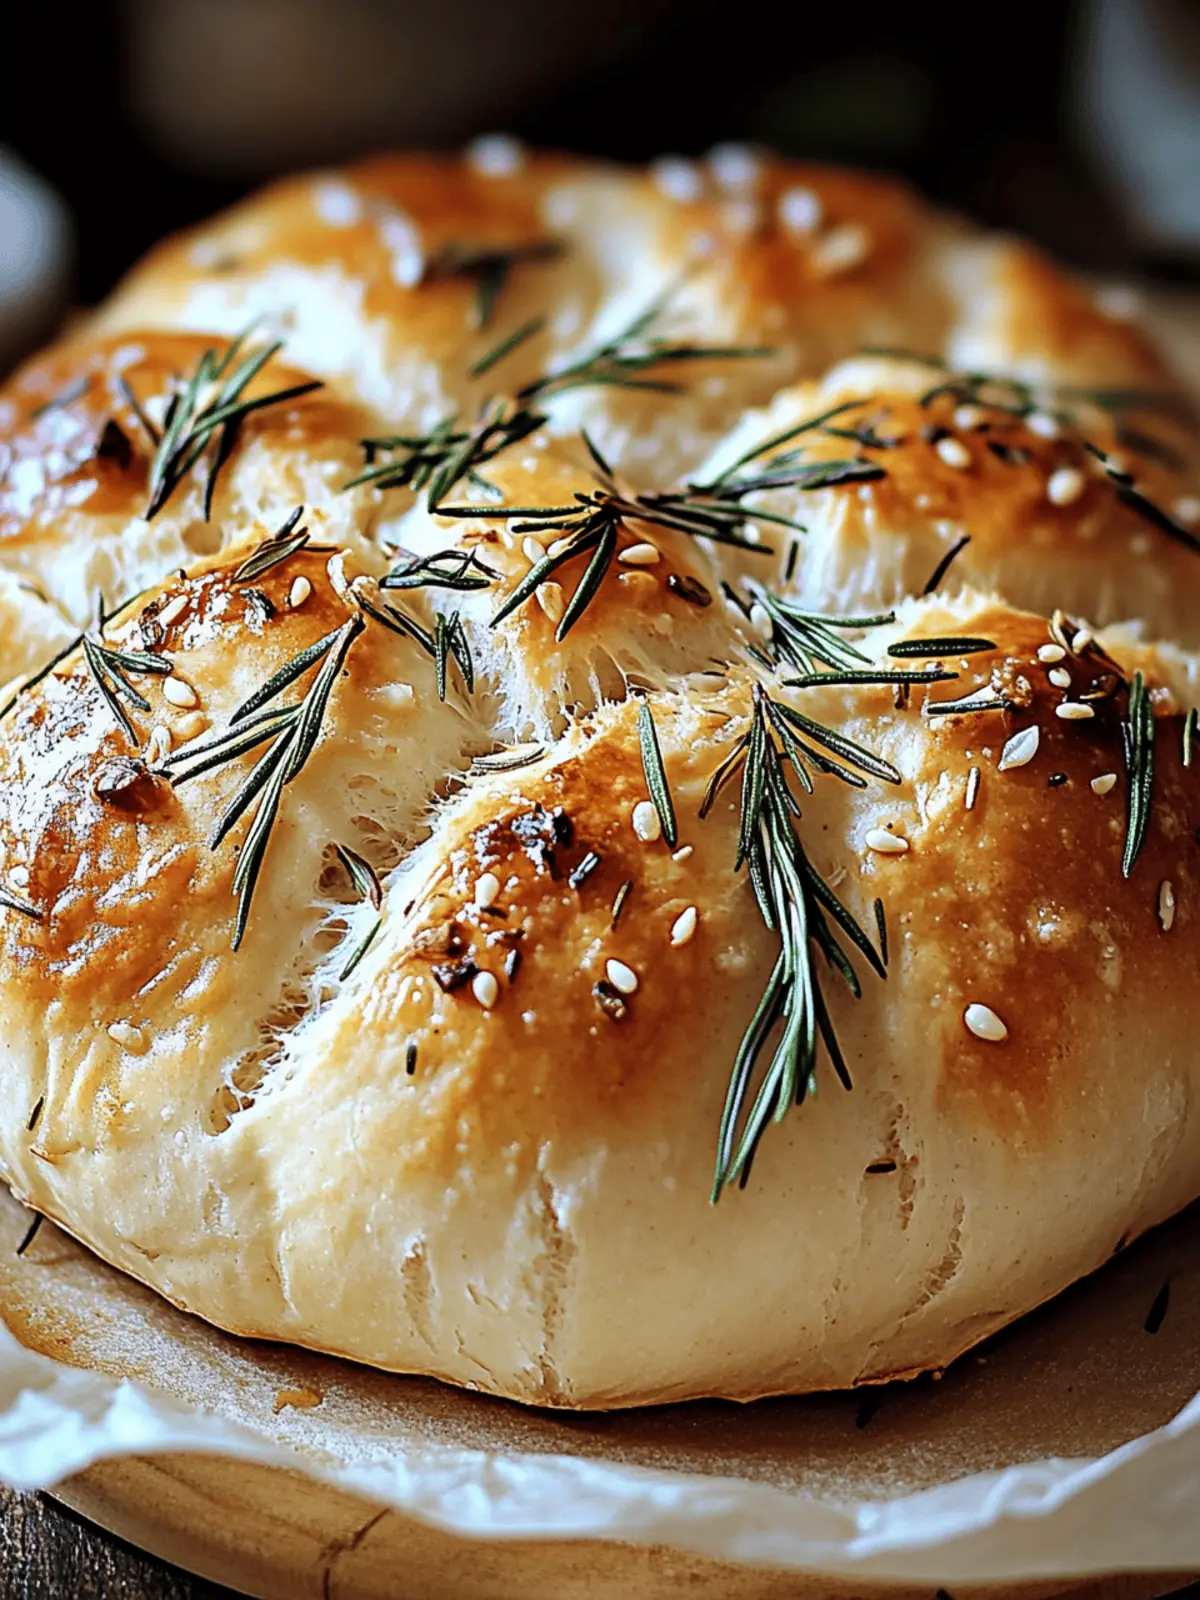
Easy Roasted Garlic Rosemary Artisan Bread for Cozy Nights
Ingredients
Equipment
Method
- Preheat your oven to 400°F. Cut the top off a whole head of garlic, drizzle it with olive oil, and season with salt and pepper. Wrap it in foil and roast for 40 minutes until soft and fragrant.
- Once roasted, let the garlic cool before squeezing out the creamy cloves into a bowl.
- In a bowl, combine 1½ cups of room temperature water with 1 teaspoon of active dry yeast. Let it sit for about 5-10 minutes until it becomes frothy.
- In a large mixing bowl, combine 3 cups of flour, 1 teaspoon of kosher salt, ½ teaspoon of dried oregano, and 2 teaspoons of chopped fresh rosemary. Stir until evenly mixed.
- Add the roasted garlic, 1 tablespoon of olive oil, and the yeast mixture to the dry ingredients. Mix gently until a sticky dough begins to form.
- Cover the bowl with plastic wrap and let the dough rest at room temperature for about 12-18 hours or until it has doubled in size.
- Lightly flour a surface, gently turn out the dough, and shape it before placing it seam-side up in a floured bowl, covering it and refrigerating for 1 to 24 hours.
- About 30 minutes before baking, place a Dutch oven in your oven and preheat to 450°F.
- Once preheated, turn your chilled dough onto parchment paper seam-side down. Score the top with a sharp knife.
- Carefully place the dough with parchment into the hot Dutch oven. Cover and bake for 30 minutes, then uncover and bake for an additional 15-20 minutes until the crust is golden brown.
- Transfer to a cooling rack and allow it to cool for at least an hour before slicing.

