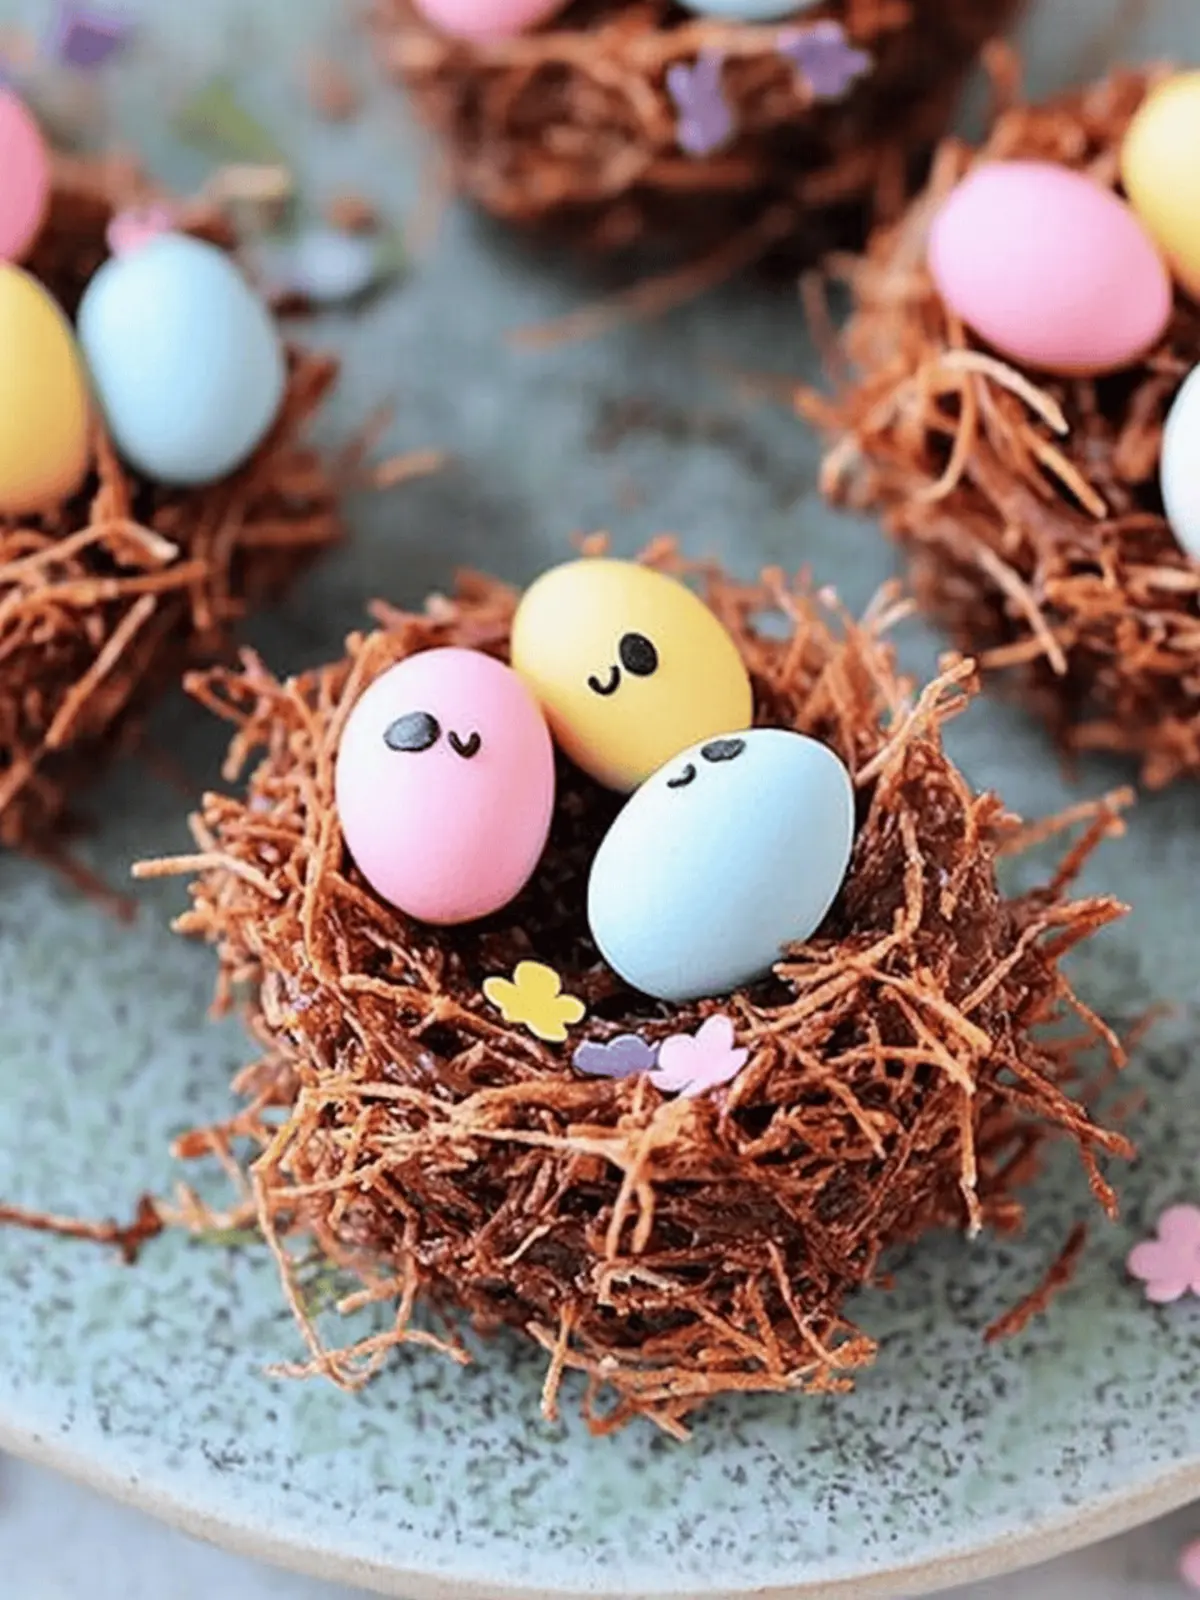
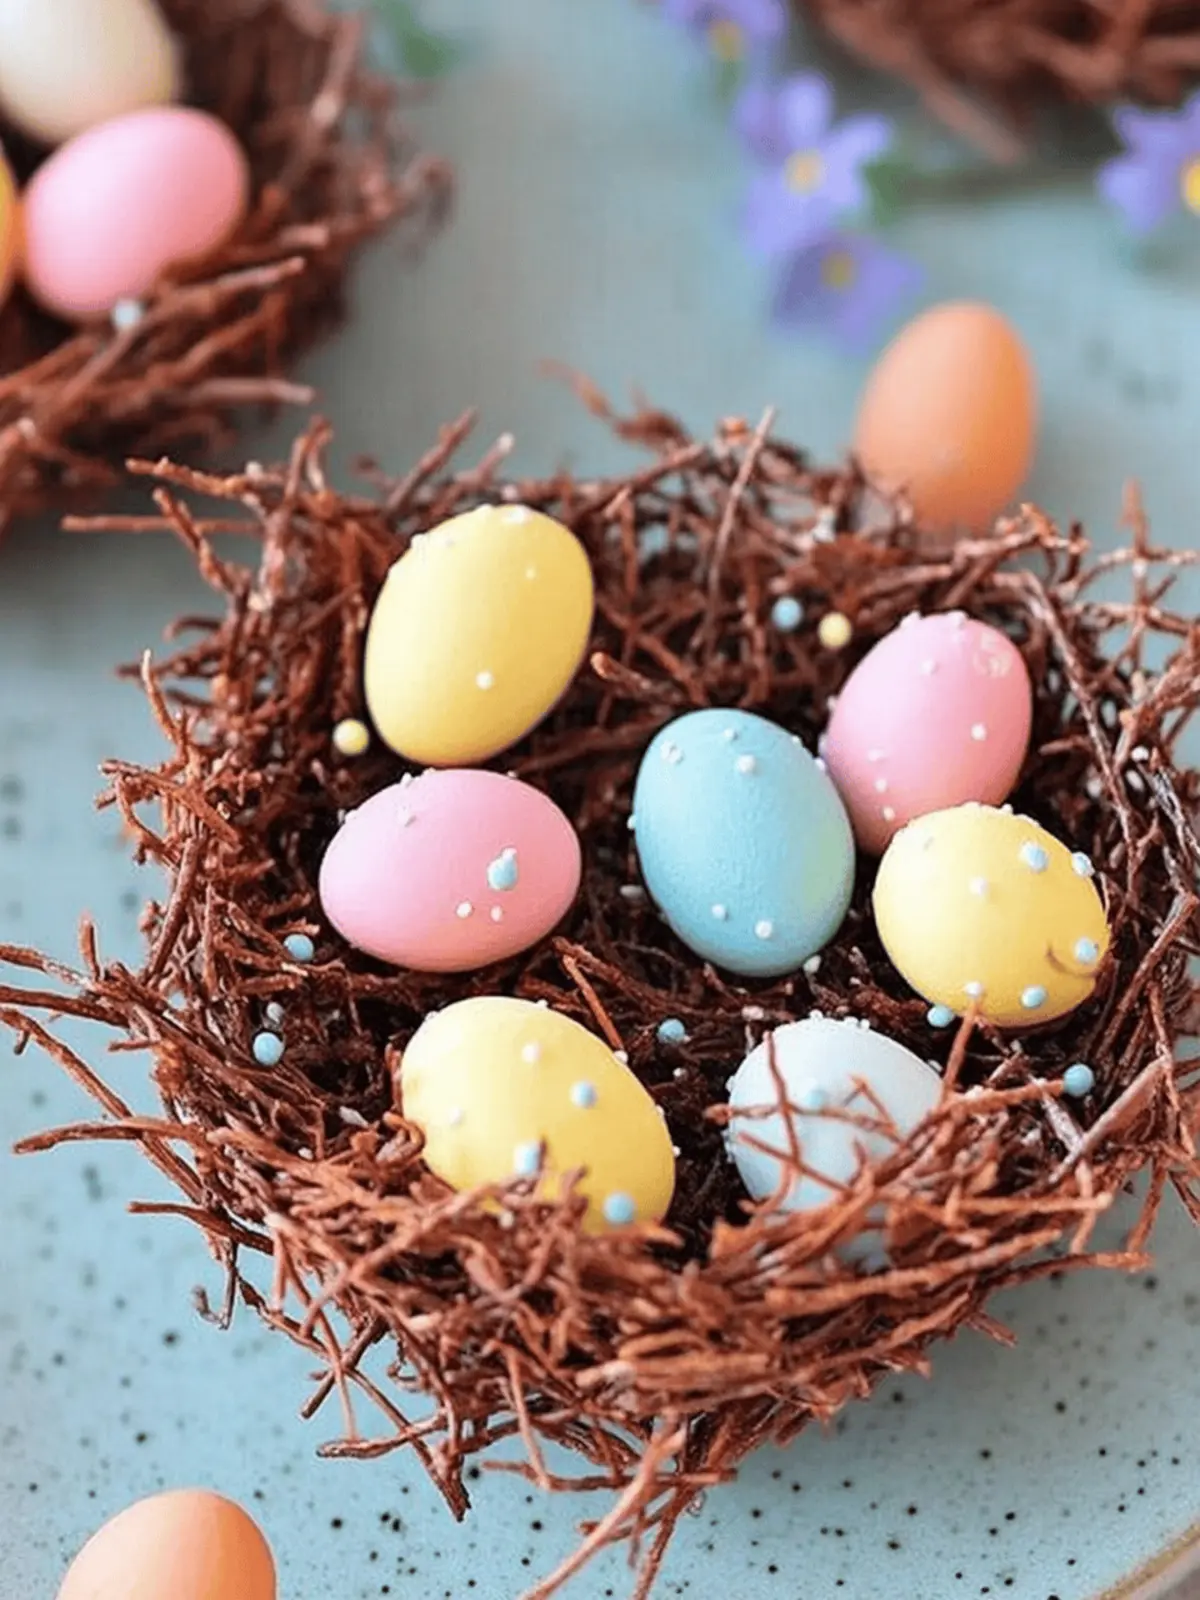
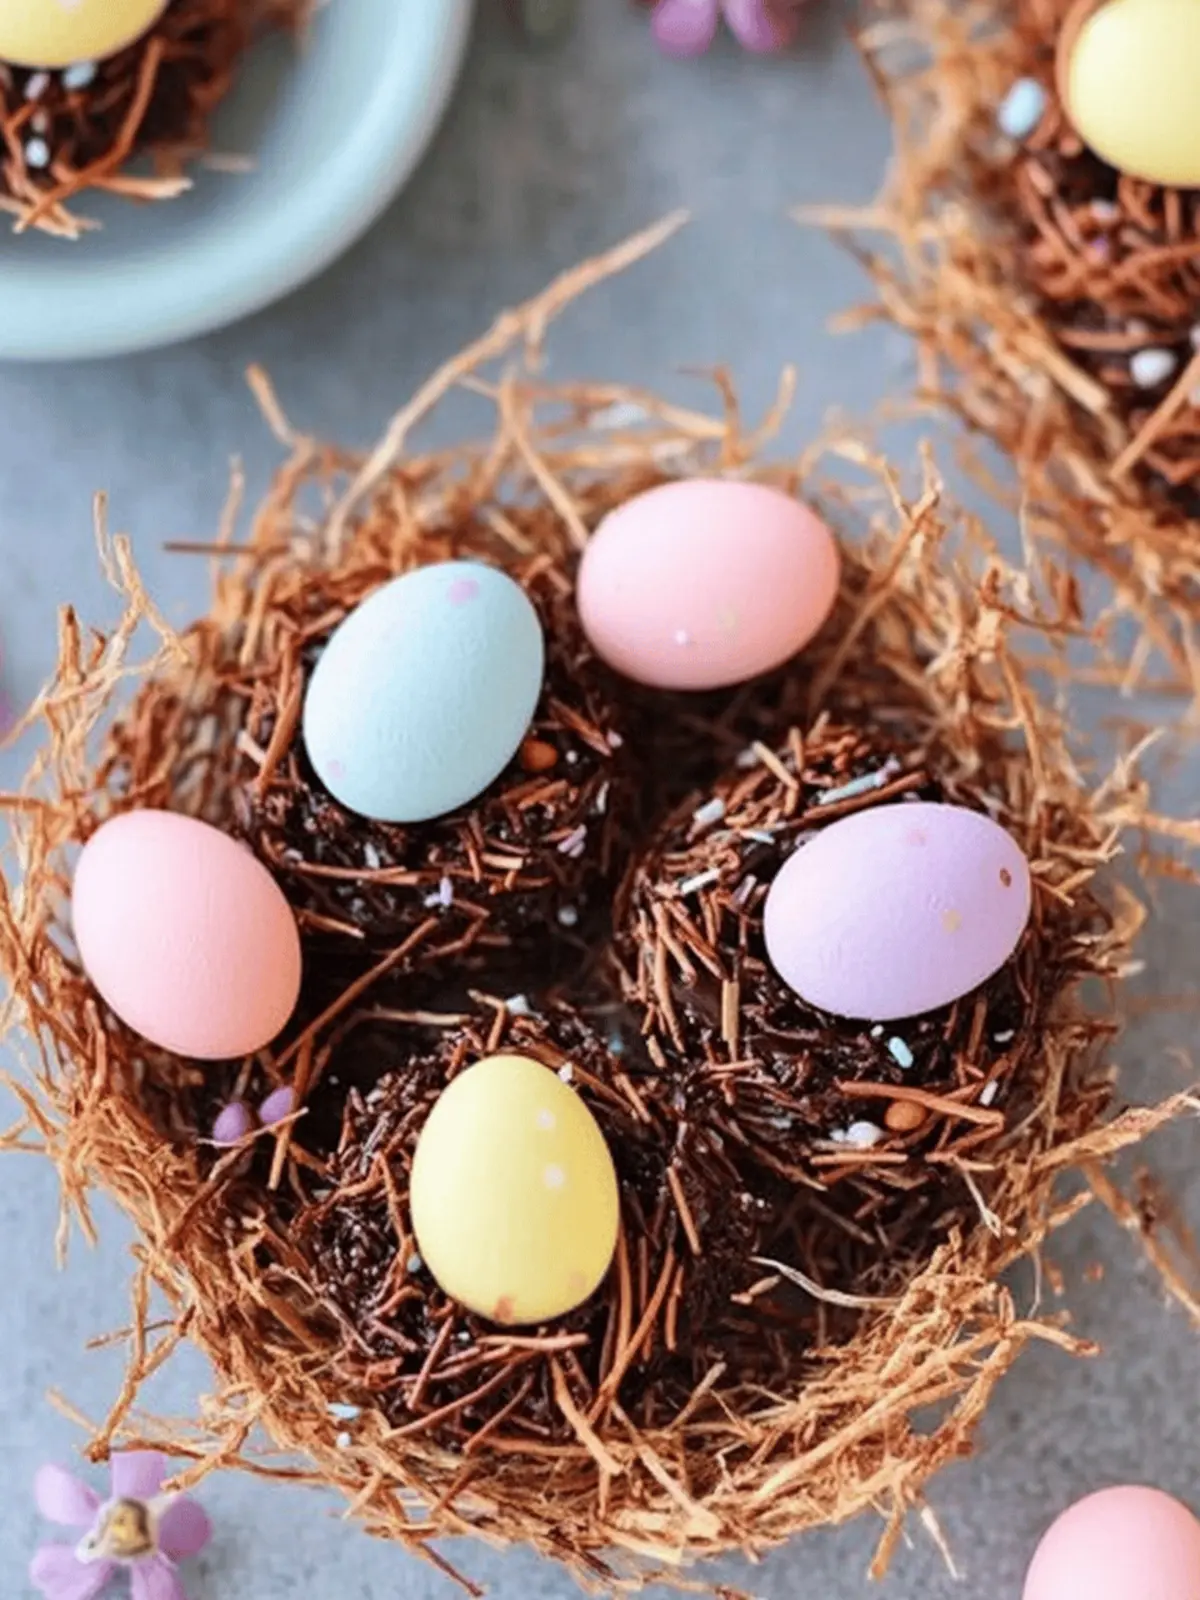
As Easter approaches and the excitement of spring fills the air, I find myself reminiscing about the joy of crafting sweet treats with loved ones. This year, I wanted to share a delightful recipe that brings a fun twist to our holiday traditions: No-Bake Easter Chocolate Nests. The moment you melt together creamy milk and rich dark chocolate, a world of deliciousness unfolds. These nests, made with crunchy Shredded Wheat and topped with colorful Easter chocolates, are not only a hit with kids but also an easy treat that will make your celebrations extra special. Whether you’re whipping them up for a family gathering or simply indulging your sweet tooth, these nests promise simplicity, joy, and that homely touch we all crave during the festive season. Let’s dive into this delicious adventure together!
Why Are Easter Nests So Irresistible?
Simplicity: These No-Bake Easter Nests require minimal effort, making them the perfect activity for a bustling family kitchen.
Kid-Friendly Fun: Involve little chefs in the process; they’ll love shaping nests and adding fun toppings!
Versatile Ingredients: Use whatever cereals you have on hand, from Shredded Wheat to Cornflakes, for a customized twist.
Decadent Flavor: Milk and dark chocolate blend together, creating a richness that’s hard to resist.
Make Ahead: Perfect for holiday prep, these nests can be made up to a week in advance, ensuring less stress during celebrations.
Crowd Pleaser: Whether at an Easter brunch or a simple family treat, these nests always bring smiles.
Easter Nests Ingredients
• Ready to create your No-Bake Easter Nests? Let’s gather everything you need!
For the Chocolate Mixture
- Milk Chocolate (200g) – Adds rich sweetness and creaminess; feel free to substitute with all dark chocolate for a richer experience.
- Dark Chocolate (200g) – Provides a deeper chocolate flavor; blend it with milk chocolate if you prefer a balanced sweetness.
- Unsalted Butter (100g) – Adds richness and helps bind the treats; margarine is a great dairy-free alternative.
- Golden Syrup (100g) – Works as a sweet binder, giving a lovely caramel flavor; honey can be used, but may alter the final texture.
For the Nests
- Shredded Wheat (6-8 pieces) – The main texture component for those delightful crunchy nests; swap for Cornflakes or Rice Krispies using about 150g if desired.
- Easter Chocolates (100-200g) – Offers decoration and extra sweetness; mix in your favorite Easter-themed chocolates or candies for added flair.
With these ingredients in hand, you’re all set to create your scrumptious Easter Nests!
How to Make No-Bake Easter Chocolate Nests
-
Prepare Cereal: Start by crushing the Shredded Wheat into large, bite-sized pieces in a bowl. This will form the crunchy base of your nests, ready to hold all the delicious chocolate goodness.
-
Melt Mixture: In a saucepan, melt the unsalted butter and golden syrup over low heat. Stir gently until the butter has completely melted, creating a smooth, golden blend.
-
Add Chocolate: Once the mixture is smooth, remove it from the heat. Stir in the finely chopped milk and dark chocolate until everything is fully melted and combined, creating a silky chocolate mixture.
-
Combine: Pour the melted chocolate mixture over your crushed Shredded Wheat. Stir thoroughly until every piece is coated in that indulgent chocolate, ensuring a delightful crunch in every bite.
-
Shape Nests: Using a spoon or cookie scoop, shape the mixture into nest-like forms on a lined baking tray. Make sure to leave a little hollow space in the center for the Easter chocolates—don’t forget to add three per nest!
-
Chill: Place the tray in the refrigerator and let the nests chill for about 30 minutes. This will allow them to set firmly, making them easy to serve and enjoy.
Optional: Add a sprinkle of colorful sprinkles or mini eggs on top for a festive touch.
Exact quantities are listed in the recipe card below.
What to Serve with No-Bake Easter Chocolate Nests?
As you prepare these delightful treats, think about how to create the perfect spread that will elevate your Easter celebration.
-
Fresh Fruit Salad: A bright medley of seasonal fruits adds a refreshing contrast to the rich chocolate nests. Think strawberries, kiwis, and blueberries for a colorful touch!
-
Vanilla Ice Cream: The creaminess of vanilla ice cream serves as the ideal counterpart, melting slightly as it complements the crunchy nests.
-
Hot Cross Buns: These traditional Easter pastries bring a hint of spice and warmth which pairs beautifully with the sweet chocolate flavor.
-
Sparkling Lemonade: A fizzy drink like sparkling lemonade provides a zesty brightness that cuts through the richness, making every bite of the nests even more enjoyable.
-
Chocolate Milk: For the chocolate lovers, serving these nests alongside a rich, creamy chocolate milk enhances the festive theme and offers a touch of nostalgia.
-
Carrot Cake Cupcakes: These adorable treats tie perfectly into the Easter theme, with their moist texture and hint of cinnamon, offering a delightful variety in flavors and textures.
-
Mini Easter Bunnies: Chocolate bunny candies can add a fun and playful element to your dessert table, enticing both kids and adults alike!
Create a table full of joy and flavor to accompany your No-Bake Easter Chocolate Nests!
How to Store and Freeze Easter Nests
Room Temperature: Keep your Easter Nests in an airtight container at room temperature, where they’ll stay fresh for up to 7 days.
Fridge: If you prefer a firmer texture, store the nests in the fridge. They’ll maintain their freshness for up to 10 days in a covered container.
Freezer: For longer storage, freeze the nests in an airtight container for up to 3 months. Thaw them in the refrigerator before serving.
Reheating: These nests are best enjoyed chilled or at room temperature. No need to reheat; just let them sit for a moment to soften slightly after refrigeration.
Expert Tips for No-Bake Easter Nests
-
Melt Carefully: Avoid overheating the chocolate mixture to prevent splitting; if it happens, incorporate a splash of milk to restore its texture.
-
Nest Shape: For a whimsical look, loosely fill your scoop instead of packing it tightly; this creates airy nests that look delightful.
-
Ingredient Precision: Measure everything accurately, especially when substituting cereals, to achieve the best possible texture and taste in your Easter Nests.
-
Chill Time: Don’t rush the chilling process; giving the nests enough time to set ensures they hold their shape once you enjoy them.
-
Experiment with Toppings: Get creative with your decorations—mix in various Easter chocolates or sprinkles to customize your nests for a festive flair.
Make Ahead Options
These No-Bake Easter Chocolate Nests are perfect for meal prep, making your holiday preparations a breeze! You can prepare the chocolate mixture and shape the nests up to 24 hours in advance. Simply melt and combine the chocolate as instructed, then shape the nests on a lined tray. Once formed, cover them tightly with plastic wrap and refrigerate to keep them fresh and delicious. When you’re ready to serve, just add your favorite Easter chocolates on top, and allow them to sit at room temperature for a few minutes to soften slightly before enjoyment. This way, they remain just as delightful and crunchy, saving you precious time during the festivities!
Easter Nests Variations
Feel free to mix things up and create your own delightful version of these nests!
-
Dairy-Free: Use coconut oil instead of butter and dairy-free chocolate for a tasty, vegan-friendly treat.
-
Different Cereals: Swap Shredded Wheat for Cornflakes or Rice Krispies for a different texture and flavor, making nests even crunchier!
-
Peanut Butter Delight: Stir in a couple of tablespoons of creamy peanut butter for a nutty twist that adds richness and depth. It’s a surprise that everyone will love!
-
Colorful Sprinkles: Top your nests with vibrant sprinkles or edible glitter to add a fun and festive touch, making them even more appealing for kids.
-
Fruit Additions: Add dried fruit like cranberries or apricots for a chewy contrast that complements the chocolate beautifully. It’s a fun way to sneak in some extra flavor!
-
Savory Kick: Sprinkle in a pinch of sea salt to balance the sweetness of the chocolate—this simple addition elevates the flavor profile delightfully.
-
Spicy Chocolate: Mix in a dash of cayenne pepper or cinnamon to give your nests a surprising kick. This variation adds a warm, spicy twist that adults will particularly enjoy.
-
Nutty Crunch: Add chopped nuts like almonds or hazelnuts for an extra crunchy texture and a wonderful nutty flavor that takes these nests to the next level.
No-Bake Easter Chocolate Nests Recipe FAQs
What type of chocolate should I use for the best flavor?
Absolutely! A combination of milk chocolate and dark chocolate works beautifully in these nests, creating a rich and balanced flavor. If you prefer something less sweet, you can use all dark chocolate for that deep, indulgent taste. It’s all about what your taste buds love most!
How should I store my Easter Nests to keep them fresh?
For optimal freshness, store your Easter Nests in an airtight container at room temperature for up to 7 days. If you want them to stay fresh even longer, popping them in the fridge can keep them good for up to 10 days. Just remember to let them sit for a few minutes before serving if they’ve been chilled!
Can I freeze the Easter Nests for later enjoyment?
Definitely! To freeze your Easter Nests, place them in an airtight container, ensuring they’re well-separated to prevent sticking. They can be kept in the freezer for up to 3 months. When you’re ready to enjoy, simply transfer them to the refrigerator for a few hours to thaw.
What if my melted chocolate mixture is too thick?
Very good question! If your chocolate mixture turns out too thick, don’t fret. Just add a splash of full-fat milk or cream while stirring on low heat until you achieve the desired consistency. This will help restore its silky texture and make it easier to coat the cereal.
Are these nests safe for dogs or pets?
While these nests are delicious for us, it’s important to keep them away from pets, especially dogs. Chocolate can be toxic to many animals, so it is best to enjoy these treats with your human family members only.
Can I substitute the Shredded Wheat with other cereals if I don’t have any?
Absolutely! The great thing about this No-Bake Easter Chocolate Nests recipe is its versatility. You can use Cornflakes or Rice Krispies instead of Shredded Wheat; about 150g should do the trick. Just make sure whatever you choose works well with the crunchy texture you’re aiming for—incredibly fun to experiment!
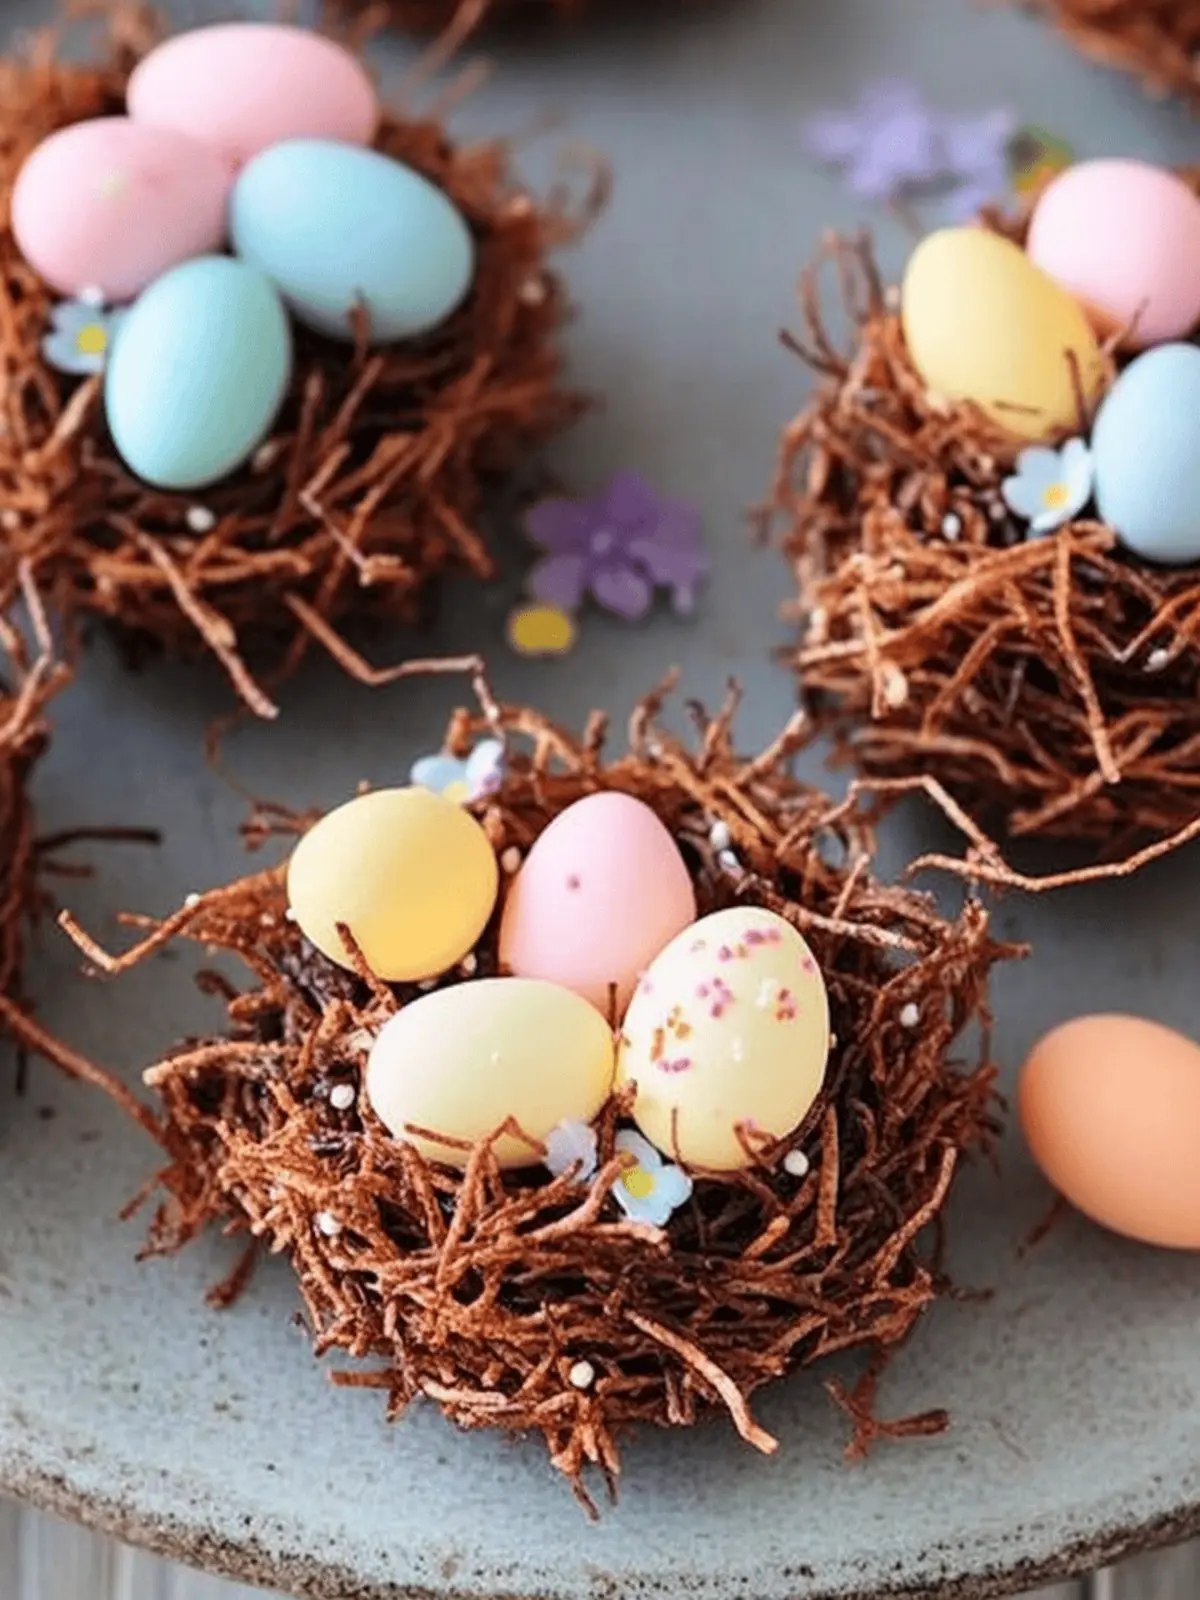
Deliciously Easy Easter Nests to Make with Kids
Ingredients
Equipment
Method
- Start by crushing the Shredded Wheat into large, bite-sized pieces in a bowl.
- In a saucepan, melt the unsalted butter and golden syrup over low heat.
- Once the mixture is smooth, remove it from the heat and stir in the finely chopped milk and dark chocolate.
- Pour the melted chocolate mixture over your crushed Shredded Wheat and stir thoroughly.
- Using a spoon or cookie scoop, shape the mixture into nest-like forms on a lined baking tray.
- Place the tray in the refrigerator and let the nests chill for about 30 minutes.

