
There’s something immensely satisfying about creating a dessert that not only looks beautiful but also makes people smile. Picture this: I was brainstorming the perfect sweet treat for my mom’s birthday when a spark of inspiration hit me. These Mini MOM Cakes ooze love and nostalgia, reminding us of our childhood celebrations! Imagine the delightful sweetness of fluffy cake paired with silky vanilla frosting, all topped with vibrant, edible flowers that are as lovely as they are tasty.
Whipping up these charming cakes is a breeze—they come together with just a couple of boxed cake mixes, making them ideal for those who adore homemade treats without the fuss. Whether you’re looking to impress your mom or simply want a fun baking project that brings joy to your kitchen, these Mini MOM Cakes are sure to be a favorite. So roll up your sleeves and let’s dive into this cheerful recipe that’s perfect for any occasion!

Why are Mini MOM Cakes so special?
Uniqueness: These adorable cakes are not just desserts; they’re heartfelt expressions of love and creativity.
Ease of Preparation: With only two boxed cake mixes required, you can whip up these delights quickly, even on a busy day.
Visual Appeal: Adorned with edible flowers, they are sure to dazzle at any gathering, making them a hit for family celebrations.
Nostalgic Flavor: The combination of fluffy cake and silky frosting is reminiscent of childhood birthday parties, sure to evoke cherished memories.
Versatile: Perfect for Mother’s Day, birthdays, or just a sweet surprise, these cakes cater to various occasions!
Dive into this delightful adventure and create a memorable experience in your kitchen with these Mini MOM Cakes!
Mini MOM Cakes Ingredients
For the Cake
- Boxed cake mix – Choose your favorite flavor, as this is the base for the delightful Mini MOM Cakes.
- Eggs – These bind the cake together and add richness; check your boxed cake mix for the exact amount needed.
- Water – Helps to achieve the desired batter consistency; be sure to use the amount specified on the box.
- Vegetable oil – This adds moisture, ensuring your cakes are fluffy and tender.
For the Frosting
- Vanilla frosting – A classic choice that pairs perfectly with the sweet cakes; feel free to use homemade if you’re feeling adventurous!
For the Decoration
- Edible flowers – They make your Mini MOM Cakes gorgeous and add a subtle flavor; choose flowers that are safe for consumption.
- Sprinkles – A fun way to add color and crunch; customize them to fit the occasion!
Now that you have all the necessary ingredients, it’s time to create a dessert bursting with love and flavor!
How to Make Mini MOM Cakes
-
Prepare the cake mix: Follow the instructions on the back of the cake box for both cake mixes. In a big mixing bowl, combine the required eggs, water, and vegetable oil to create a batter that’s smooth and well-blended.
-
Pour the batter: Pour the combined cake batter into one 18″ sheet pan with 1″ sides, ensuring it’s evenly spread out to prevent uneven cooking.
-
Bake the cake: Place the cake in a preheated oven at 350°F (175°C) and bake for about 20 minutes, or until a toothpick comes out clean.
-
Cool the cake: Once baked, let the cake cool completely in the pan; this could take around 30-40 minutes, as it sets the right texture for cutting.
-
Cut the shapes: Use a 3″ cookie cutter to cut out the letters M and O from the cooled cake, creating the charming MOM shape.
-
Transfer to a cooling rack: Carefully move the cut-out letters to a cooling rack, allowing them to breathe and prevent sogginess.
-
Decorate with frosting: Pipe on the silky vanilla frosting generously over each letter, ensuring they look as delightful as they taste.
-
Garnish with flowers: Top with edible flowers and a sprinkle of colorful sprinkles to make your Mini MOM Cakes stand out beautifully at any celebration.
Optional: Add a drizzle of chocolate syrup for an extra indulgent touch.
Exact quantities are listed in the recipe card below.
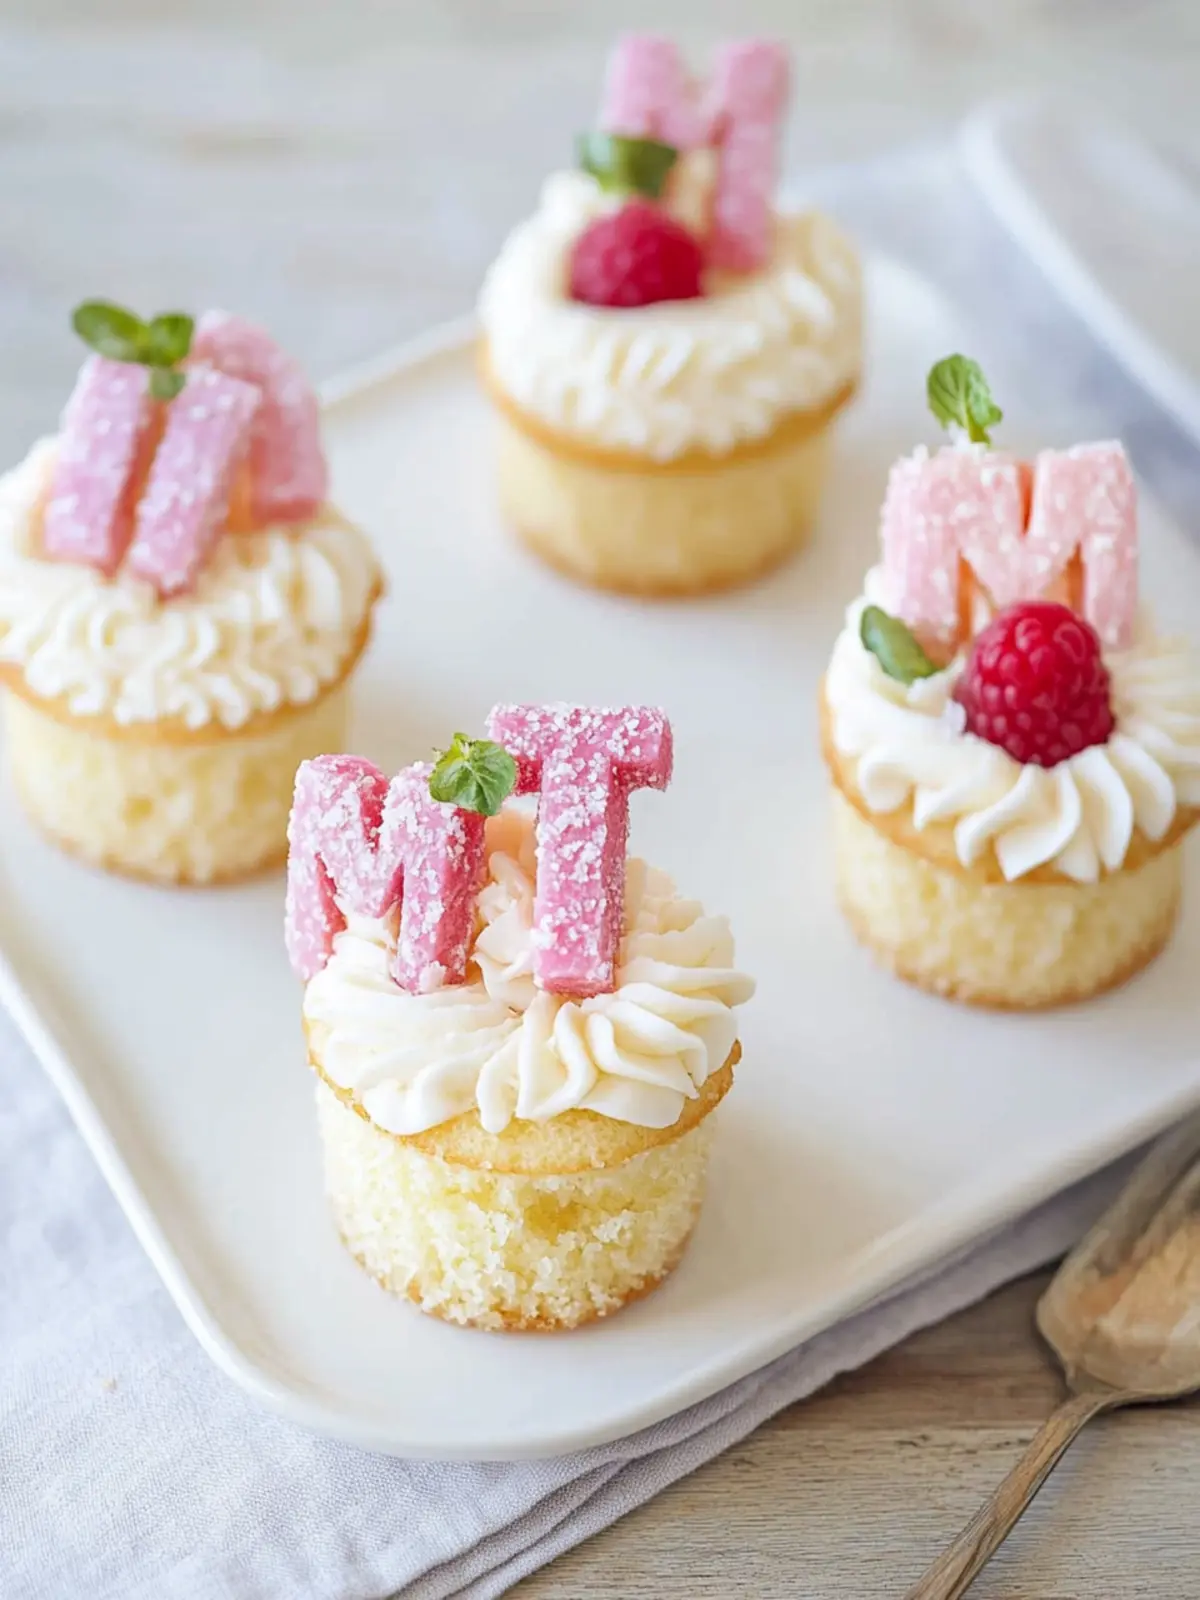
What to Serve with Mini MOM Cakes?
Creating a delightful meal is all about balance and complementing flavors, especially when you’re celebrating love and cherished moments.
- Fresh Fruit Salad: A medley of seasonal fruits brings a refreshing contrast, balancing the sweetness of the cakes. The vibrant colors add to the celebratory feel!
- Vanilla Ice Cream: A scoop of creamy vanilla ice cream pairs beautifully with the Mini MOM Cakes, enhancing their fluffy texture and rich frosting.
- Herbal Tea: A soothing cup of herbal tea, like chamomile or mint, complements the sweetness and brings a calming touch. Perfect for afternoon celebrations!
- Chocolate-Dipped Strawberries: These indulgent treats elevate the dessert table, providing a contrasting taste and a touch of elegance that ties the meal together.
- Lemonade: A glass of homemade lemonade, with its bright acidity, cuts through the sweetness and adds a refreshing zest to your gathering.
- Mini Cheesecakes: Another beloved dessert option, mini cheesecakes layered with fruit or chocolate provide a different texture and sweetness that everyone will love.
- Sparkling Water: For a festive touch, sparkling water with a hint of lemon or lime enhances your menu while keeping things light and refreshing.
- Chocolate Cake Pops: These bite-sized delights mirror the flavors of the Mini MOM Cakes but offer a fun, handheld treat for guests to enjoy!
- Fluffy Whipped Cream: Add a dollop of fluffy whipped cream on the side for an extra creaminess that elevates the experience of every bite.
Mini MOM Cakes Variations
Feel free to explore these delightful twists and substitutions to personalize your Mini MOM Cakes and make them even more special!
-
Gluten-Free: Swap the boxed cake mix for a gluten-free version, ensuring everyone can enjoy this treat without missing out.
-
Chocolate Lovers: Use chocolate cake mix instead of vanilla for a rich and decadent alternative that will satisfy any chocolate craving.
-
Fruit-Infused: Add a cup of mashed bananas or applesauce to the batter for a fruity twist that keeps the cakes moist and flavorful.
-
Nutty Crunch: Fold in 1/2 cup of chopped nuts, like walnuts or pecans, into the batter for an added crunch and unique texture.
-
Lemon Zing: Add the zest of one lemon to the batter and use lemon-flavored frosting to create a refreshing citrusy delight.
-
Dairy-Free: Opt for dairy-free frosting and vegetable oil to cater to those avoiding dairy, ensuring everyone can savor the sweetness!
-
Spicy Surprise: Mix in a teaspoon of cinnamon or nutmeg to the batter for a touch of warm spice that elevates the overall flavor.
-
Mini Layers: Instead of cutouts, bake the cakes in mini muffin tins to create individual-sized layers, perfect for personalizing and serving!
Every variation brings its own charm, so don’t hesitate to experiment and create a dessert that truly reflects your taste and style. Enjoy the baking adventure!
Make Ahead Options
These Mini MOM Cakes are perfect for meal prep enthusiasts! You can bake the cake layers up to 3 days in advance; once they are completely cooled, wrap them tightly in plastic wrap and refrigerate to maintain their moisture. Additionally, you can prepare the vanilla frosting and store it in an airtight container in the fridge for up to 1 week. When it’s time to serve, simply cut out the M and O shapes from the chilled cake and frost them with your prepared icing, adding the edible flowers and sprinkles for a fresh look. This way, you’ll have a delightful dessert ready to impress your loved ones with minimal effort!
Expert Tips for Mini MOM Cakes
-
Measure Ingredients Properly: Ensure you’re using the correct quantities of eggs, water, and oil from the boxed cake mix to avoid inconsistency in texture.
-
Avoid Overbaking: Keep an eye on the oven to pull the cakes out as soon as a toothpick comes clean; overbaking can dry out the cakes.
-
Cool Completely: Allow your cakes to cool completely before cutting shapes; this prevents crumbling and ensures clean edges for your Mini MOM Cakes.
-
Choose Flowers Wisely: Make sure to select edible flowers that are safe for consumption; check their source to ensure they haven’t been treated with chemicals.
-
Piping Technique: Use a piping bag for applying frosting to make decorating easier and more precise, giving your Mini MOM Cakes a professional touch.
-
Customize for Occasions: Feel free to switch up decorations according to different occasions; try seasonal sprinkles or matching colored frosting for a festive flair.
How to Store and Freeze Mini MOM Cakes
Room Temperature: Keep the Mini MOM Cakes at room temperature for up to 2 days, covered with a cake dome or plastic wrap to maintain moisture.
Fridge: If you have leftovers, store them in the fridge for up to 5 days. Ensure they are in an airtight container to prevent them from drying out or absorbing odors.
Freezer: To enjoy these delightful cakes later, freeze them for up to 3 months. Carefully wrap each piece in plastic wrap and place in a freezer-safe container.
Reheating: For best flavor, let them thaw in the fridge overnight before enjoying. You can refresh them briefly in a microwave for 10-15 seconds if you prefer them warm.
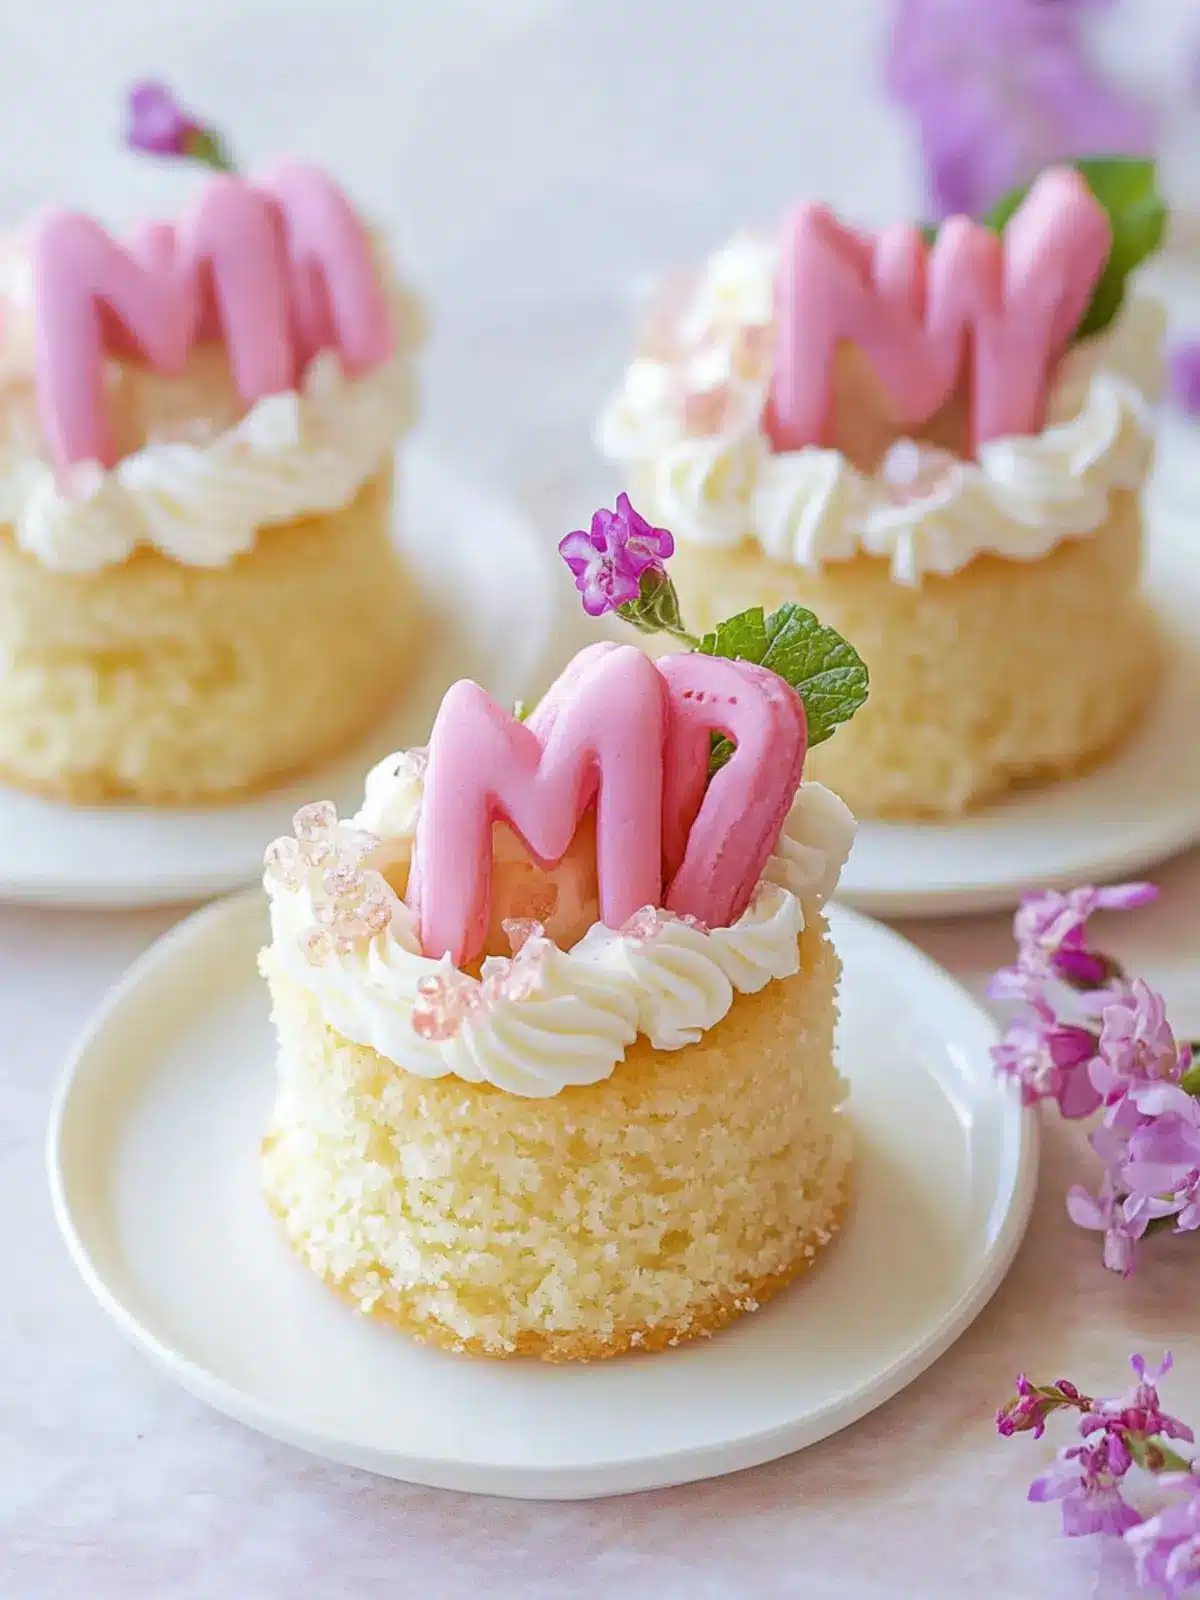
Mini MOM Cakes Recipe FAQs
What type of cake mix is best for Mini MOM Cakes?
Absolutely! You can choose any flavor of boxed cake mix that your loved ones enjoy. Classic vanilla, chocolate, or even lemon can add a unique twist. Just make sure it’s a flavor that pairs well with vanilla frosting, as that’s what you’ll be using.
How long can I store Mini MOM Cakes?
You can keep the Mini MOM Cakes at room temperature for up to 2 days if covered properly with a cake dome or plastic wrap. If you’d like to enjoy them a bit longer, refrigerate them in an airtight container for up to 5 days to maintain freshness. Just don’t forget to let them come to room temperature before serving!
Can I freeze Mini MOM Cakes?
Very much so! To freeze your Mini MOM Cakes, wrap each cut-out piece tightly in plastic wrap and place them in a freezer-safe container. They can last up to 3 months in the freezer. When you’re ready to enjoy, simply thaw them in the refrigerator overnight, and if you want them warm, a quick 10-15 seconds in the microwave will do the trick!
What should I do if my cakes are too crumbly?
If your Mini MOM Cakes turn out crumbly, here’s a helpful tip: make sure to follow the exact measurements recommended on the cake mix box, especially for the eggs and oil. Also, allow the cake to cool completely before cutting—this helps create a firmer texture. If they still seem dry, consider trying a simple syrup to moisten them when serving.
Are there any dietary considerations for Mini MOM Cakes?
Yes! If you or your guests have dietary restrictions, you can easily modify this recipe. Consider using gluten-free boxed cake mix and dairy-free frosting to accommodate gluten sensitivities or lactose intolerance. Always check that the edible flowers you choose are safe for consumption, and avoid using any that could be allergic, like certain violets or nasturtiums.
Can I make Mini MOM Cakes ahead of time?
Definitely! You can bake the cakes a day in advance, store them properly, and add frosting and decorations the day you plan to serve them. This way, you can save time on the special day while still presenting a fresh treat. It allows the flavors to meld beautifully, enhancing the overall taste!
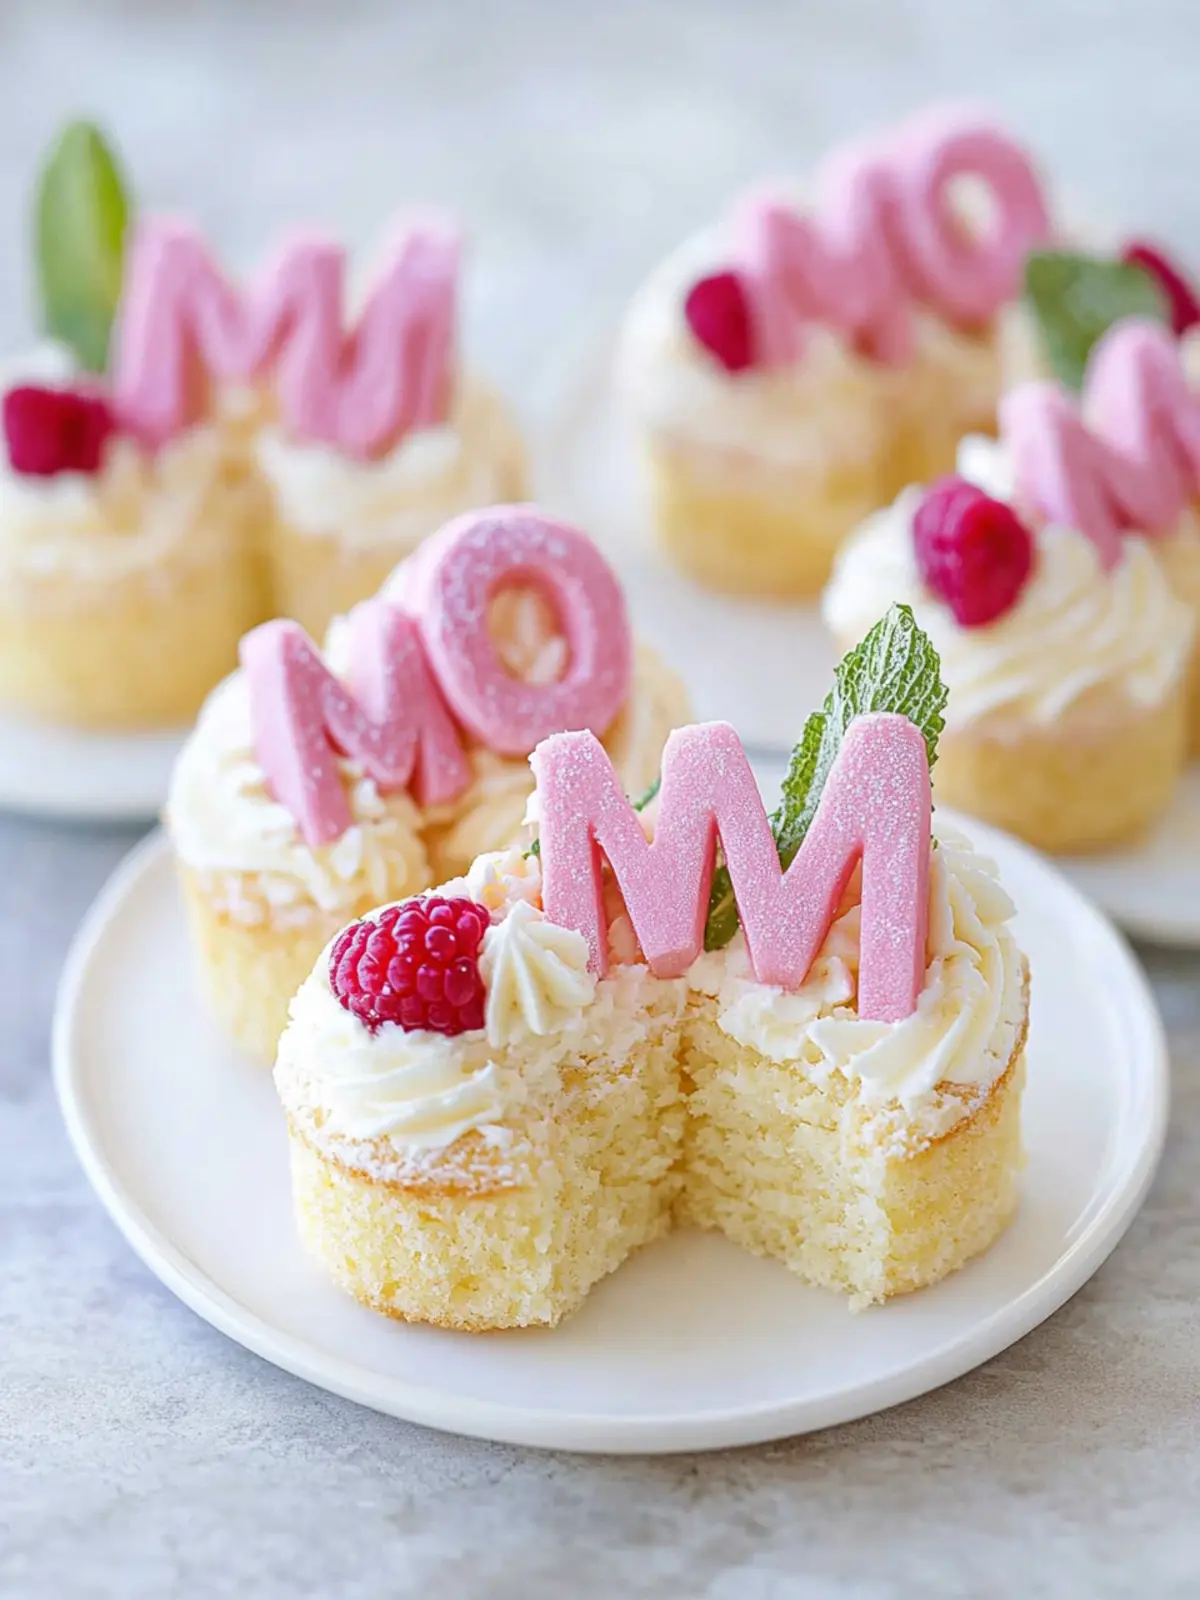
Delicious Mini MOM Cakes Perfect for Celebrating Family Love
Ingredients
Equipment
Method
- Prepare the cake mix: Follow the instructions on the back of the cake box for both cake mixes. In a big mixing bowl, combine the required eggs, water, and vegetable oil to create a batter that's smooth and well-blended.
- Pour the batter: Pour the combined cake batter into one 18" sheet pan with 1" sides, ensuring it's evenly spread out to prevent uneven cooking.
- Bake the cake: Place the cake in a preheated oven at 350°F (175°C) and bake for about 20 minutes, or until a toothpick comes out clean.
- Cool the cake: Once baked, let the cake cool completely in the pan; this could take around 30-40 minutes, as it sets the right texture for cutting.
- Cut the shapes: Use a 3" cookie cutter to cut out the letters M and O from the cooled cake, creating the charming MOM shape.
- Transfer to a cooling rack: Carefully move the cut-out letters to a cooling rack, allowing them to breathe and prevent sogginess.
- Decorate with frosting: Pipe on the silky vanilla frosting generously over each letter, ensuring they look as delightful as they taste.
- Garnish with flowers: Top with edible flowers and a sprinkle of colorful sprinkles to make your Mini MOM Cakes stand out beautifully at any celebration.