
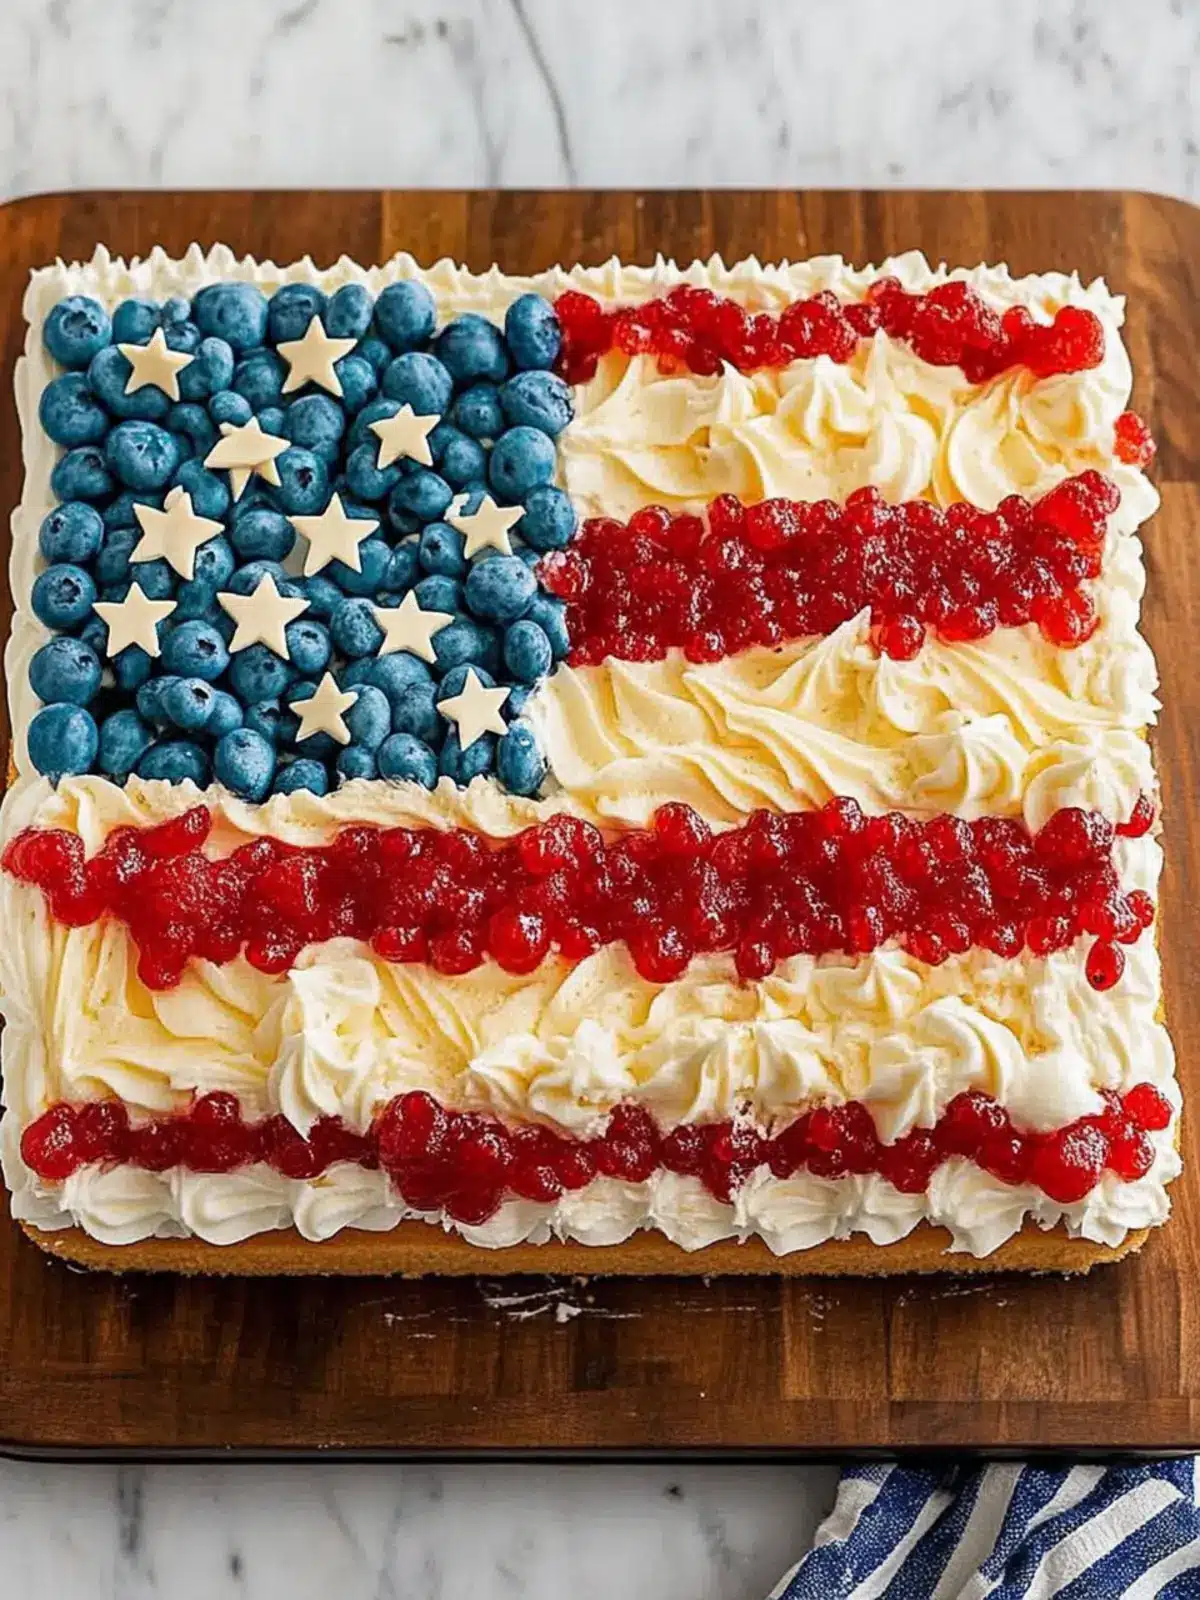
As summer’s warmth rolls in, there’s nothing quite like the vibrant colors of a Flag Cake to celebrate the season! This luscious Marshmallow Gelatin Cake invokes memories of festive barbecues and family gatherings, where laughter mixes with the sweet aroma of vanilla and fruit. One lazy Sunday, I decided to transform a beloved dessert into a stunning centerpiece for our backyard picnic, inspired by the vivid hues of fresh strawberries and blueberries.
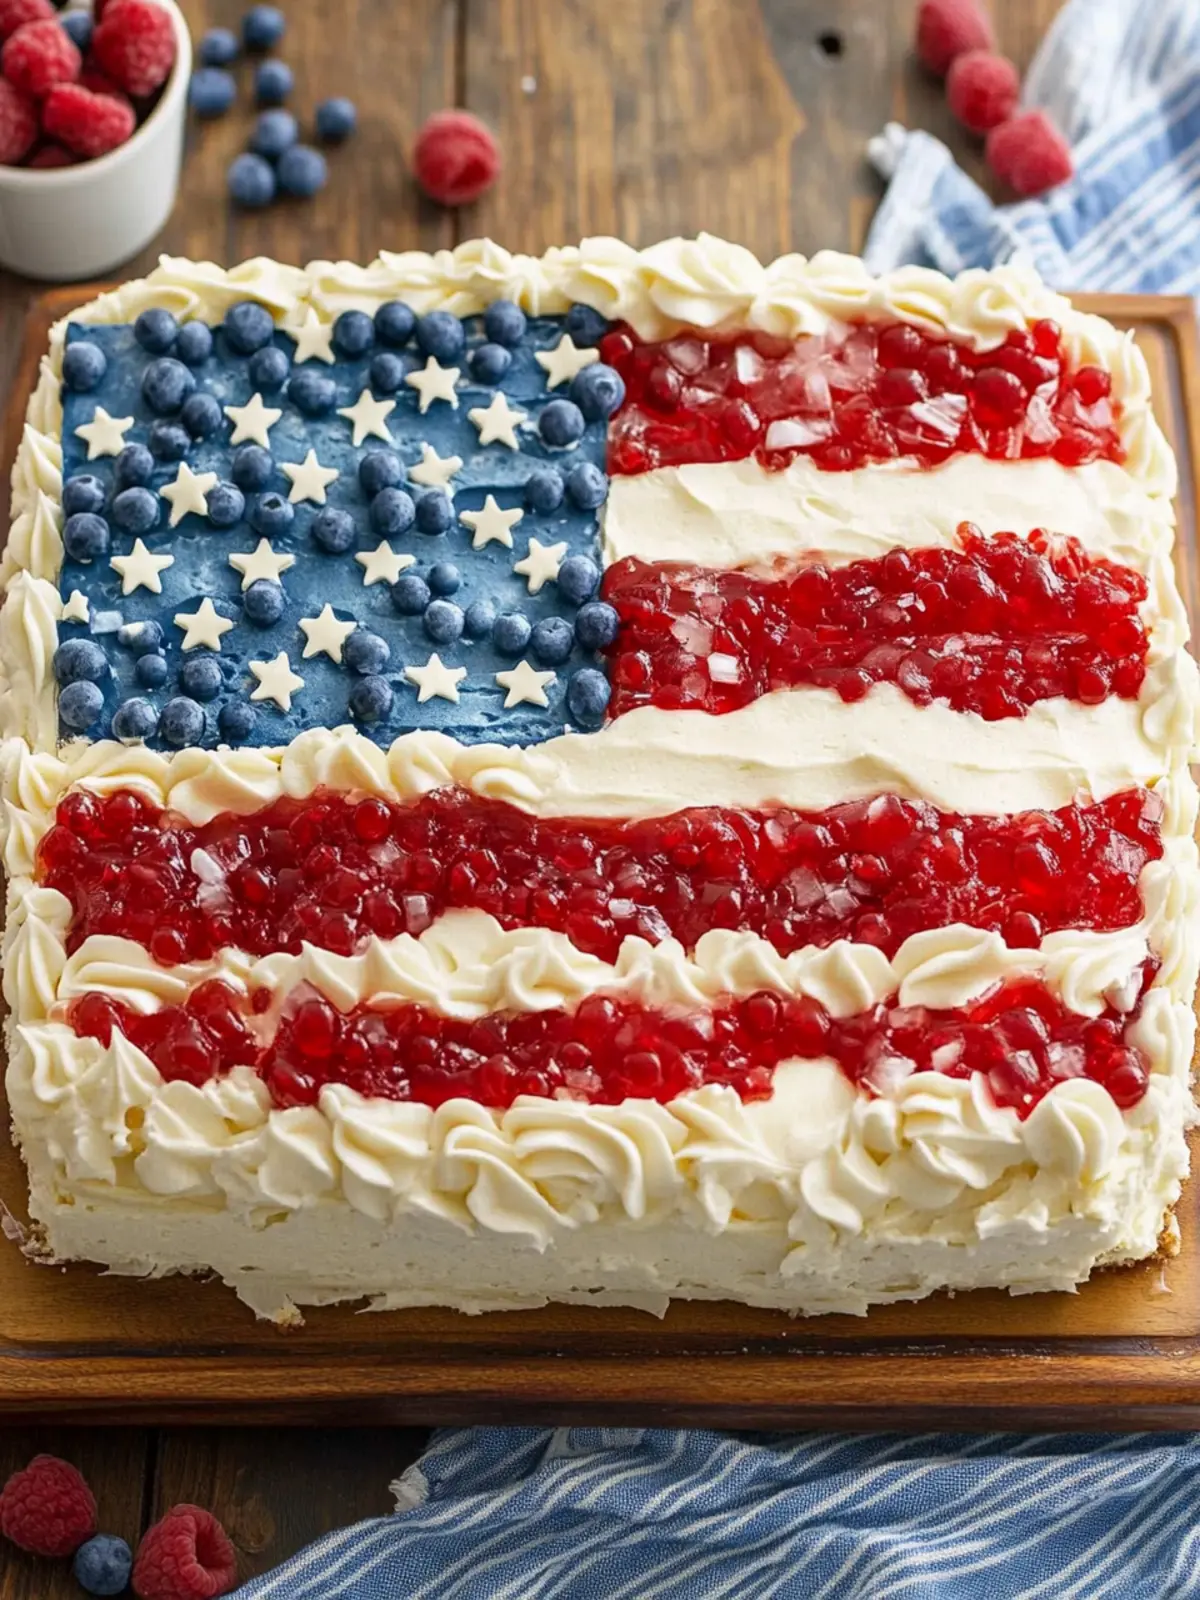
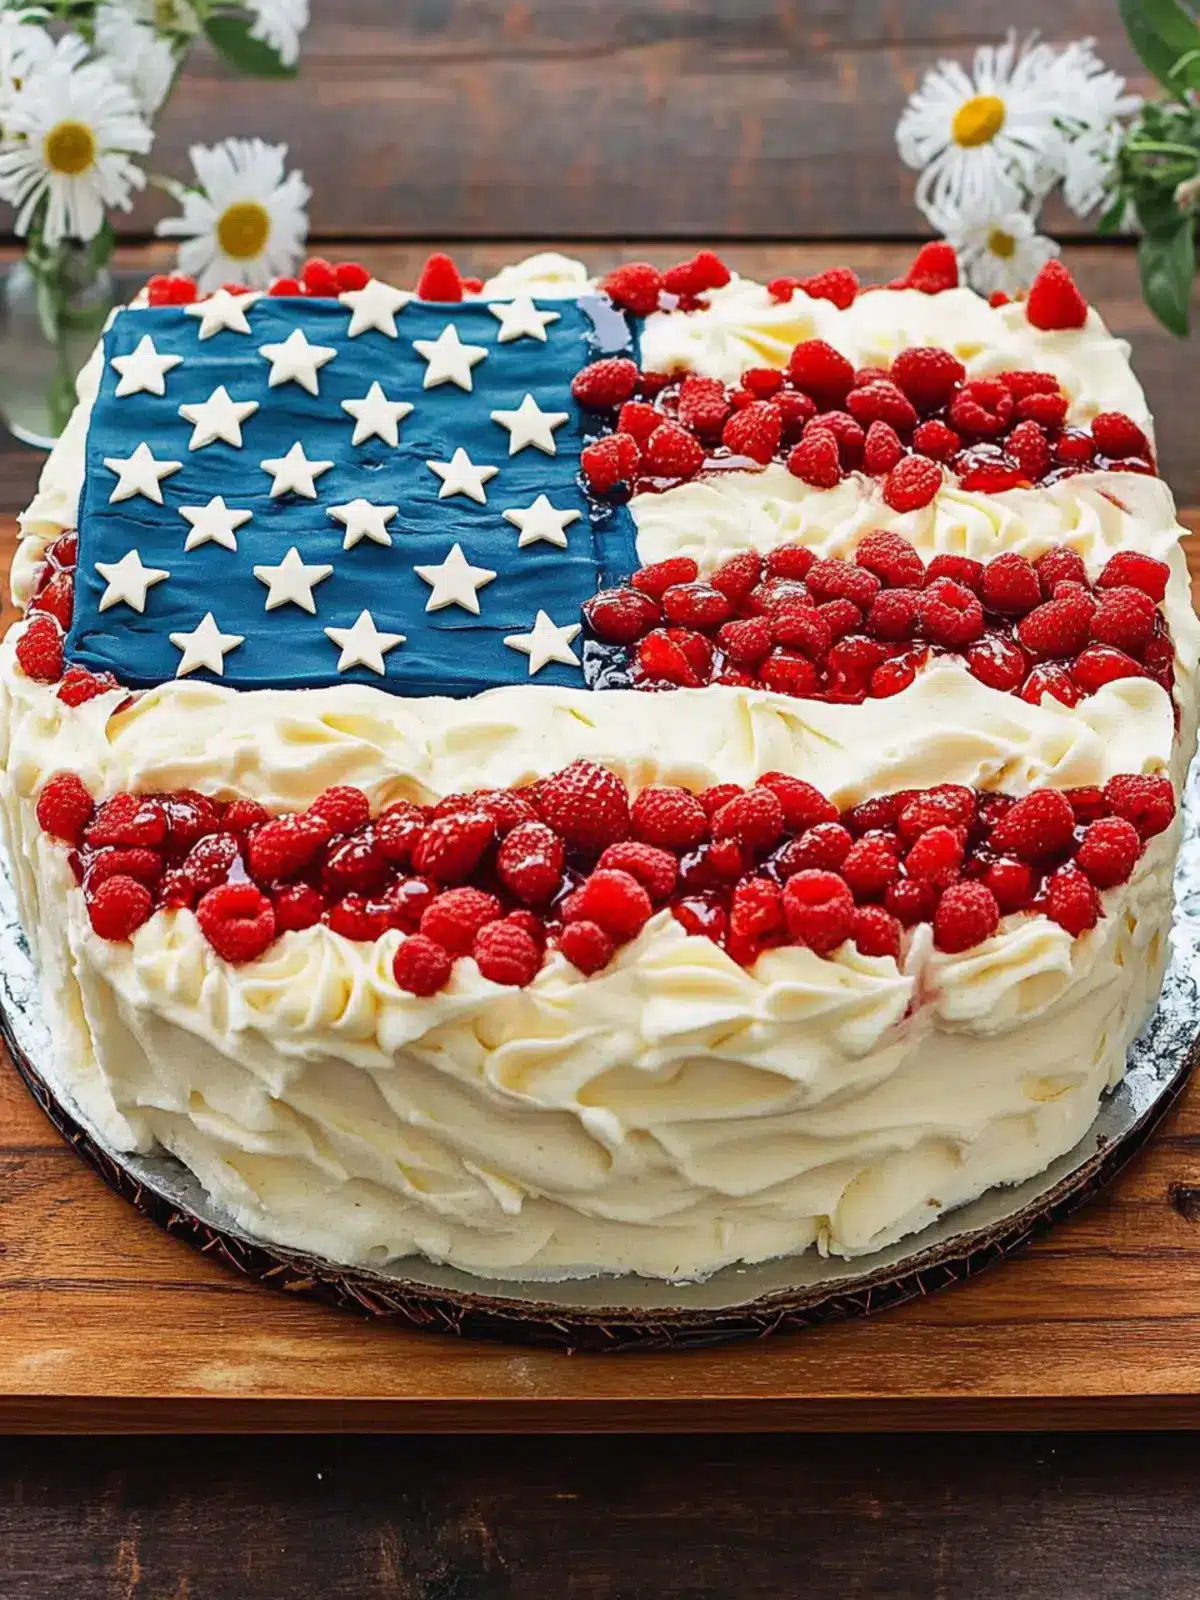
Picture this: a fluffy, buttery cake layered with bright bursts of gelatin in red and blue, presenting an irresistible flag design that is as delightful to look at as it is to devour. Whether you’re entertaining friends or simply want to treat your family to something special, this charming Flag Cake does it all with style and ease. Plus, it’s a wonderful way to break free from the monotony of everyday meals and rediscover the joy of homemade desserts. Let’s dive into this light and airy creation that has captured hearts and appetites alike!

Why is this Flag Cake a must-try?
Delightful Layers: This Flag Cake features a stunning combination of fluffy vanilla cake and vibrant gelatin, offering a feast for both the eyes and the taste buds.
Easy to Make: With simple ingredients and straightforward steps, even novice bakers can create this show-stopping dessert with confidence.
Colorful Celebration: Perfect for summer gatherings, this cake adds a festive touch to any occasion, making it the star of your dessert table.
Fresh Fruit Goodness: Packed with strawberries and blueberries, this cake not only looks beautiful but also tastes fresh and light, balancing sweetness with fruity flavors.
Endless Possibilities: You can easily customize the gelatin colors or fruit options to fit any theme, making it versatile for various celebrations.
Outdoor Appeal: Ideal for backyard parties, this cake will impress your guests and draw everyone away from fast food to something homemade and delightful!
Flag Cake Ingredients
• Get ready to whip up a delightful treat!
For the Cake Base
• French vanilla cake mix – A classic choice that provides a fluffy texture and sweet flavor as the foundation for your Flag Cake.
• Buttermilk – Adds richness and moisture, enhancing the cake’s tenderness.
• Canola oil – Helps keep the cake moist and fluffy, making it a must-have ingredient.
• Large eggs – Acts as a binder and contributes to the structure of your cake.
For the Gelatin Layers
• Berry blue gelatin – Bring on the vibrant blue hue, perfect for your flag design!
• Boiling water – Necessary to dissolve the gelatin and create those jiggly layers.
• Cold water – Balances the temperature for proper gelatin consistency.
• Ice cubes – Ensures the gelatin thickens just right while mixing.
• Strawberry gelatin – Adds a burst of red, complementing the blueberries and creating a festive look.
For the Fresh Fruit
• Fresh strawberries – Chopped to add a juicy, fruity flavor and essential color to your Flag Cake.
• Fresh blueberries – Delivers a sweet contrast and enhances the cake’s patriotic theme.
For the Buttercream Frosting
• Butter – Softened butter creates a creamy and fluffy frosting to adorn your creation.
• Confectioners’ sugar – This sweet ingredient balances the richness of the butter, creating a melt-in-your-mouth texture.
• 2% milk – Helps achieve the perfect consistency for spreading or piping the frosting.
• Marshmallow creme – Adds an irresistible sweetness and smoothness to your frosting for that signature marshmallow touch.
Now that you have all the essential ingredients to make your Flag Cake shine, let’s get ready to assemble this masterpiece!
How to Make Flag Cake
-
Preheat the Oven: Set your oven to 350°F (175°C) and prepare a 13×9-inch baking pan by lining it with parchment paper and greasing it. This ensures an easy release for your fluffy cake!
-
Mix the Cake Batter: In a large bowl, combine the French vanilla cake mix, buttermilk, canola oil, and eggs. Beat on low speed for 30 seconds, then increase to medium and mix for 2 minutes until smooth.
-
Bake the Cake: Pour the batter into your prepared pan and bake for 35-40 minutes, or until a toothpick inserted in the center comes out clean. Once baked, let it cool for 10 minutes before transferring it to a wire rack to cool completely.
-
Create the Cake Design: Once cooled, cut a 5×4-inch rectangle in the top left corner, leaving a border. Then, slice 3/4-inch wide rows for your red stripes, carefully removing the cut-out pieces with a fork.
-
Prepare the Gelatin: Dissolve the berry blue gelatin in 3/4 cup boiling water, then combine with 1/2 cup cold water and ice cubes until slightly thickened. Repeat this step for the strawberry gelatin.
-
Incorporate Fresh Fruit: In a small bowl, mix the chopped strawberries with 1 cup of strawberry gelatin, and in another bowl, combine the blueberries with 1 cup of blue gelatin. Refrigerate for 20 minutes until softly set.
-
Fill the Cake Layers: Gently stir the gelatin mixtures and pour the blueberry mixture into the rectangle cutout, followed by spooning the strawberry mixture into the striped sections.
-
Make the Frosting: In a large bowl, beat the softened butter until fluffy, then gradually mix in the confectioners’ sugar and milk until smooth. Add the marshmallow creme and beat until light and fluffy.
-
Frost the Cake: Spread 1 cup of the frosting over the sides and top edges of the cake, then refrigerate the remaining frosting for 20 minutes.
-
Pipe Elegant Designs: Cut a small hole in the corner of a pastry bag, insert a large star tip, and fill it with the remaining frosting. Pipe frosting between the rows of strawberry gelatin and around the edges of the cake.
-
Chill the Cake: Finally, let your assembled Flag Cake refrigerate for 1-2 hours until the gelatin is fully set and everything is perfectly chilled.
Optional: Garnish with additional fresh fruit for an extra pop of color!
Exact quantities are listed in the recipe card below.
How to Store and Freeze Flag Cake
Fridge: Store the Flag Cake in an airtight container in the refrigerator for up to 3 days to keep it fresh and delicious.
Freezer: For longer storage, wrap slices of the Flag Cake tightly in plastic wrap and aluminum foil and freeze for up to 2 months. Thaw in the fridge overnight before serving.
Reheating: If you prefer your cake at room temperature, allow it to sit out for about an hour before enjoying. Avoid reheating in the microwave to keep the gelatin intact.
Assembling: To maintain the flag pattern, it’s best to store the cake without the frosting for longer periods; frost just before serving to preserve its vibrant look.
What to Serve with Marshmallow Gelatin Cake?
As summer celebrations beckon, pairing your Flag Cake with the right dishes can elevate your gathering to unforgettable heights, creating a balance of flavors and textures that everyone will love.
- Fresh Fruit Salad: A refreshing blend of seasonal fruits complements the cake’s sweetness, adding a light and nutritious element to your spread.
- Classic Vanilla Ice Cream: The creamy, cold flavors of vanilla ice cream provide a delightful contrast to the fluffy cake and vibrant gelatin layers—an unbeatable combo!
- Light Lemonade: This tangy and sweet beverage brightens up the dessert experience, offering a zesty refreshment as guests enjoy their cake.
- Savory BBQ Sliders: Mini sliders filled with pulled pork or grilled chicken balance the sugary flavors of the dessert, creating a satisfying savory-sweet meal.
- Chocolate Dipped Pretzels: Add a crunchy texture and salty contrast, the chocolate pairs beautifully with the cake’s distinct marshmallow notes, making every bite adventurous.
- Sparkling Water with Citrus Slices: This bubbly drink, enhanced with the zest of lemon or lime, cleanses the palate between bites of the Flag Cake, keeping everyone refreshed.
- Creamy Coleslaw: The crunch and creaminess of coleslaw provide a wonderful side that cuts through the cake’s sweetness, making it a perfect picnic companion.
- Mini Cheesecakes: Offer an alternative sweet treat to the Flag Cake; their rich texture and flavor can delight those craving something a bit different without overpowering the main dessert.
Flag Cake Variations
Feel free to get creative with your Flag Cake and make it uniquely yours!
-
Gluten-Free: Substitute the French vanilla cake mix with a gluten-free variety for a delicious treat everyone can enjoy.
-
Dairy-Free: Use almond or oat milk in place of buttermilk and a plant-based butter substitute to make this cake dairy-free without sacrificing flavor.
-
Fruit Variation: Swap strawberries and blueberries for raspberries and blackberries for a delightful twist that still celebrates vibrant colors.
-
Gelatin Alternatives: Experiment with different-colored gelatins like green lime and orange for a fun twist that’ll surprise your guests!
-
Less Sweet Option: For a lighter touch, reduce confectioners’ sugar in the frosting and mix in Greek yogurt for a creamy, tangy alternative.
-
Flavor Infusion: Add a splash of vanilla extract or almond extract to the cake batter to enhance the flavor profile and bring warmth to every bite.
-
Chocolate Lovers: Incorporate chocolate cake mix instead of vanilla to transform your Flag Cake into a rich and indulgent experience that’s equally festive.
-
Heat It Up: Add a sprinkle of crushed red pepper flakes to the fruit mixtures for a surprising kick that balances the sweetness beautifully!
Each of these variations will take your Flag Cake to new heights while ensuring it remains the star of any celebration!
Make Ahead Options
These delightful Flag Cake preparations are perfect for busy home cooks looking to save time without sacrificing flavor! You can bake the cake base up to 3 days in advance, letting it cool completely before wrapping it tightly in plastic wrap and refrigerating. The gelatin mixtures can also be prepared up to 24 hours ahead; simply assemble the fruit and gelatin layers in the cake right before serving. To maintain quality, keep the unfrosted cake in the fridge to prevent drying out. When it’s time to serve, frost the cake and let it chill for at least 1-2 hours until set, ensuring it remains as delicious and visually stunning as when freshly made!
Expert Tips for Flag Cake
Proper Cake Cooling: Allow the cake to cool completely before assembling to prevent the gelatin from melting. A warm cake can lead to sogginess!
Gelatin Consistency: Ensure your gelatin mixtures are slightly thickened before pouring; this helps create those beautiful layers and prevents mixing with the cake base.
Frosting Texture: Beat the frosting until fluffy for a light, airy texture; too little mixing can result in a heavy frosting that doesn’t spread as nicely.
Fruit Placement: Use fresh fruit immediately after chopping to maintain juiciness; avoid letting them sit too long to prevent excess moisture in your Flag Cake.
Creative Variations: Don’t hesitate to swap the berry blue and strawberry gelatin for other flavors that suit your taste or the occasion; be playful with colors!
Flag Cake Recipe FAQs
What type of buttermilk should I use for this Flag Cake?
You can use store-bought buttermilk or make your own by adding 1 tablespoon of vinegar or lemon juice to a cup of milk and letting it sit for about 5-10 minutes. This will create a tangy substitute that works perfectly in this cake!
How should I store leftover Flag Cake?
To keep your Flag Cake fresh, store it in an airtight container in the refrigerator for up to 3 days. This will help preserve its delightful flavors while keeping the cake moist.
Can I freeze the Flag Cake?
Absolutely! To freeze your Flag Cake, wrap individual slices tightly in plastic wrap, then in aluminum foil. This method helps protect the cake from freezer burn. You can store it for up to 2 months. When you’re ready to enjoy, simply thaw it in the fridge overnight.
What if my gelatin doesn’t set properly?
If your gelatin mixture isn’t setting, it may need more time in the fridge. Allow it to chill for an additional 30-60 minutes. Ensure you didn’t add too much water when preparing it; always follow the measurements closely. If it still doesn’t set, you can try remelting it and adding more gelatin according to the package instructions.
Can I use different flavors for the gelatin layers?
Very! Feel free to swap the berry blue and strawberry gelatin for other flavors like lemon and lime for a refreshing twist. This adds both vibrant colors and unique flavors to your Flag Cake, making it versatile for any occasion.
Is this Flag Cake suitable for people with nut allergies?
Yes, this recipe does not contain any nuts in its ingredients. However, always double-check your ingredient labels, particularly for the cake mix and frosting, to ensure they are processed in a nut-free facility if you’re serving someone with a severe allergy.
Flag Cake: Celebrate with a Colorful Sweet Treat!
Ingredients
Equipment
Method
- Preheat the Oven: Set your oven to 350°F (175°C) and prepare a 13x9-inch baking pan by lining it with parchment paper and greasing it.
- Mix the Cake Batter: In a large bowl, combine the French vanilla cake mix, buttermilk, canola oil, and eggs. Beat on low speed for 30 seconds, then increase to medium and mix for 2 minutes until smooth.
- Bake the Cake: Pour the batter into your prepared pan and bake for 35-40 minutes, or until a toothpick inserted in the center comes out clean. Let it cool for 10 minutes before transferring it to a wire rack to cool completely.
- Create the Cake Design: Once cooled, cut a 5x4-inch rectangle in the top left corner, leaving a border. Slice 3/4-inch wide rows for your red stripes, carefully removing the cut-out pieces with a fork.
- Prepare the Gelatin: Dissolve the berry blue gelatin in 3/4 cup boiling water, then combine with 1/2 cup cold water and ice cubes until slightly thickened. Repeat this step for the strawberry gelatin.
- Incorporate Fresh Fruit: In a small bowl, mix the chopped strawberries with 1 cup of strawberry gelatin, and in another bowl, combine the blueberries with 1 cup of blue gelatin. Refrigerate for 20 minutes until softly set.
- Fill the Cake Layers: Gently stir the gelatin mixtures and pour the blueberry mixture into the rectangle cutout, followed by spooning the strawberry mixture into the striped sections.
- Make the Frosting: In a large bowl, beat the softened butter until fluffy, then gradually mix in the confectioners' sugar and milk until smooth. Add the marshmallow creme and beat until light and fluffy.
- Frost the Cake: Spread 1 cup of frosting over the sides and top edges of the cake, then refrigerate the remaining frosting for 20 minutes.
- Pipe Elegant Designs: Cut a small hole in the corner of a pastry bag, insert a large star tip, and fill it with the remaining frosting. Pipe frosting between the rows of strawberry gelatin and around the edges of the cake.
- Chill the Cake: Finally, let your assembled Flag Cake refrigerate for 1-2 hours until the gelatin is fully set and everything is perfectly chilled.